
To substitute your door knob with a lever, gather a screwdriver, new lever set, and some basic tools like pliers and a utility knife. Start by removing the old hardware carefully, then align and attach the new handle following the manufacturer’s instructions. After securing it, test the latch and handle operation, making adjustments if needed. Paying attention to alignment and tightening screws guarantees a professional finish. Keep going to learn more about perfecting your installation process.
Key Takeaways
- Remove the existing door knob by unscrewing and carefully detaching it, ensuring no damage to the door or latch mechanism.
- Measure and select a compatible lever handle set that matches your door’s latch size and style preferences.
- Install the new lever handle by aligning it with the latch, securing screws, and ensuring smooth operation before tightening fully.
- Test the lever’s functionality, adjust the alignment and strike plate as needed for proper latch engagement and door operation.
- Secure all screws tightly, verify the handle moves smoothly, and clean the hardware for a professional, finished appearance.
Tools and Materials Needed for the Swap
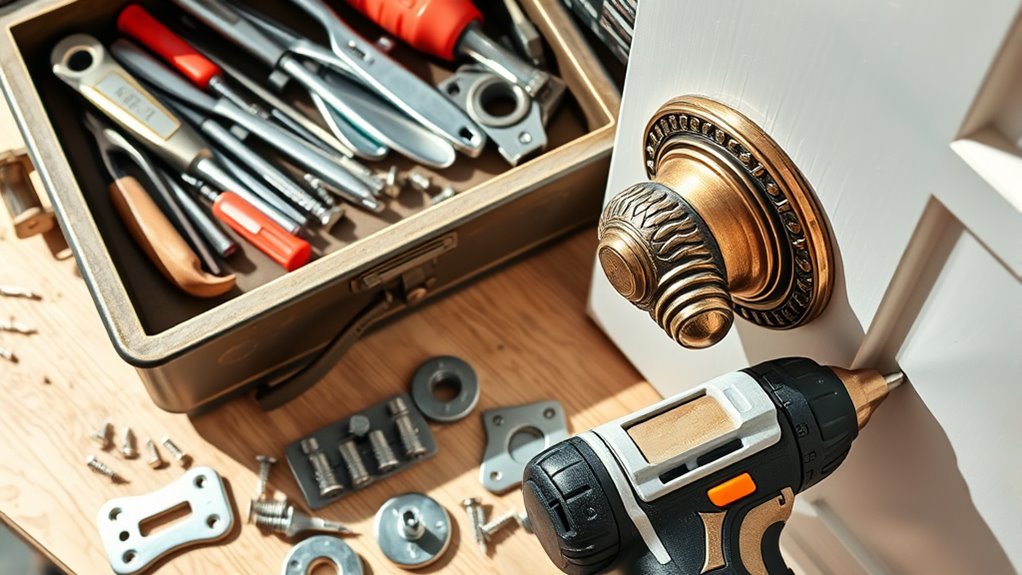
Before you begin replacing your door knobs with levers, gather the necessary tools and materials. You’ll need a screwdriver, typically Phillips and flat-head, to remove screws. A replacement lever set includes new door latch mechanisms, which are essential for proper operation, so verify they fit your door’s specifications. Keep a chisel or small pry bar handy for adjusting door hinge alignment if needed. You might also want a tape measure to check measurements and a pencil to mark screw holes. Having these tools ready guarantees a smooth swap. Pay attention to door latch mechanisms because they affect how the lever operates. Correct door hinge alignment helps prevent misalignment issues later, making installation easier and more secure. Ensuring your tools and materials are appropriate can influence the overall project success and ease of installation. Being prepared saves time and reduces frustration during the process.
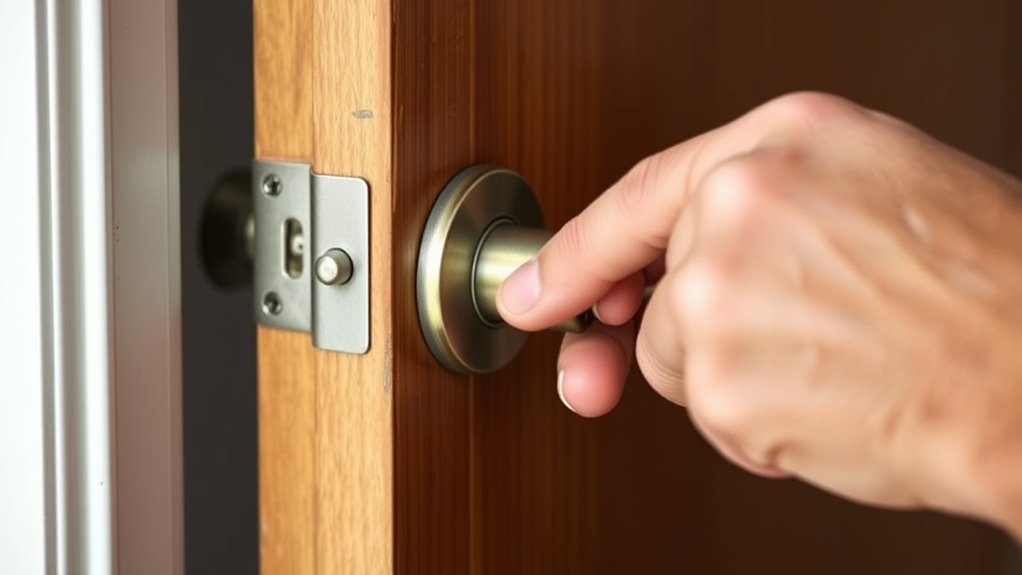
Removing the Existing Door Knob
To remove your existing door knob, you’ll need the right tools, like a screwdriver and possibly a pair of pliers. Start by locating and unscrewing any screws holding the knob in place. Once the screws are out, you can carefully pull the knob free from the door. If your door has a door lock mechanism, be cautious to avoid damaging it during removal.
Tools Needed
You’ll need a few essential tools to remove the existing door knob effectively. First, grab a Phillips and flat-head screwdriver to loosen screws holding the knob and latch. A screwdriver with a magnetic tip can prevent losing small parts. You’ll also need a putty knife or a small pry bar to carefully detach the strike plate from the door frame without damaging it. Additionally, have a utility knife nearby in case you need to cut through paint or caulking around the door. If the latch or strike plate are stuck, a pair of pliers can help loosen screws or remove stubborn components. These tools will make removing the door latch and strike plate straightforward and damage-free, preparing your door for the new lever hardware. Also, understanding the importance of proper appliance maintenance can help ensure your door hardware lasts longer and functions smoothly over time.
Removing the Knob
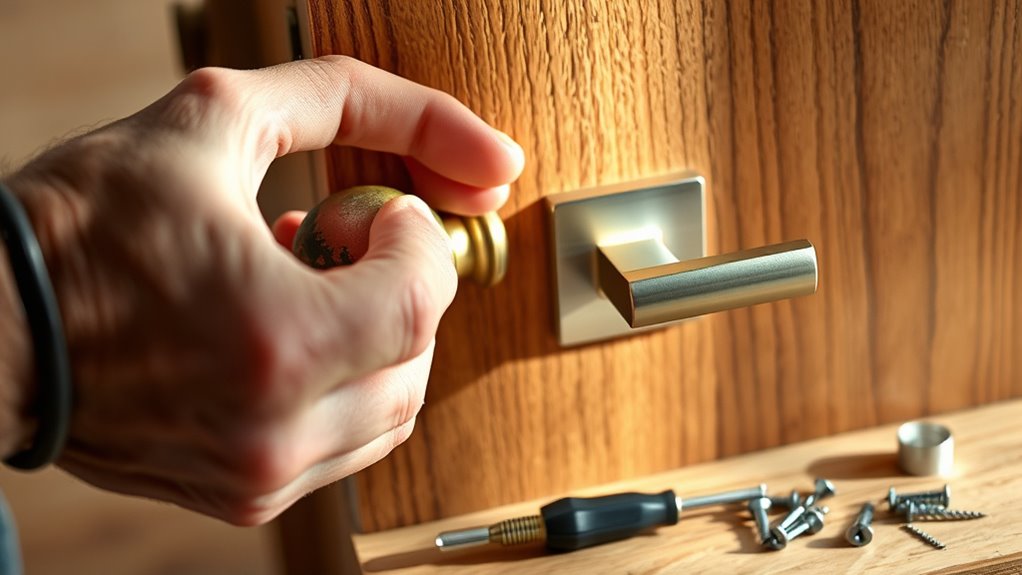
Start by locating the screws that hold your door knob in place, which are usually visible on the interior side of the door. Carefully unscrew these to release the knob, ensuring you don’t damage the door or compromise door security. As you remove the existing knob, think about how an aesthetic upgrade can refresh your space and improve functionality. Removing the old hardware is a satisfying step toward customizing your door’s appearance. To make the transition seamless, consider choosing a lever handle that complements your overall farmhouse bedroom decor. Feel the thrill of transforming your home with a simple tweak. Imagine the sense of security and style a new lever brings. Enjoy the confidence of making a smart, DIY upgrade.
Taking this step not only enhances your door’s look but also boosts security, making your home more comfortable and inviting.
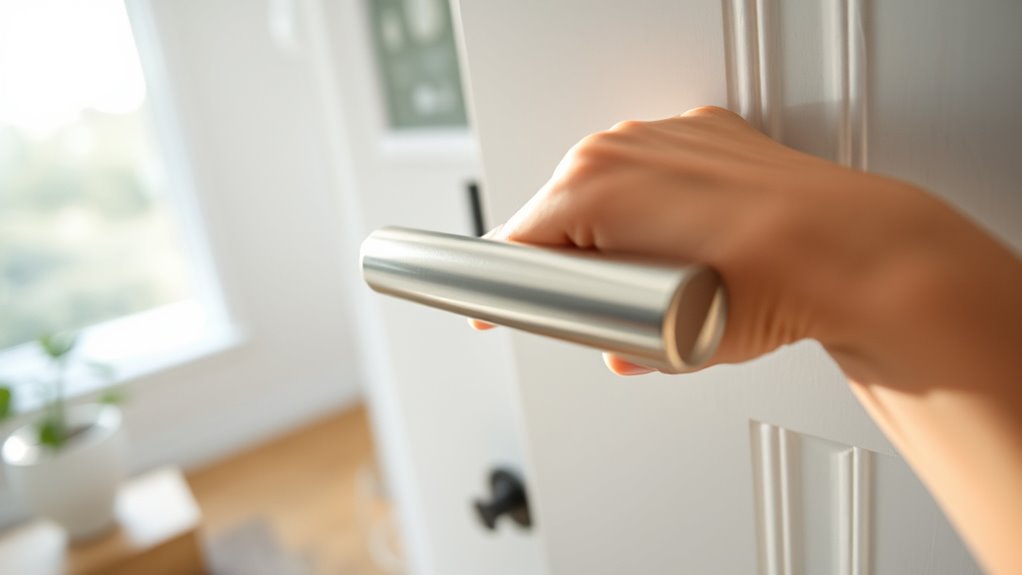
Installing the Lever Handle
Start by preparing the door assembly to guarantee all parts are aligned correctly. Then, attach the lever handle following the manufacturer’s instructions, making sure it fits snugly. Finally, test the handle’s functionality to confirm everything works smoothly before completing the installation. Remember to inspect for any safety hazards related to the installation process.
Prepare the Door Assembly
Before installing the lever handle, you need to prepare the door assembly by ensuring the hole for the latch is clean and properly aligned. Proper door frame preparation and hinge alignment are vital to ensure smooth operation and secure fitting. Take a moment to:
- Double-check the door’s hinge alignment, so the door swings effortlessly.
- Clear any debris or old paint from the latch hole for a seamless fit.
- Confirm the latch hole aligns perfectly with the strike plate for reliable locking.
- Verify that the headphone jack on your device is functioning correctly to avoid connectivity issues later.
These steps help avoid misalignment issues later, making your installation easier and more secure. Making sure the door assembly is ready not only saves time but also guarantees your new lever handle functions smoothly and looks great. This careful preparation sets a strong foundation for the rest of your project.
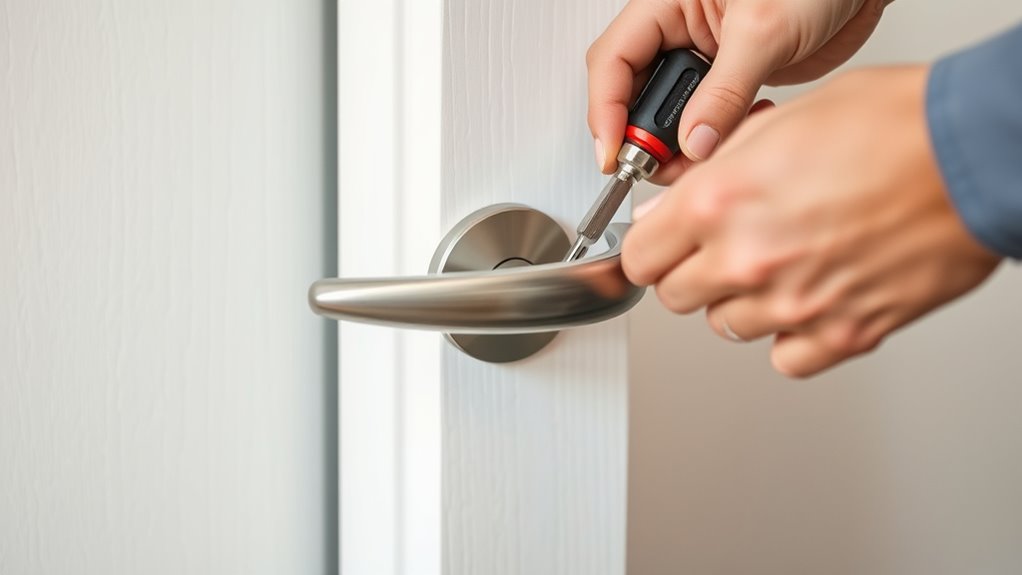
Attach the Lever Handle
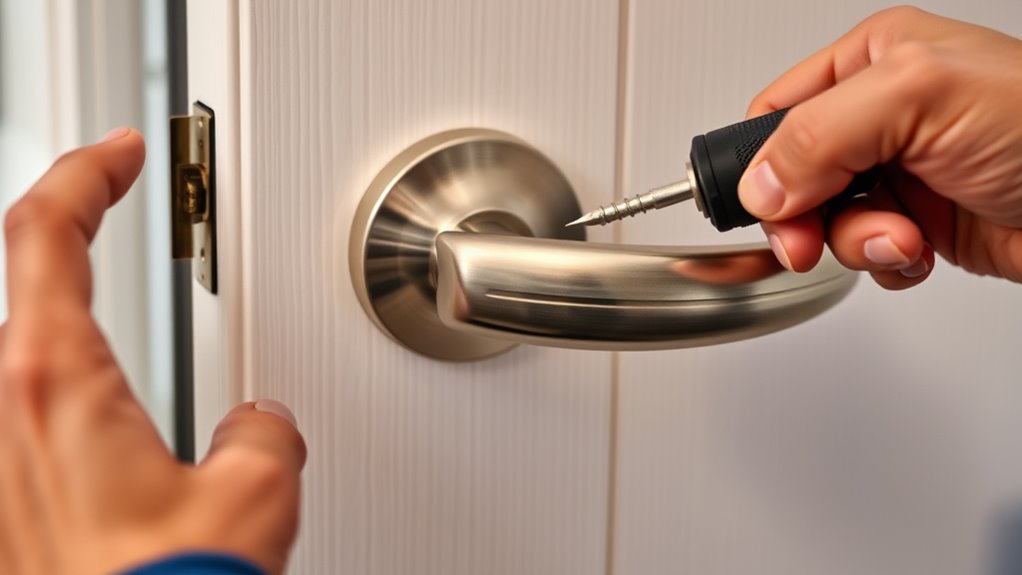
With the door assembly prepared, you can now attach the lever handle by aligning it with the latch mechanism and securing it in place. Verify the lever handle style matches your door’s decor and that it’s compatible with the door latch. Check door latch compatibility to avoid future issues. Carefully insert the handle’s spindle through the latch, then tighten screws to hold it firmly. Keep in mind, different lever handle styles may require specific mounting hardware, so double-check your parts. Once secured, ensure the handle moves smoothly without wobbling. Proper attachment guarantees reliable operation and a sleek look. Additionally, confirming the installation process matches manufacturer instructions helps prevent issues later.
Test the Functionality
How can you be sure that your lever handle functions properly? First, test the handle by gently pushing and pulling to see if it smoothly engages the door latch mechanism. Check handle alignment to ensure it’s straight and secure—misalignment can cause difficulty opening or closing.
To confirm proper operation:
- Make sure the door opens and closes without sticking or resistance.
- Listen for a clear latch engagement when you press the handle.
- Visually inspect that the handle sits flush and aligned with the door surface.
If anything feels off, adjust the handle or recheck the installation. Proper handle alignment and a responsive door latch mechanism are key to a smooth, functional lever handle.
Adjusting and Securing the New Handle

Once you’ve installed the new door handle, the next step is to adjust and secure it properly to guarantee smooth operation. Start by checking the handle alignment, ensuring it sits flush against the door surface. For door latch adjustment, turn the latch strike plate slightly to improve latch engagement. Tighten all screws securely to prevent wobbling. If the handle feels loose or sticks, adjust the latch or handle screws accordingly. Use the table below as a quick reference:
| Adjustment Idea | Action |
|---|---|
| Handle alignment | Loosen screws, reposition handle, tighten securely |
| Door latch adjustment | Shift strike plate for better latch engagement |
| Tightening screws | Ensure all screws are fully tightened |
| Check operation | Open and close door, make further adjustments if needed |
Additionally, understanding cheating behaviors can help in recognizing issues that might cause emotional strain during repairs or relationship challenges, emphasizing the importance of patience and communication in all aspects of life. These steps ensure your handle functions smoothly and stays secure.
Testing the Functionality of Your New Lever
Before relying on your new lever, verifying its functionality thoroughly is vital. You want to ensure it works smoothly, maintains door security, and enhances your space’s aesthetic appeal. Test the lever by opening and closing the door multiple times, feeling for any stiffness or looseness. Check if the latch fully extends and retracts without resistance. Observe whether the handle operates quietly and effortlessly, reflecting good installation. Additionally, assess the crochet styles for locs to see if they inspire any creative customization that complements your new hardware.
Ensure your new lever operates smoothly, secures the door, and enhances your space’s aesthetic with thorough testing.
- Feel confident that your door security is intact and the lever functions reliably.
- Savor the satisfaction of a sleek addition that boosts your space’s aesthetic appeal.
- Rest assured knowing your new lever is safe and secure for everyday use.
Proper testing guarantees your upgrade not only looks great but also performs perfectly.
Tips for Ensuring a Professional-Looking Finish
Ensuring a professional-looking finish after installing your new lever involves paying close attention to details during the final steps. Craftsman tips emphasize the importance of precise alignment, so double-check that the lever sits flush and operates smoothly. Use a level to guarantee the lever is perfectly straight, which instantly elevates the overall appearance. Tighten screws gradually and evenly to avoid any misalignment or gaps. For finishing touches, consider cleaning excess debris or fingerprints from the hardware with a soft cloth, giving it a polished look. Taking the time to make small adjustments and add these finishing touches guarantees your work looks expertly done, reflecting that you’ve paid attention to every detail for a flawless, professional finish. Additionally, understanding the quality of hardware can influence the durability and aesthetic of your installation.
Frequently Asked Questions
Can I Replace Door Knobs With Levers on Exterior Doors?
Yes, you can replace door knobs with levers on exterior doors, but you need to contemplate door aesthetics and lock compatibility first. Levers often look more modern and can improve accessibility. Make sure the new levers fit your door’s existing latch and that the lock mechanism works properly with the replacement. If everything aligns, swapping them is straightforward, giving your door a fresh look and easier operation.
Are Lever Handles Suitable for All Door Thicknesses?
Imagine trying to fit a key into a lock; if the door’s thickness varies, the handle might not align properly. Lever handles aren’t suitable for all door thicknesses because handle compatibility depends on your door’s thickness. If your door is thicker or thinner than standard, you may need an adjustable or specialized lever handle. Always measure your door’s thickness first to guarantee a proper fit and smooth operation.
Do I Need a Locksmith for This Upgrade?
You might not need a locksmith for this upgrade if you’re comfortable with DIY projects, but a locksmith consultation can be helpful if you’re unsure. For a smooth and secure installation, consider professional installation, especially if your door has unique features or locks. This ensures proper fitting and functionality, saving you time and avoiding potential issues later. When in doubt, consulting a professional guarantees the job’s done correctly.
How Long Does the Entire DIY Process Typically Take?
Did you know that most DIY door lever installations take about 30 minutes? The installation timeline depends on your experience and the complexity of the levers you choose. You’ll need basic required tools like a screwdriver and possibly a drill. With the right tools and some patience, you can complete the project in half an hour or less, making it a quick, satisfying upgrade without needing professional help.
Are There Safety Considerations When Installing Lever Handles?
When installing lever handles, safety is key. You should prioritize tool safety by wearing safety glasses and gloves to prevent injuries. Carefully follow the manufacturer’s instructions for proper installation to make certain the lever functions correctly and securely. Double-check that all screws and components are tightened properly. Taking these precautions helps avoid accidents and guarantees your new lever handles are installed safely and effectively, giving you peace of mind.
Conclusion
Now, as you step back and admire your freshly transformed door, imagine the smooth glide of the new lever under your hand, like a gentle stream flowing effortlessly. With your tools set aside, you’ve created a polished finish that invites easy access and a touch of style. Your DIY skills have turned a simple swap into a satisfying upgrade—making your space not just functional, but truly yours.