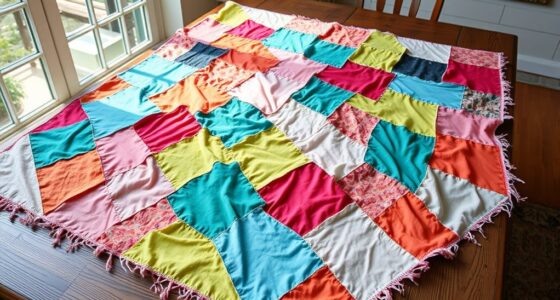

To build a memory quilt from old T-shirts, select shirts with meaningful designs, logos, or memories. Cut them into uniform squares or shapes, and plan a layout that suits your style—grid, patchwork, or eclectic. Sew the pieces together with straight stitches, pressing seams flat as you go. Then, layer your quilt top with batting and backing fabric, quilting through all layers. For detailed steps and tips, keep exploring to create a heartfelt keepsake you’ll cherish forever.
Key Takeaways
- Select sentimental, stain-free cotton T-shirts and cut them into uniform squares or rectangles for a cohesive quilt top.
- Plan your layout, whether grid or patchwork, and press shirts inside out before cutting for neat edges.
- Sew fabric pieces together with a ¼-inch seam allowance, pressing seams flat to ensure a tidy finish.
- Assemble the quilt with batting and backing fabric, then quilt through all layers using straight or decorative stitches.
- Add final touches by personalizing with embellishments or quilting techniques that reflect memories and emotions.
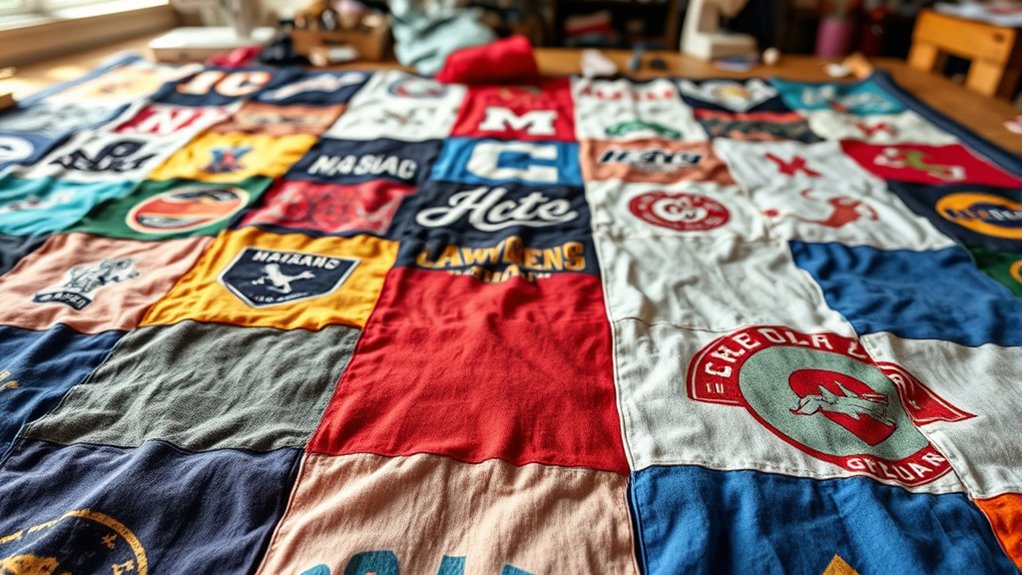
Creating a memory quilt is a meaningful way to preserve special moments and loved ones through fabric. When you decide to build a quilt using old T-shirts, your first step is choosing the right fabric selection. You want shirts that hold sentimental value, but also consider their condition—avoid shirts with stains or tears. Pick T-shirts made from soft, durable cotton for comfort and longevity. If some shirts are thicker or have embellishments like embroidery or patches, be mindful of how they’ll affect the overall texture and sewing process. You might also want to include a few plain or coordinating fabrics to balance out the busy prints and add visual interest.
Choose sentimental, soft cotton T-shirts free of stains for a heartfelt memory quilt.
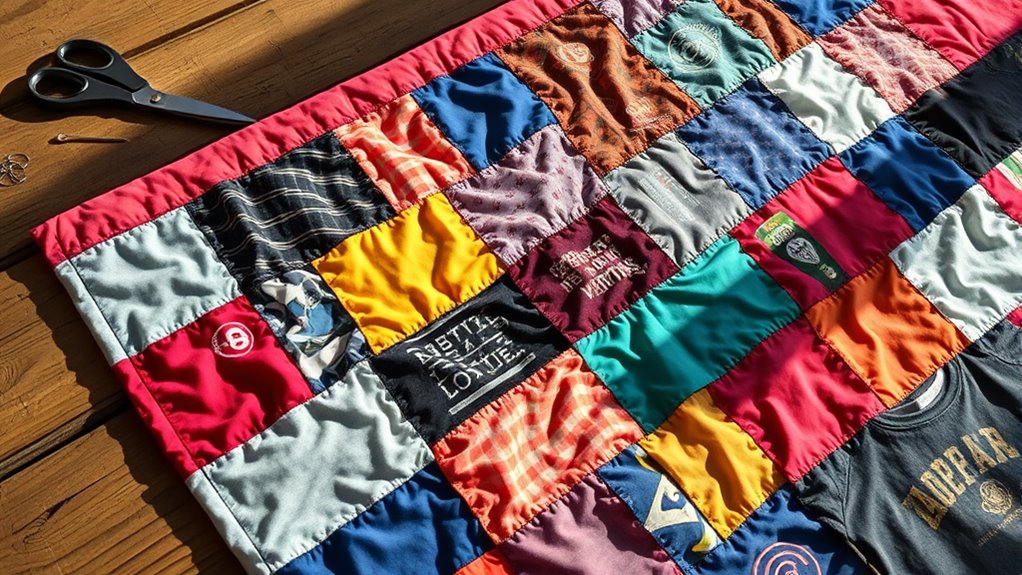
Once you’ve gathered your T-shirts, plan your layout. Decide whether you want a uniform grid, a random patchwork, or a more eclectic design. Before cutting into the shirts, turn them inside out and press them flat to eliminate wrinkles. When cutting, use sharp fabric scissors or a rotary cutter for clean edges. Cut the shirts into squares or rectangles, typically 8 to 12 inches, depending on your preferred size. Be consistent with your measurements to keep the quilt neat. You can also cut some shirts into smaller pieces for variety or to feature specific designs, logos, or images.
After cutting, it’s time to focus on quilting techniques. Start by sewing your fabric pieces into rows or sections, using a straight stitch and a ¼-inch seam allowance. Consider using a sewing machine for durability, but hand stitching works too if you prefer a more personal touch. Press seams flat as you go to keep the quilt smooth and flat. Once your sections are assembled, you’ll need to piece the quilt top together, then add batting and a backing fabric—cotton or flannel work well for comfort. Quilt it by stitching through all layers, either with straight lines or decorative patterns that complement your design. You might also choose to tie the quilt at intervals for a quick finish. Additionally, incorporating sound healing techniques into your quilting space can create a relaxing environment during your project.
Throughout the process, keep in mind that your goal is to create something meaningful, not perfect. The fabric selection should reflect your memories, and your quilting techniques should bring those moments to life in a cozy, lasting keepsake. In the end, your memory quilt will be a heartfelt tribute to your loved ones or favorite memories, crafted with care and intention.
Frequently Asked Questions
How Many T-Shirts Do I Need for a Memory Quilt?
You’ll need about 20 to 40 T-shirts for your memory quilt, depending on the size and design you choose. Consider T-shirt sizing—typically 18-20 inches wide—and your quilt’s dimensions. If you want a smaller throw, fewer shirts work; for a larger bed quilt, you’ll need more. Plan your quilt design carefully, factoring in the number of shirts to make sure your layout fits your space and style preferences.
What Tools Are Necessary to Cut and Sew T-Shirts?
You’ll need sharp fabric scissors or rotary cutters for fabric cutting to guarantee clean, precise cuts on your T-shirts. A sewing machine with appropriate needles and threads simplifies sewing techniques, making stitching easier and more durable. Pins or clips help hold fabric pieces in place while you sew. Consider using a straight or zigzag stitch for seams, and a seam ripper for mistakes. These tools make building your memory quilt smoother and more enjoyable.
How Do I Preserve the T-Shirt Fabric Before Quilting?
Think of your t-shirts as treasured stories waiting to be preserved. To protect their memories, start with fabric preservation by gently washing them to remove stains and dirt. Use mild detergent and avoid harsh chemicals. Air dry your shirts flat to prevent stretching. This careful treatment keeps the fabric stable, ensuring your quilt will last, just like a well-preserved photo album holding memories for generations.
Can I Include Non-T-Shirt Fabrics in My Quilt?
Yes, you can include non-T-shirt fabrics in your quilt. Mixing fabric variety offers design flexibility and creates visual interest. Just make certain all fabrics are pre-washed and preserved properly to prevent shrinking or bleeding. Incorporate different textures and colors to enhance your quilt’s personal touch. This variety not only makes your memory quilt unique but also allows you to express your creative style while keeping everything durable and well-coordinated.
How Long Does It Typically Take to Complete a Memory Quilt?
It can take anywhere from a few days to several months to finish your memory quilt, depending on how intricate your quilt assembly and quilting techniques are. If you dedicate a weekend, you could have a simple quilt ready, but detailed stitching and hand quilting might stretch to months. Patience is key—this project’s a labor of love, and each stitch makes your memory quilt even more special!
Conclusion
As you finish your memory quilt, think of it as a patchwork of your life’s stories—each shirt a chapter, each stitch a treasured moment. Just like a garden blooms with care, your quilt blossoms with memories, warmth, and love. It becomes a comforting sanctuary, a tapestry of your journey. Whenever you wrap yourself in it, remember you’re holding onto the past, woven together in a beautiful, everlasting mosaic of who you are.