Setting up your recumbent bike correctly is key to protecting your knees and hips. Start by adjusting the seat height to allow full leg extension without locking your knees. Confirm the seat depth is right for maximum power transfer. Tilt the seat slightly back for lower back support, and select pedals that match your riding style. Don’t forget handlebar adjustments for a comfortable grip. These tweaks can make all the difference, and there’s more to discover on maintaining your setup.
Key Takeaways
- Adjust seat height to allow full leg extension while preventing knee locking for optimal alignment and reduced strain.
- Ensure seat depth is set to facilitate optimal power transfer without straining knees or causing difficulty reaching pedals.
- Tilt the seat slightly back and adjust the backrest angle to relieve lower back pressure and promote proper spine alignment.
- Choose appropriate pedals and footwear, ensuring good grip and support to enhance comfort and reduce joint strain during rides.
- Regularly check and maintain bike components, including tire pressure and brakes, to ensure smooth operation and prevent discomfort.

Exercise Bike Seat an Handle Height bar Adjustment Lever Replacement Parts for Peloton Spin Bike Adjuster Handle Adjustable Alloy L-Handle Accessories
Exercise Bike Height Adjustment Handle for Peloton seamlessly adjusts both seat and handlebar height. Compatible with your existing…
As an affiliate, we earn on qualifying purchases.
As an affiliate, we earn on qualifying purchases.
Why Proper Recumbent Bike Setup Matters
When you set up your recumbent bike properly, you not only enhance your comfort but also improve your overall riding experience. Proper setup guarantees your knee alignment is spot-on, which minimizes strain and reduces the risk of injury. When your knees are aligned correctly during pedaling, you’ll feel less discomfort and can ride longer. Additionally, considering hip flexibility is key. If your seat’s positioned too far back or forward, it can limit your range of motion, making pedaling feel awkward. A well-adjusted bike allows for a natural movement that supports both your knees and hips. Incorporating proper bike fitting into your routine can significantly improve your comfort and safety, especially when considering how proper recumbent bike setup can prevent common joint issues. Ensuring your bike is aligned correctly also helps maintain optimal joint health, reducing the likelihood of long-term discomfort. Paying attention to ergonomic positioning can further enhance your riding experience and protect your joints over time.

DRBIKE Stationary Bike Pedals with Adjustable Strap/Teo Clip – 1/2 Inch Spindle Bike Pedals for Stationary, Recumbent, Exerciser Bicycle, 1Pair, Black
Wear Resistance Strap – The pedals come with a pair adjustable rubber strap, allows you to custom the…
As an affiliate, we earn on qualifying purchases.
As an affiliate, we earn on qualifying purchases.
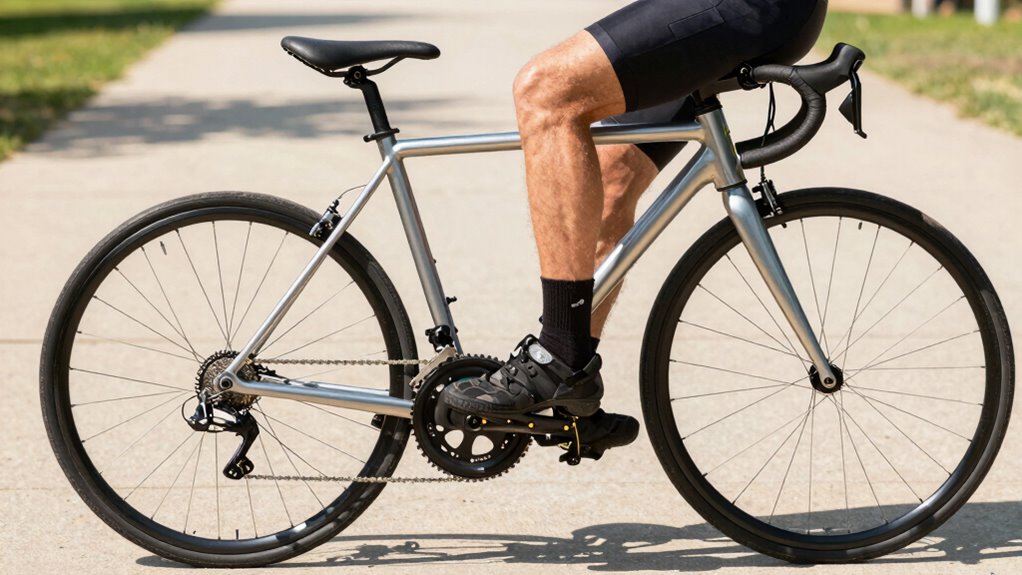
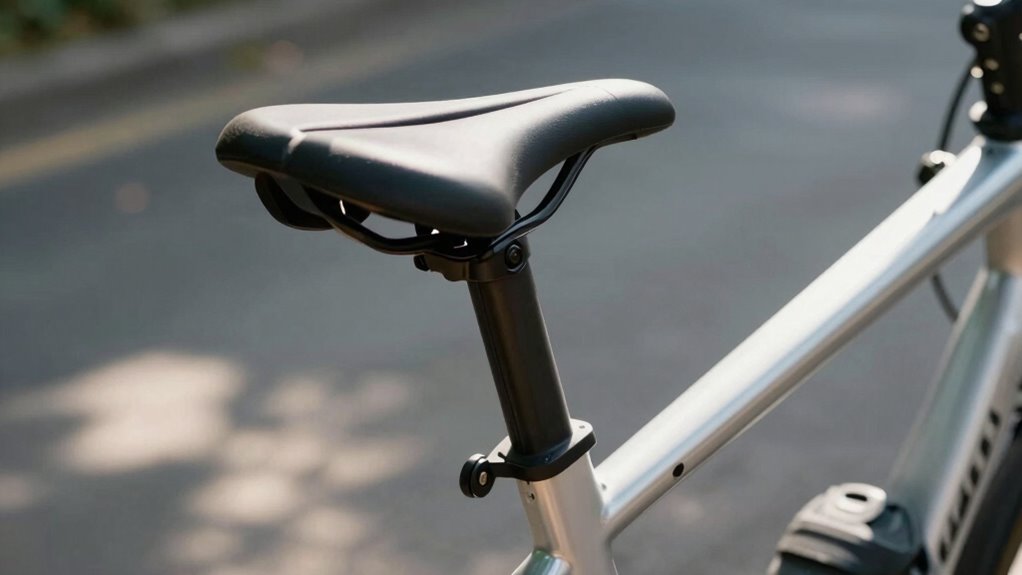
Adjusting Seat Height for Optimal Leg Position
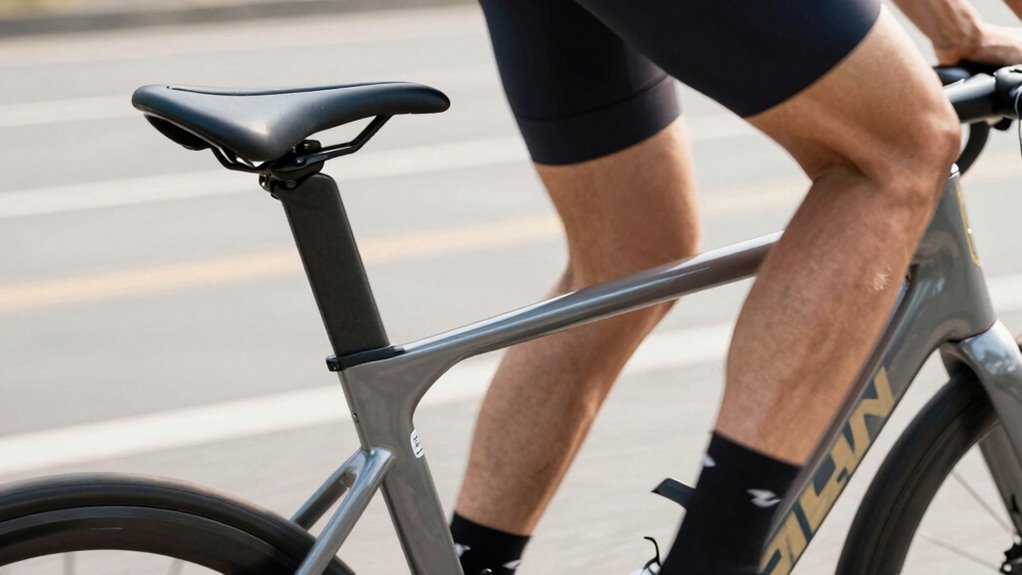
Getting the seat height just right is essential for your comfort and performance on a recumbent bike. You’ll want to find that ideal position where your legs extend fully without locking at the knee. Once you’ve nailed the height, adjusting the seat depth will help fine-tune your leg position even further.
Finding Ideal Seat Height
How do you find the ideal seat height on a recumbent bike for best leg position? Start by adjusting your seat so that your legs achieve a comfortable extension. You want a slight bend in your knee at the bottom of the pedal stroke, which helps protect your knees and hips.
Consider these tips for best setup:
- Your heel should touch the pedal while your leg is fully extended.
- The seat cushion should support your lower back, keeping you comfortable during longer rides.
- Adjust the height until your thighs are parallel to the ground when pedaling.
- Ensuring proper filtration/suction setup can also help maintain smooth operation and prevent discomfort during your ride.
- Additionally, understanding performance fundamentals can help you optimize your bike’s setup for comfort and efficiency.
- Remember that proper ergonomic positioning not only enhances comfort but also reduces the risk of injury over time.
This guarantees effective leg extension, giving you a smooth ride without discomfort.
Adjusting Seat Depth Correctly
To guarantee you achieve ideal leg position on your recumbent bike, adjusting the seat depth is essential. Proper seat adjustment techniques can considerably enhance comfort and performance while minimizing strain on your knees and hips.
Here’s a quick guide to help you:
| Seat Depth Adjustment | Leg Position | Ergonomic Considerations |
|---|---|---|
| Too Shallow | Legs extended but bent | Risk of knee strain |
| Just Right | Legs fully extended | Optimal power transfer |
| Too Deep | Difficulty reaching pedals | Strain on hips and lower back |

kowaku Recumbent Exercise Bike Backrest Stationary Bike Back Support Comfortable Ventilated Sturdy Breathable Mesh for Gym Equipment
【Versatile】Great for recumbent exercise bikes and also suitable as a back support for office chairs, meeting various needs…
As an affiliate, we earn on qualifying purchases.
As an affiliate, we earn on qualifying purchases.
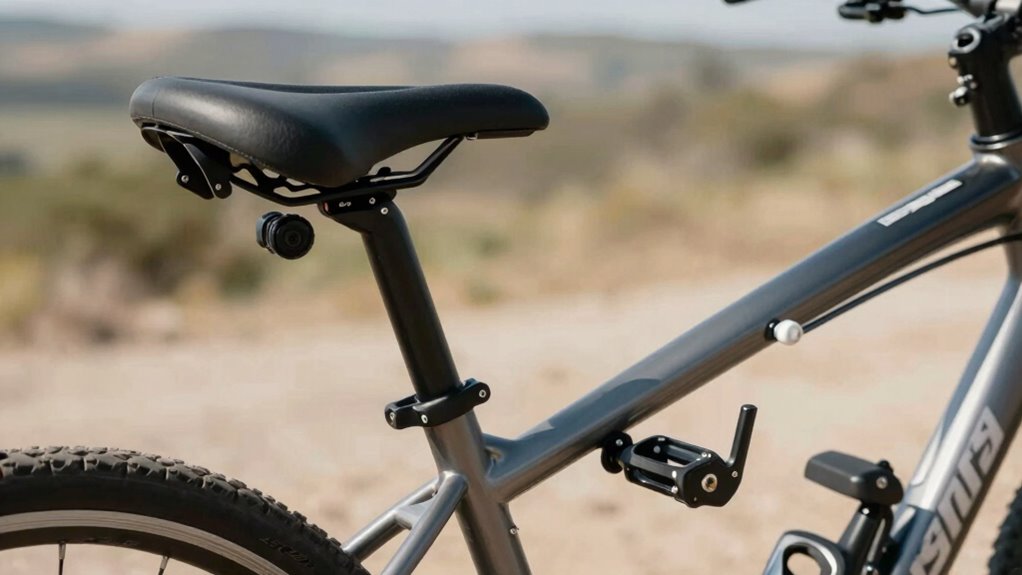
How to Set Your Recumbent Bike Seat Angle for Comfort
Have you ever wondered what makes a recumbent bike truly comfortable? One essential factor is the seat angle. Properly adjusting the seat tilt and backrest angle can greatly enhance your riding experience. Incorporating ergonomic design principles can help optimize your seating setup for better comfort and injury prevention. To find your ideal setup, consider these tips:
The comfort of a recumbent bike hinges on the perfect seat angle—adjusting tilt and backrest can transform your ride.
- Tilt the seat slightly back to relieve pressure on your lower back.
- Adjust the backrest angle to support your spine, allowing you to maintain a relaxed posture.
- Experiment with various positions until you find the proper airflow that feels just right.
- Understanding how microplastics in dust can impact indoor air quality is also important, especially if you ride indoors frequently, as it can influence your overall health and comfort during extended use.
- Remember that maintaining a balanced riding posture can also help prevent strain and ensure a more comfortable experience over time.
- Additionally, regularly checking your bike’s seat adjustment can ensure ongoing comfort and prevent repetitive strain injuries.

Joint Angle Measurement Tool for Cycling Fitting – Pro Bike Posture Optimizer for Knee & Elbow Alignment – Lightweight Protractor for Cyclists – Improve Riding Ergonomics & Reduce Injuries
Optimize Cycling Posture: Achieve perfect knee and elbow angles with the joint angle measurement tool, designed for professional…
As an affiliate, we earn on qualifying purchases.
As an affiliate, we earn on qualifying purchases.
Adjusting Crank Arm Position to Alleviate Knee Strain
Adjusting the crank arm position can significantly reduce knee strain, especially if you’ve been experiencing discomfort during rides. The right crank arm length and proper pedal alignment are essential for ideal comfort and efficiency. Start by evaluating your current setup and making small adjustments.
Here’s a quick reference table to guide you:
| Crank Arm Length | Pedal Alignment | Knee Strain Level |
|---|---|---|
| 152 mm | Neutral | Low |
| 165 mm | Slightly Off | Moderate |
| 175 mm | Misaligned | High |
| 180 mm | Perfect | Minimal |
Choosing the Right Pedals for Your Comfort
When you’re setting up your recumbent bike, choosing the right pedals can make a big difference in your comfort. You’ll want to contemplate various pedal types, adjust their position to fit your needs, and select the right footwear to enhance your experience. Let’s explore how these factors can help you ride more comfortably.
Pedal Types Explained
Choosing the right pedals is crucial for maximizing your comfort on a recumbent bike. The right choice not only enhances pedal efficiency but also guarantees pedal compatibility with your cycling style. Here are some pedal types to take into account:
- Platform Pedals: Wide surfaces provide stability and ease of use, perfect for casual rides.
- Clipless Pedals: Secure your feet for better power transfer, ideal for longer distances.
- Toe Clips: Offer a middle ground, allowing for some foot security without full commitment.
Selecting the pedals that fit your needs can greatly impact your riding experience. By prioritizing comfort and efficiency, you’ll enjoy a smoother, pain-free ride while protecting your knees and hips. Using anti-fatigue mats at your workspace can also help reduce fatigue and improve overall comfort during long rides or extended periods of cycling. Incorporating ergonomic standing desk gear can further support joint health and prevent discomfort during extended cycling sessions. Additionally, understanding proper bike setup and pedal adjustments can contribute significantly to joint protection and overall riding comfort. Being aware of the science behind recumbent ergonomics can help you make more informed decisions about your setup and safety. Proper bike fit and ergonomic considerations play a vital role in preventing strain and ensuring a comfortable ride.
Adjusting Pedal Position
Finding the right pedal position can greatly enhance your comfort on a recumbent bike. Start by ensuring proper pedal alignment; this means setting your pedals at a height and distance that allows for a smooth pedal stroke without straining your knees or hips. Adjust the crank length if needed, as shorter cranks can help reduce knee stress. Experiment with different angles to find what feels most natural for you; your knees should track over your toes during the pedal stroke. Don’t hesitate to make small tweaks until you find the ideal pedal setup. A well-adjusted pedal position not only improves your efficiency but also makes your rides more enjoyable, keeping discomfort at bay while you pedal away. Proper alignment is essential for preventing joint strain and ensuring a comfortable ride, especially considering the importance of joint health in maintaining mobility and reducing injury risk. Additionally, paying attention to ergonomic adjustments can further optimize your riding experience and protect your knees and hips from unnecessary strain. Incorporating regular assessments of your bike fit can help maintain proper joint function over time.
Selecting Footwear Options
After you’ve adjusted your pedal position for ideal comfort, selecting the right footwear becomes the next important step. The right shoes can enhance your ride, providing the support and grip you need. Look for options that incorporate:
- Breathable designs to keep your feet cool
- Arch support for better weight distribution and comfort
- Grip features that help keep your foot secure on the pedal
Don’t forget to take into account seasonal choices like cycling socks, which can improve fit adjustment and moisture control. Opt for shoe materials that balance durability and flexibility, allowing for a comfortable ride. Proper indoor air quality and humidity control can also contribute to overall comfort during your rides by reducing foot sweat and discomfort. Using the right pedals can further optimize your setup and protect your knees and hips while enjoying your recumbent bike adventures!
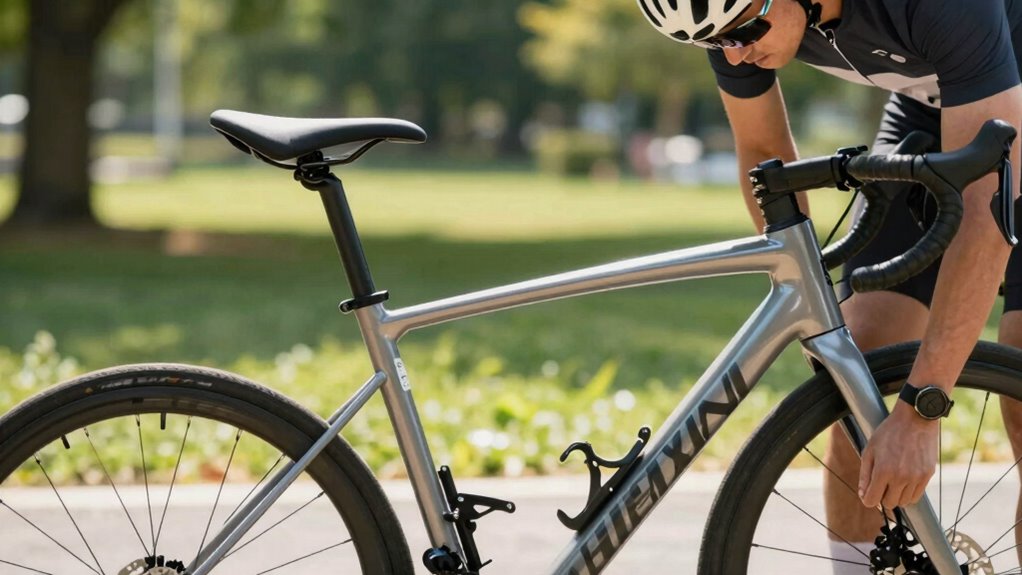
How to Adjust Your Handlebars for a Comfortable Ride
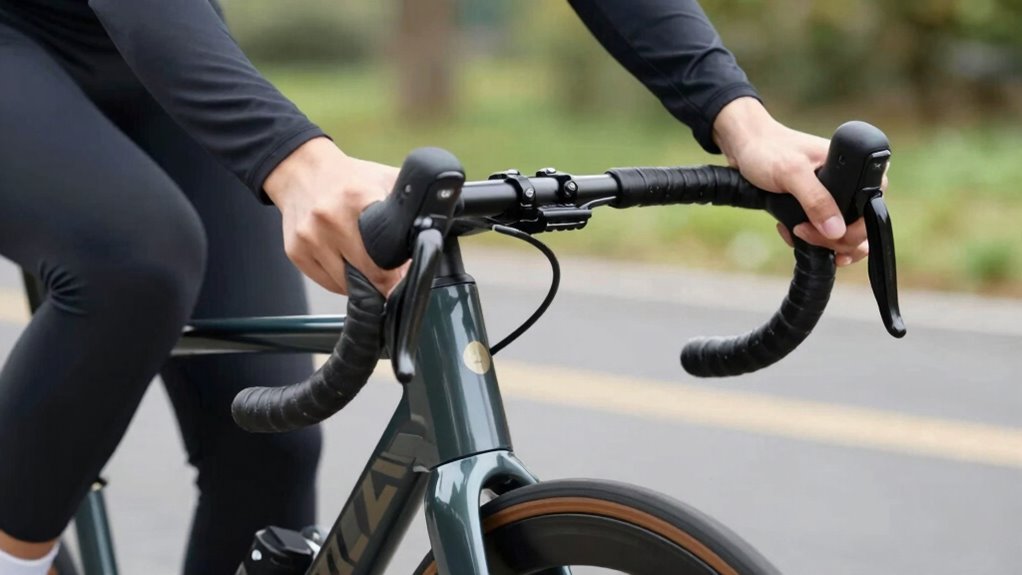
To guarantee a comfortable ride on your recumbent bike, adjusting your handlebars is essential. Proper handlebar height and angle can greatly improve your ergonomic positioning. Start by setting the height so your elbows remain slightly bent; this minimizes strain on your shoulders. Next, adjust the angle to make sure your wrists are in a natural position.
Here’s a quick reference table for comfort adjustments:
| Adjustment Type | Recommended Positioning | Effect on Comfort |
|---|---|---|
| Handlebar Height | Elbows slightly bent | Reduces shoulder strain |
| Handlebar Angle | Neutral wrist position | Eases wrist discomfort |
| Overall Positioning | Relaxed grip | Enhances overall comfort |
Make these tweaks to enjoy a smoother, pain-free ride!
Selecting Supportive Footwear for Cycling

When you choose supportive footwear for cycling, it’s essential to prioritize comfort and stability. The right shoes can make a significant difference in your ride. Look for options that use high-quality cycling materials, ensuring breathability and durability. You’ll want shoes that offer a good balance of flexibility for natural movement while still providing enough support to keep your feet secure.
Choosing the right cycling shoes is crucial for comfort, stability, and optimal performance on your ride.
- A snug fit that prevents slipping
- Stiff soles for better power transfer
- Lightweight construction for less fatigue
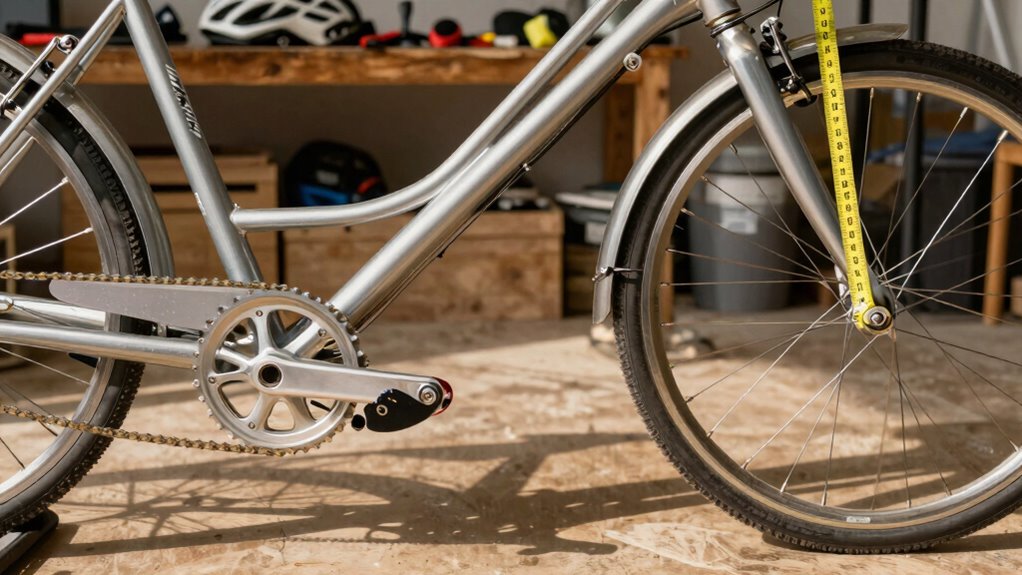
Regular Maintenance Tips to Prevent Discomfort

While you might focus on your riding technique and gear, regular maintenance of your recumbent bike is crucial for preventing discomfort during rides. Incorporating preventative care into your routine can save you from aches and pains. Here are some key maintenance tips to remember:
| Task | Frequency | Purpose |
|---|---|---|
| Tire Pressure Check | Weekly | Guarantees smooth rides |
| Chain Lubrication | Monthly | Reduces friction and noise |
| Brake Inspection | Every 3 months | Ensures safety and comfort |
Performing these routine inspections helps maintain peak performance and comfort. By staying on top of these tasks, you’ll enjoy more pleasant rides and protect your knees and hips.
Frequently Asked Questions
How Often Should I Adjust My Bike Setup?
You should adjust your bike setup regularly, ideally every few months or whenever you notice discomfort. Consistent bike maintenance is key to ensuring a comfortable ride. If you’re changing your riding style or experiencing pain, tweak your setup more frequently. Pay attention to your body’s signals; they’ll guide you on when adjustments are needed. Keeping your bike optimized not only improves performance but also protects your knees and hips in the long run.
What Are Common Signs of Improper Bike Setup?
If you’re feeling like you’re riding a bucking bronco, it might be time to check your bike setup. Common signs of improper setup include discomfort in your knees or hips, which often indicates incorrect saddle height. You might also notice your feet straining during rides, hinting at poor pedal alignment. Trust your body; if something feels off, it probably is. Adjustments can make all the difference in your riding experience!
Can Recumbent Bikes Help With Existing Knee Pain?
Yes, recumbent bikes can help with existing knee pain. Their design promotes better joint mobility, reducing strain on your knees. By adjusting the seat position and pedals, you can enhance comfort and support during your workouts. This setup encourages a more natural pedaling motion, which aids in pain management. Remember, it’s essential to start slowly and listen to your body, ensuring you’re not pushing yourself too hard while cycling.
How Do I Choose the Right Bike for My Height?
To choose the right bike for your height, focus on the frame size and seat position. Make certain the bike’s frame fits your leg length, allowing you to reach the pedals comfortably. Adjust the seat position so your knees align well over the pedals when you cycle. A proper fit guarantees a more enjoyable ride and helps prevent discomfort. Test different models to find the perfect combination that suits your needs.
Are There Specific Stretches to Prevent Discomfort While Cycling?
Yes, there are specific stretches you can do to prevent discomfort while cycling. Focus on dynamic stretching before your ride; it warms up your muscles and improves performance. Incorporate hip mobility exercises like leg swings and hip circles to enhance flexibility and reduce tightness. After cycling, static stretches targeting your hips, hamstrings, and quadriceps will help ease tension. By regularly incorporating these stretches, you’ll enjoy a more comfortable cycling experience.
Conclusion
When it comes to riding recumbent bikes, “an ounce of prevention is worth a pound of cure.” By making these setup tweaks, you can protect your knees and hips while enjoying a comfortable ride. Remember, a little adjustment can go a long way in preventing discomfort and enhancing your cycling experience. So, invest some time in fine-tuning your bike, and you’ll be pedaling pain-free in no time!