
To create a no-threshold shower, start by selecting slip-resistant, easy-clean materials like textured tiles and plan a seamless, level entry. Prepare the space by leveling the floor and installing a waterproof membrane. Choose a low-profile drain that’s flush with the floor for a seamless look. Waterproof and tile the area with large-format tiles for minimal grout lines. Finish with proper sealing and a thorough inspection—keep going to discover all the essential steps involved.
Key Takeaways
- Design a level, seamless entry by eliminating curb or step, ensuring smooth transition from bathroom floor to shower.
- Prepare a flat, waterproof subfloor with proper slope toward the drain for effective water drainage.
- Install a low-profile, flush-mount drain system at the lowest point to maintain a sleek, threshold-free surface.
- Waterproof the entire shower area, including walls and floor, with a high-quality membrane and seal all seams thoroughly.
- Tile the shower with large-format tiles and maintain a slight slope toward the drain for a clean, seamless appearance.
Planning and Designing Your No-Threshold Shower
When planning and designing your no-threshold shower, ensuring accessibility and functionality from the start is essential. Choose shower materials that are durable, slip-resistant, and easy to clean, such as textured tiles or solid surface panels. Consider design considerations like a seamless, level entry that eliminates tripping hazards while maintaining a sleek appearance. Think about the shower’s size and layout to maximize space and ease of movement. Incorporate features like built-in grab bars or niches for added convenience. Pay attention to grout colors and textures to prevent slipping and make cleaning easier. Your goal is to create a safe, functional, and visually appealing space that meets your needs without compromising style or comfort. Proper planning now will simplify installation and future use. Additionally, selecting energy-efficient and low-maintenance fixtures can enhance the overall sustainability of your modern bathroom design.
Preparing the Shower Space and Base
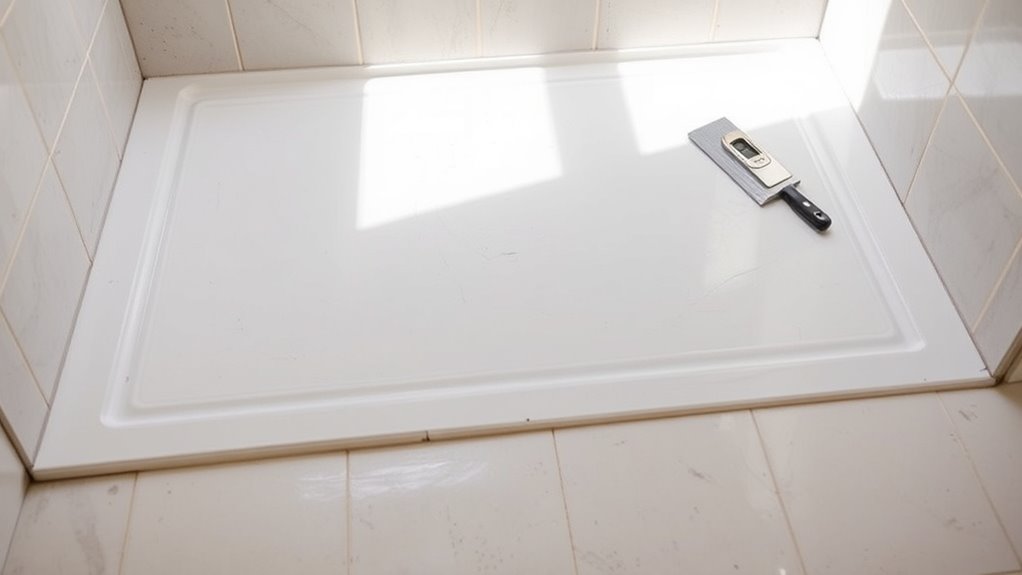
Before installing your no-threshold shower, it’s essential to properly prepare the space and base to guarantee safety and durability. Start by leveling the floor, ensuring a solid, even surface that prevents leaks and wobbling. Consider curb alternatives like a linear drain or flush-mount base to maintain accessibility and a seamless look. These options eliminate traditional curbs, making entry easier and enhancing safety. Choose suitable shower enclosure options that complement your design, whether frameless glass or open-concept panels. Make sure the base material is waterproof and slip-resistant to prevent accidents. Proper preparation includes sealing the subfloor and installing a sturdy, waterproof membrane. Incorporating snacks such as Marinated Olives and Feta can inspire a welcoming atmosphere during the installation process. This groundwork sets the stage for a durable, accessible, and visually appealing no-threshold shower.
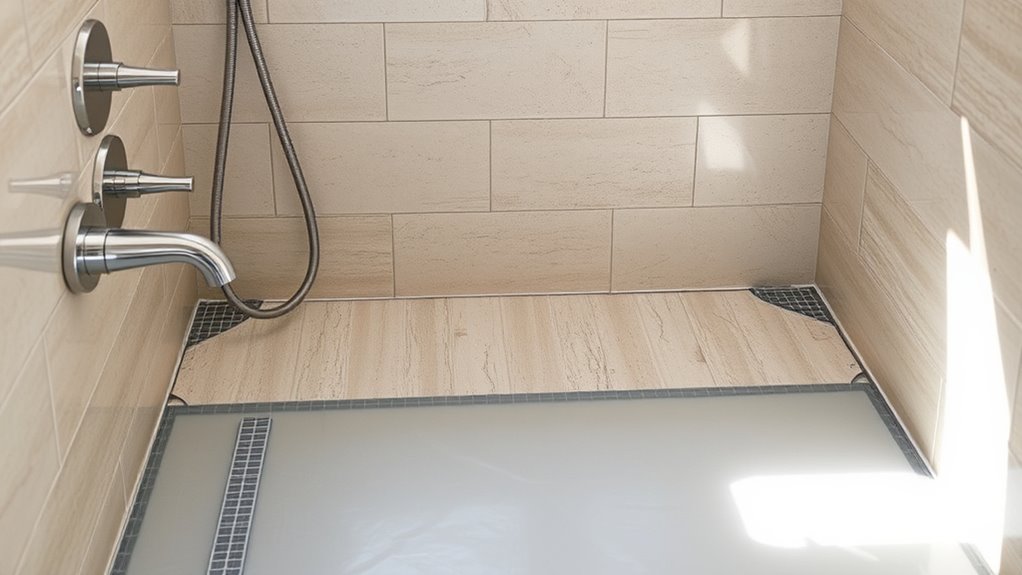
Installing the Drain System for a Seamless Look
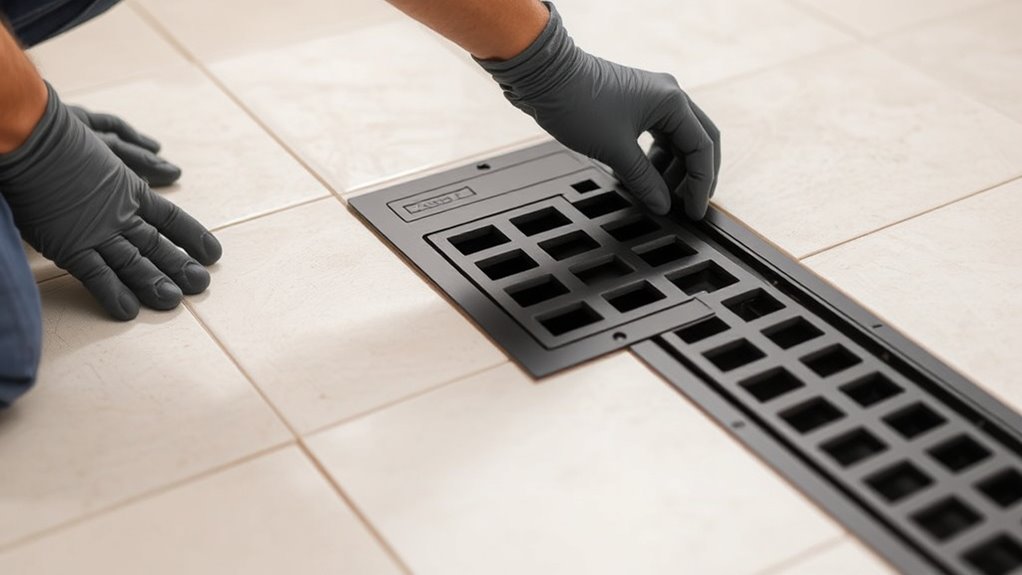
To achieve a seamless look in your no-threshold shower, focus on installing the drain system correctly. Start by choosing a low-profile drain that blends with your shower base, ensuring water drains efficiently. Proper placement is key—position the drain at the lowest point for ideal water drainage. Secure the drain securely to prevent leaks and guarantee stability. To enhance safety, select a drain cover with slip resistance, reducing the risk of slips and falls. During installation, double-check that the drain flange is flush with the shower surface for a smooth, seamless finish. A well-installed drain not only improves the shower’s aesthetics but also assures effective water drainage and safety underfoot. Additionally, understanding the importance of contrast ratio can help in selecting a projector with optimal image quality for your home cinema setup.
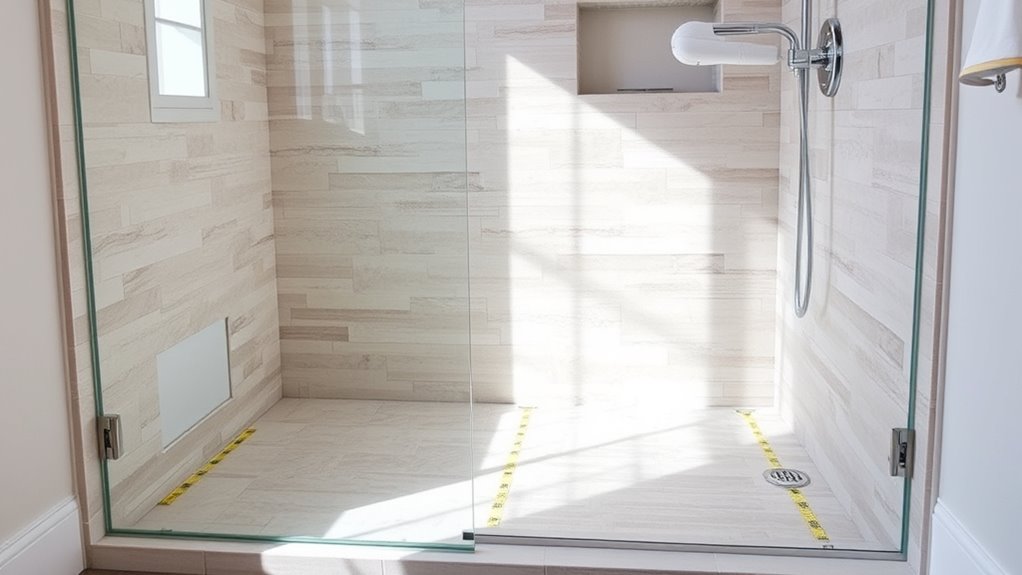
Waterproofing and Tiling the Shower Area
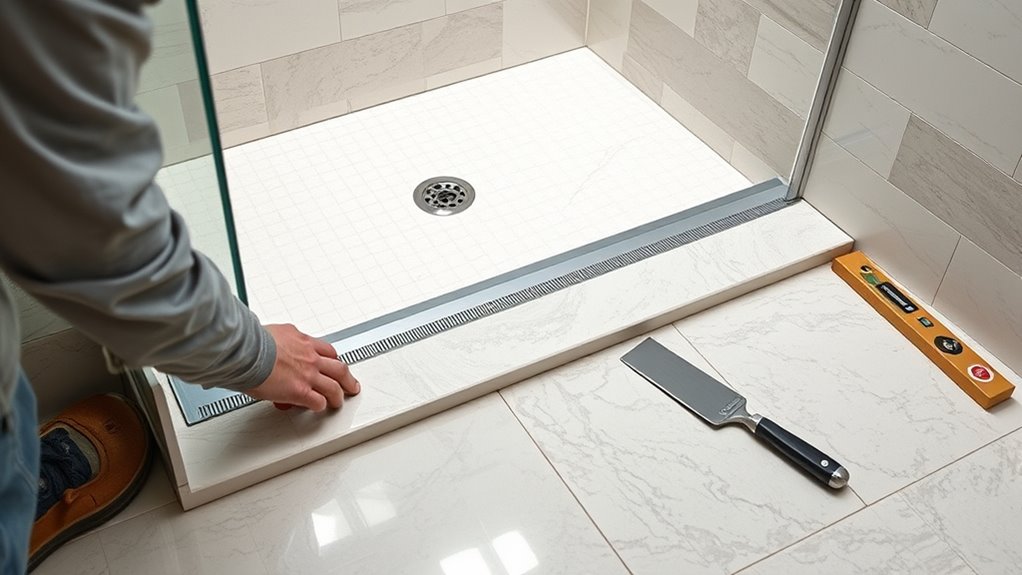
Proper waterproofing and tiling are essential steps to guarantee your no-threshold shower remains leak-free and durable. To achieve a seamless connection in your curbless entry, apply a high-quality waterproof membrane over the entire area, including the floor and walls. Carefully seal corners and seams to prevent water infiltration. When tiling, start from the drain and work outward, ensuring the tiles slope slightly toward the drain for proper drainage. Use a level frequently to maintain a flat surface. Consider using large-format tiles for fewer grout lines, enhancing the seamless look. Here’s a quick guide:
| Step | Material/Tool | Tip |
|---|---|---|
| Waterproofing | Waterproof membrane | Cover all surfaces evenly |
| Tiling | Tile adhesive, tiles | Maintain slight slope |
| Sealing | Grout, sealant | Seal edges thoroughly |
Additionally, selecting appropriate tile materials that are resistant to water and mold can further increase the longevity of your shower.
Finishing Touches and Final Inspection
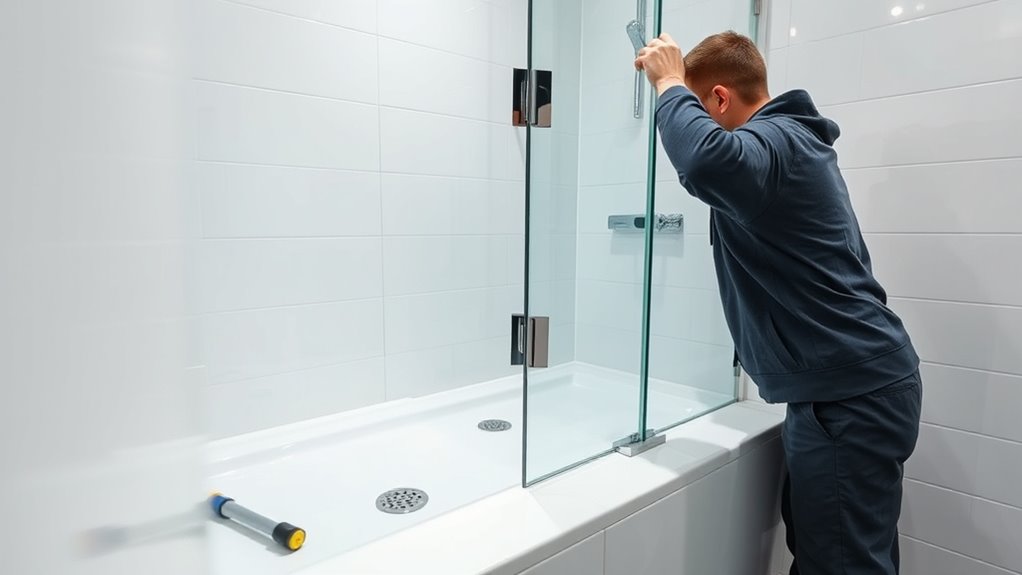
Once you’ve completed the waterproofing and tiling, it’s time to focus on finishing touches and a thorough final inspection. Start by sealing your grout to prevent moisture penetration; use a high-quality grout sealer and apply it evenly across all joints. Next, ensure fixture placement is correct—check that your showerhead, controls, and any accessories are securely installed and properly aligned. Confirm that all fixtures function correctly and don’t leak. Inspect the entire shower area for any missed spots, loose tiles, or gaps. Clean the surfaces to remove any residual grout or adhesive. Finally, run water through the shower to verify no leaks or issues. Address any problems immediately to guarantee your no-threshold shower is both safe and durable. Additionally, consider trust issues that may arise during installation or use, and address them proactively to ensure a smooth and secure experience.
Frequently Asked Questions
What Are the Common Mistakes to Avoid During Installation?
When installing a no-threshold shower, you should watch out for common errors that can lead to leaks or poor performance. Avoid installation pitfalls like improper sealing, incorrect slope, or misaligned panels. Make certain you follow the manufacturer’s instructions carefully, double-check measurements, and use quality materials. Skipping steps or rushing can cause issues later, so take your time and verify each part is correctly installed to prevent future problems.
How Do I Ensure ADA Compliance With a No-Threshold Shower?
To guarantee ADA compliance with a no-threshold shower, prioritize slip resistance, accessibility, and safety. You should install grab bars, ensure the floor is slip-resistant, and keep the entry wide and unobstructed. Make sure the shower controls are reachable and easy to use, and verify that the slope directs water correctly without creating tripping hazards. By focusing on slip resistance, accessibility, and safety, you create a compliant and user-friendly shower space.
What Maintenance Routines Are Recommended for Longevity?
To guarantee longevity, you should regularly inspect your no-threshold shower. Start with sealant application, checking for cracks or gaps and reapplying as needed to prevent leaks. Verify the slope to ensure proper drainage, avoiding water pooling that can cause damage. Clean the surfaces frequently with non-abrasive cleaners, and keep drains clear. Consistent maintenance helps maintain ADA compliance and prolongs the shower’s lifespan.
Can I Convert an Existing Shower Into a No-Threshold Design?
Yes, you can convert your existing shower into a no-threshold design by removing the threshold during a shower conversion. Start by evaluating your current setup, then carefully cut and remove the threshold, ensuring the floor slopes properly for drainage. You might need to adjust the pan and waterproofing to prevent leaks. This modification creates a barrier-free entry, making your shower more accessible and modern.
What Tools and Materials Are Essential for the Project?
For your project, you’ll need essential tools like a utility knife, trowel, level, and a drill. Materials include a durable shower pan, waterproof membrane, and sealant. The shower pan forms the base, while the waterproof membrane guarantees water doesn’t leak. Make sure to have proper adhesive and fasteners. These tools and materials will help you create a seamless, no-threshold shower that’s both functional and stylish.
Conclusion
Now that you’ve completed your no-threshold shower, enjoy the seamless look and easy access it offers every day. As you step in, remember how each careful step—from planning to finishing—brought your vision to life. It’s no coincidence that a well-designed shower not only enhances your bathroom’s style but also adds comfort and safety. So, take a moment to appreciate your work—your perfect, threshold-free shower is ready to make every shower feel special.