
If you find yourself constantly bending or reaching awkwardly, or if tasks like chopping cause strain, it’s a sign your countertops might need lowering. Adjust the height based on your own measurements, considering countertop thickness and daily activities. Use the right tools and follow proper steps for safe modification, avoiding common mistakes. Keep exploring to learn how to accurately and safely make these adjustments for comfort and safety.
Key Takeaways
- Lower your countertop when it causes ergonomic strain or tasks like chopping become uncomfortable.
- Measure current height and consider user needs to determine the optimal reduction amount.
- Use appropriate tools, like a circular saw with the right blade, for precise and safe cutting.
- Remove fixtures, mark carefully, and adjust cabinetry to ensure level and stable results.
- Avoid rushing, neglecting safety, or skipping measurements to prevent uneven or unsafe modifications.
Recognizing When Lowering Is Necessary

Recognizing when lowering your countertops is necessary can considerably improve your kitchen’s functionality and comfort. If you find yourself constantly bending or reaching awkwardly, it’s a sign that your current height may not suit your needs. Consider your countertop materials; some materials, like granite or quartz, can be heavy, making adjustments more complex but often worthwhile. Aesthetic considerations also come into play—if your countertops look disproportionate or clash with other design elements, lowering them might create a more balanced appearance. Pay attention to how you use your space; if tasks like chopping or prep work strain your posture, a lower height could reduce fatigue. Additionally, understanding the ideal countertop height can help guide your adjustments for optimal comfort and functionality. Ultimately, understanding these signs will help you decide whether a countertop adjustment is necessary for both comfort and style.
Determining the Optimal Reduction Height
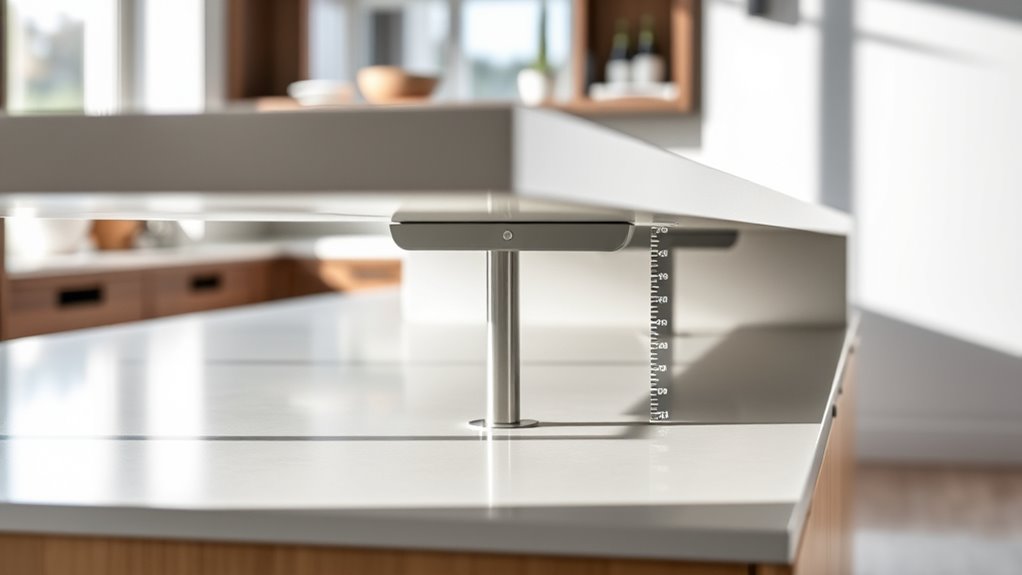
To determine the most suitable reduction height for your countertops, start by measuring your current working surface and considering your specific needs. Take into account the countertop materials, as different surfaces may have varying thicknesses that influence ideal height adjustments. Think about your daily tasks—if you often chop or prepare food, a lower height might improve ergonomic benefits by reducing strain on your back and shoulders. If your household includes children or shorter individuals, adjusting the height accordingly can enhance comfort and accessibility. Remember, the goal is to find a balance between functionality and comfort. Carefully evaluating these factors ensures you set a reduction height that maximizes ergonomic benefits while maintaining the integrity of your chosen countertop materials. Additionally, understanding symptoms of breast cancer can promote early detection and improve overall health outcomes.
Tools and Techniques for Lowering Countertops

Lowering your countertops requires the right tools and techniques to make a clean, precise cut without damaging the material. Start with a circular saw or a fine-tooth saw, depending on your countertop material—granite, laminate, or wood. Use a straightedge guide to guarantee accuracy. For thicker or more delicate materials, a diamond blade or specialized blade may be necessary. Before cutting, measure carefully and mark your cut line clearly. When performing cabinet modifications, confirm the cabinets are securely supported and remove any obstructing hardware. Always wear safety gear, like goggles and gloves. For best results, cut slowly and steadily, maintaining control throughout. Proper tools and technique prevent damage and ensure a smooth transition when lowering your countertops. Additionally, understanding the material type can help you select the most appropriate cutting blade and technique.
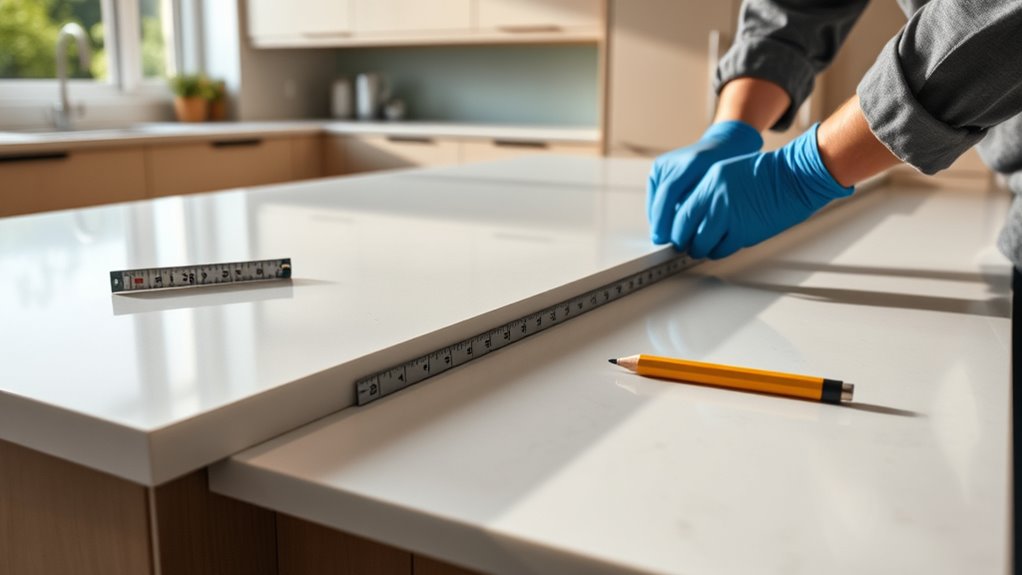
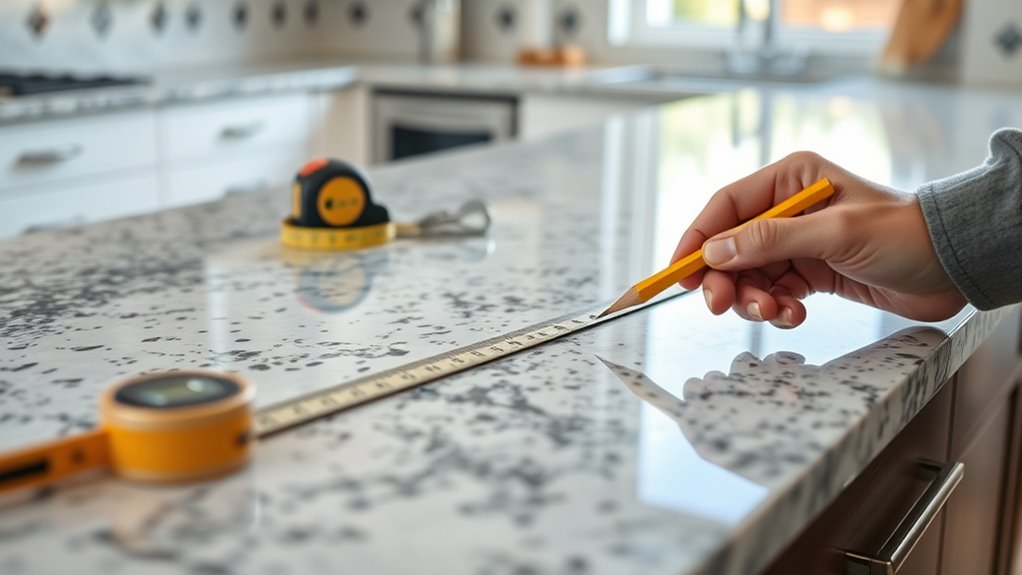
Step-by-Step Process for Safe Adjustment

Begin by carefully measuring and marking the specific area where you want to modify your countertop. This ensures precision and minimizes errors during cabinet modifications. Next, follow these steps:
- Remove any fixtures or appliances attached to the countertop, protecting the countertop materials.
- Use appropriate tools to carefully cut or sand the countertop at your marked lines, considering the rigidity of your material.
- Adjust the cabinet height by either raising or lowering the base cabinets, depending on the measurements.
- Reattach the countertop securely, checking for levelness and stability to ensure safe use.
- Incorporate shower fixtures if updating bathroom elements to enhance functionality and style.
Always double-check your measurements before making cuts. Carefully handling each step preserves your countertop’s integrity and ensures a safe, professional-looking adjustment.
Common Mistakes to Avoid During Modification
Mistakes during countertop modification can lead to costly repairs or safety hazards, so maintaining vigilance is vital. One common diy pitfall is rushing the process without proper measurements, which results in uneven or ill-fitting countertops. Always double-check your measurements before cutting or altering the material. Neglecting safety precautions can cause injuries; wear protective gear like goggles and gloves, and use tools correctly. Avoid skipping a plan—know exactly how much to lower the countertop and mark your cuts precisely. Ignoring structural support considerations can weaken the entire setup. Also, don’t underestimate the importance of testing fit and stability before final installation. Staying attentive to these details helps you avoid costly mistakes and ensures a safe, successful modification. Additionally, understanding AI detection methods can be helpful if you use digital tools or software during your planning process.
Frequently Asked Questions
Can I Lower My Countertops Without Professional Help?
You can try DIY adjustments to lower your countertops if you’re comfortable with basic carpentry. First, assess the material considerations, like granite or laminate, as some materials are harder to cut or modify. You’ll need proper tools and safety measures. Keep in mind, small adjustments might be manageable, but significant lowering may require professional help to avoid damaging your countertops or cabinetry. Always plan carefully before starting any modifications.
How Long Does the Lowering Process Usually Take?
The lowering process typically takes a few hours to a full day, depending on your skill level and project complexity. You need to consider countertop durability and material compatibility to ensure a smooth modification. If you’re comfortable with DIY tasks, you might finish faster, but if not, it’s wise to allocate extra time or consult a professional. Proper preparation helps prevent damage and guarantees your countertops stay sturdy and functional.
Will Lowering the Countertops Affect Plumbing or Electrical Hookups?
Sure, lowering your countertops sounds simple, but it’s not just about aesthetics. You’ll need to weigh countertop structural considerations and electrical safety regulations. Plumbing or electrical hookups might get affected, so you should plan carefully. Sometimes, it’s like a puzzle—move a pipe here, an outlet there. Yes, it’s extra work, but ignoring these factors could lead to costly fixes later. Better to get it right the first time!
Are There Specific Materials Better Suited for Lowering Modifications?
When considering countertop modifications, you should focus on materials that offer flexibility and durability. Quartz, granite, and laminate countertops are well-suited for lowering adjustments because they withstand cutting and reshaping. These materials also provide good modification suitability, ensuring your new, lowered countertops remain sturdy and attractive. Always consult a professional to determine the best materials for your project, especially if you plan to make significant modifications.
How Do I Ensure the New Height Matches Existing Cabinetry?
They say, “measure twice, cut once,” and that’s especially true here. To guarantee your new countertop height matches existing cabinetry, measure the current height carefully and note it. Use a level to verify the alignment across the space. When installing, double-check your measurements before securing the countertop. Proper countertop matching and cabinetry alignment depend on precise measurements and attentive installation, ensuring a seamless look that feels just right.
Conclusion
By being mindful of measurements and methodically managing modifications, you’ll master the art of lowering countertops confidently. Carefully consider your needs, choose the right tools, and follow proper procedures to prevent pitfalls. Patience and precision pave the path to a perfect fit, fostering a flawless finish. With focus and finesse, you’ll forge a functional, fabulous space that feels just right—fitting your form and flair with finesse.