Installing a smart thermostat is a great way to boost your home’s energy efficiency and convenience. First, choose a compatible model with features like Wi-Fi and scheduling that fit your needs, then gather the necessary tools and guarantee safety precautions. Turn off your system, replace your old thermostat, and connect the wires carefully. After mounting, connect your device to Wi-Fi, and set up the app for maximum use. To learn more about each step, keep exploring the basics of installation.
Key Takeaways
- Choose a compatible smart thermostat based on your home’s system and desired features.
- Turn off power and carefully remove the old thermostat, labeling wires for proper reconnection.
- Mount the new base plate securely and connect wires tightly following manufacturer instructions.
- Connect the thermostat to Wi-Fi via the app and configure settings, schedules, and preferences.
- Regularly update software, check sensor placement, and maintain your system for optimal performance.
Understanding the Benefits of a Smart Thermostat
A smart thermostat offers more than just temperature control; it can save you money and enhance comfort. One key benefit is improved energy efficiency, which helps reduce your utility bills by optimizing heating and cooling schedules. You won’t need to manually adjust settings constantly—your smart thermostat learns your habits and adjusts accordingly. With remote control capabilities, you can change the temperature from anywhere using your smartphone or tablet, ensuring your home is always comfortable when you arrive. This flexibility means you won’t waste energy when you’re away or asleep. Additionally, color accuracy plays a role in providing clear display interfaces, making it easier to read and adjust settings. Overall, a smart thermostat empowers you to manage your home’s climate smarter, saving money and increasing convenience without sacrificing comfort.
Selecting the Right Model for Your Home
Choosing the right smart thermostat model begins with evaluating your home’s heating and cooling needs. Consider the size of your space, existing system compatibility, and your desired features. Look for models with essential features like Wi-Fi connectivity, scheduling, and energy reports that suit your lifestyle. It’s also important to research brand reputation, as established brands often provide better reliability, customer support, and updates. Some brands focus on advanced learning algorithms, while others emphasize user-friendly interfaces. Compare different models to see which offer the features you need at a reasonable price. Reading reviews and consulting trusted sources can help you identify a model that fits your budget and preferences. Selecting a model with reputable brand backing guarantees long-term satisfaction and easier troubleshooting down the line. Additionally, considering Kia Tuning options can inspire innovative ways to customize and optimize your home’s climate control systems.
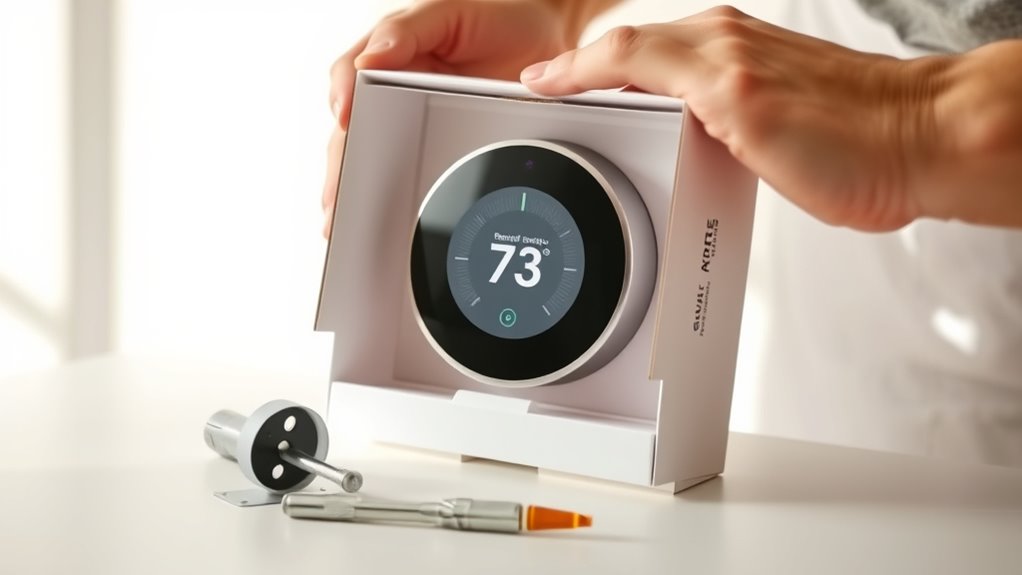
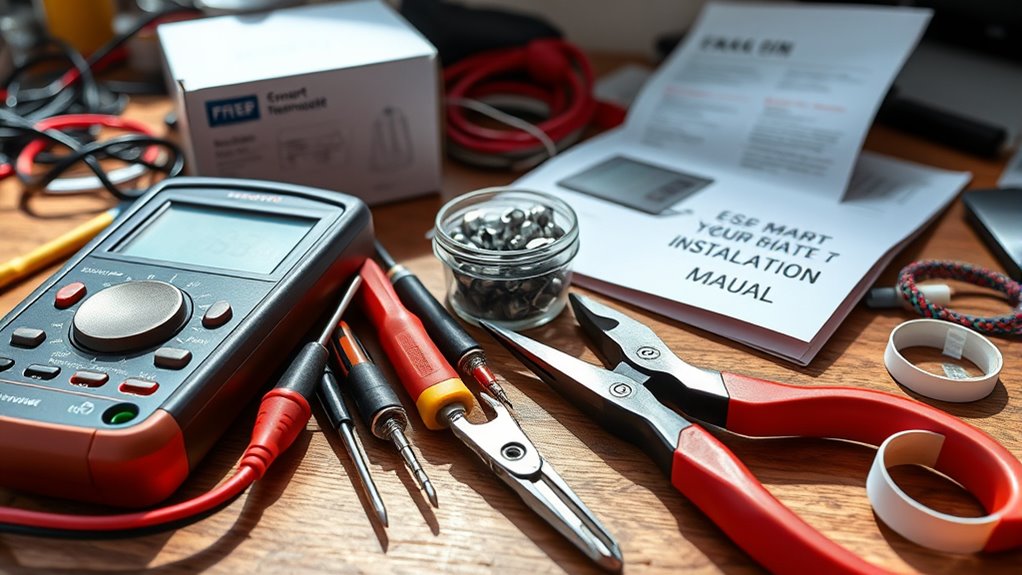
Gathering the Necessary Tools and Materials
Before you start installing your smart thermostat, make sure you have all the necessary tools and materials on hand. Check off your essential tool checklist, verify your materials are compatible with your system, and gather safety equipment like gloves and eye protection. Being prepared will help your installation go smoothly and safely. Additionally, reviewing grocery savings strategies can help you allocate funds for any additional tools or supplies you might need.
Essential Tool Checklist
To guarantee a smooth installation process, gathering all the necessary tools and materials beforehand is essential. You’ll need items that assure proper wiring, secure mounting, and reliable wireless connectivity to access user interfaces seamlessly. Having these tools ready prevents delays and mishaps during installation. Incorporating sound healing science insights can also help create a calming environment during setup. Make sure your device’s wireless connectivity is stable so you can easily configure settings and access user interfaces. Having these tools on hand will streamline your installation, making it quick and efficient. Double-check your supplies before starting to avoid interruptions and ensure your smart thermostat functions correctly.
Compatible Material Selection
Have you gathered the right materials to guarantee your smart thermostat installation goes smoothly? Ensuring wireless compatibility is essential—check that your thermostat supports your Wi-Fi network’s frequency and security protocols. Next, consider your wall material; drywall is common, but if your wall is brick or plaster, you may need additional tools like a masonry drill bit or anchors. Confirm you have the correct mounting hardware compatible with your wall type. Additionally, gather a compatible faceplate if needed, and verify your thermostat’s wiring connectors match your existing setup. Having the right tools and materials tailored to your wall material and wireless requirements prevents delays and complications during installation. Preparing thoroughly helps you avoid surprises and makes the process efficient and straightforward. Be aware of wireless compatibility to ensure seamless connectivity and optimal device performance.
Safety Equipment Needed
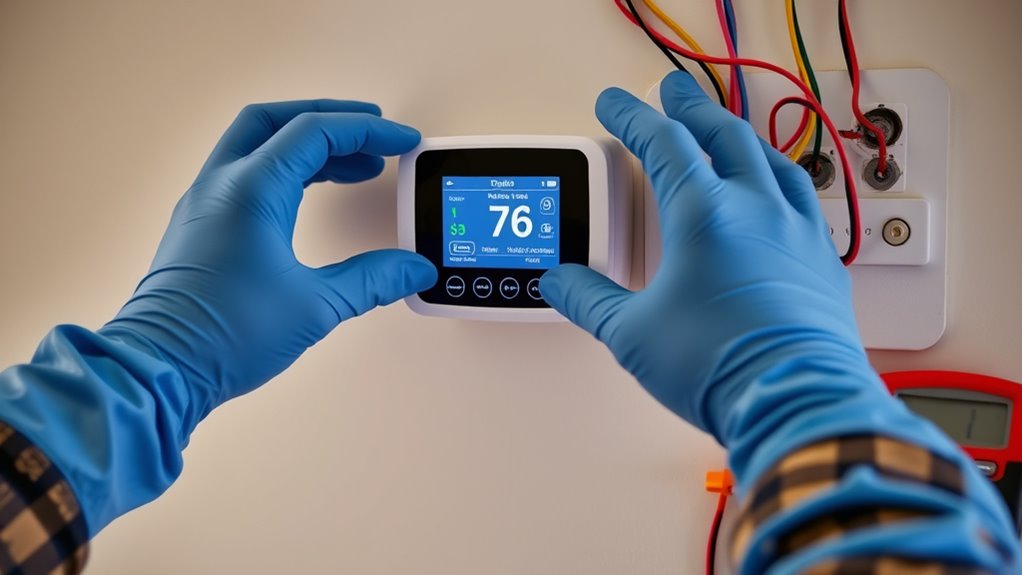
Ensuring safety during your smart thermostat installation is essential, which means gathering the right safety equipment beforehand. Protecting yourself from electrical hazards and fire safety risks is crucial. Wear personal protective equipment such as insulated gloves and safety goggles to prevent injuries. Keep a fire extinguisher nearby in case of electrical sparks or fires. Use insulated tools to reduce shock risks and avoid accidental short circuits. Additionally, have a voltage tester on hand to confirm power is off before working on wiring. Proper safety equipment minimizes hazards, allowing you to focus on the installation process confidently and securely. Moreover, understanding security zone info can help you recognize potential safety risks associated with electrical and cyber vulnerabilities during smart home upgrades.
Preparing for Installation: Safety and Compatibility Checks
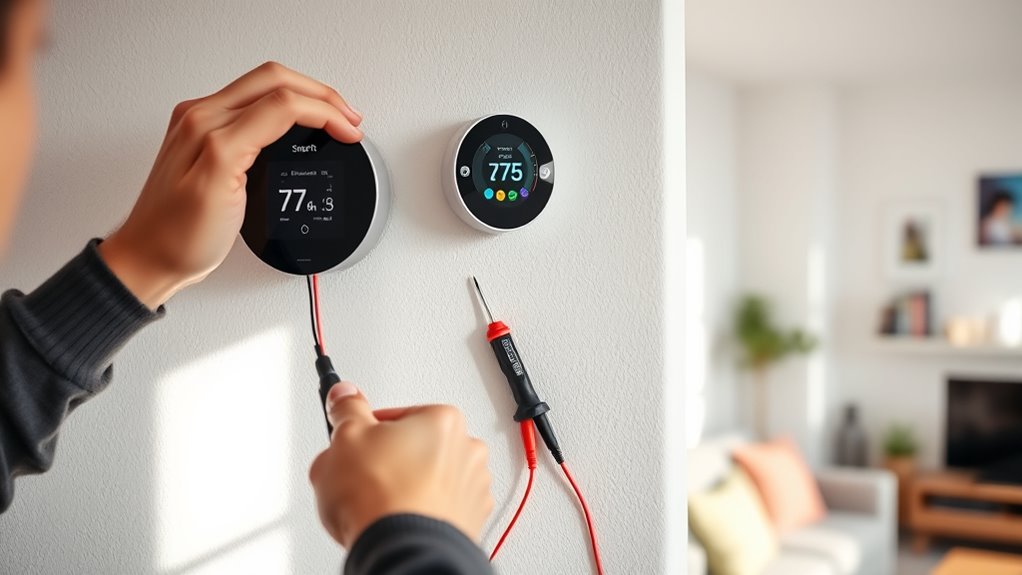
Before installing your smart thermostat, it’s crucial to verify that your system meets safety standards and is compatible with the device. Check your current wiring and ensure it can support a smart thermostat, especially if it uses a C-wire or relies on batteries for backup power. Consider the installation location carefully—avoid spots exposed to direct sunlight, drafts, or extreme temperatures, as these can affect sensor accuracy and battery life. confirm the area is easily accessible for future adjustments or maintenance. Also, confirm that your heating and cooling systems are compatible with the thermostat model. Taking these safety and compatibility checks upfront helps prevent installation issues and ensures your smart thermostat functions reliably and efficiently. Additionally, understanding your existing automation technologies can help optimize device integration and enhance overall system performance.
Step-by-Step Installation Process
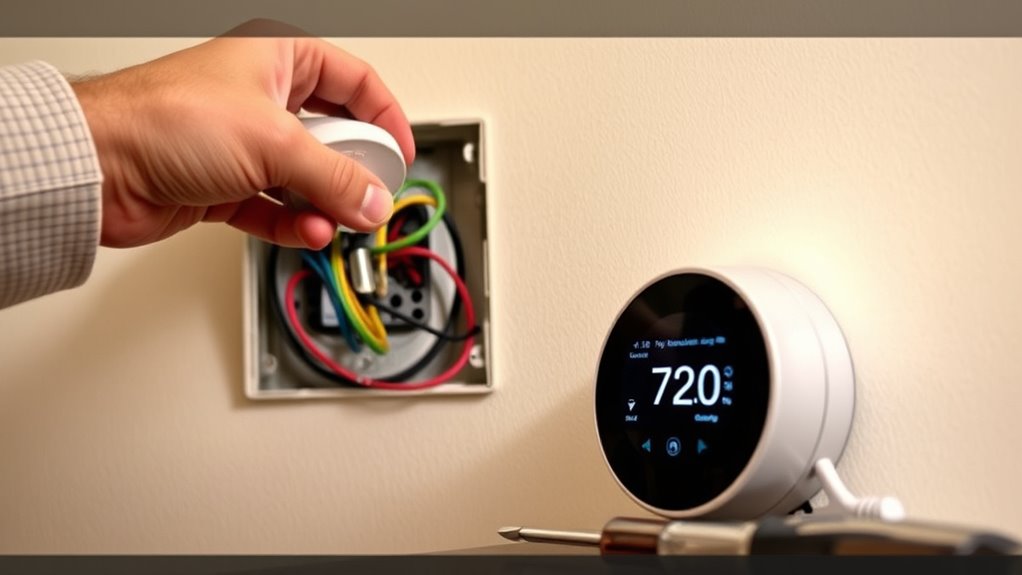
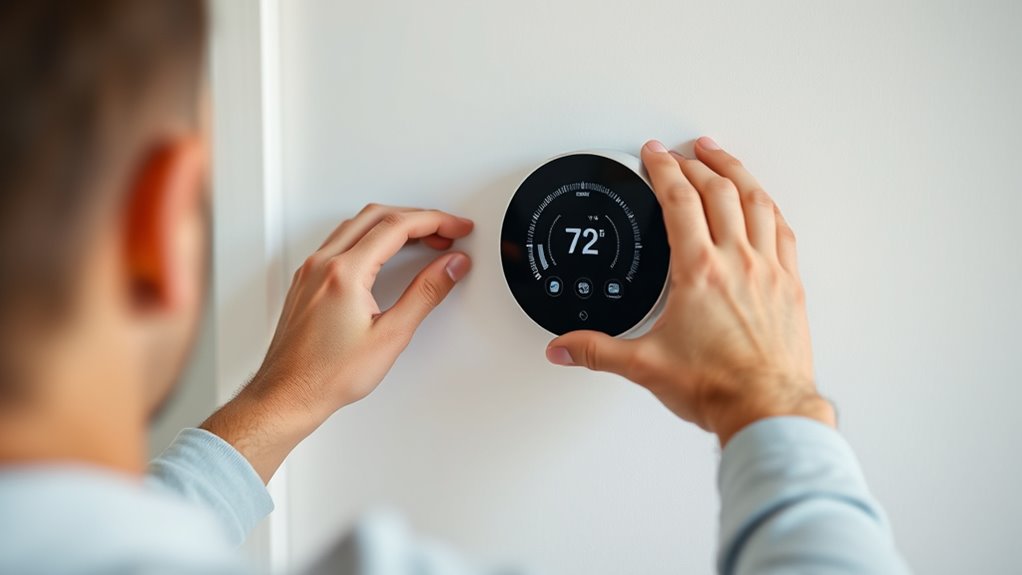
To begin installing your smart thermostat, turn off the power to your heating and cooling system to prevent electrical hazards. Next, remove your old thermostat and label the wires to guarantee proper connections. Mount the new base plate securely on the wall, aligning it with the existing wiring. Connect the wires according to the manufacturer’s instructions, making sure they’re tight and correctly placed. Once wired, attach the thermostat unit to the base. Power on your system and check for firmware updates that improve functionality and security. Be sure to consult local building codes to ensure your installation complies with safety regulations. Finally, enable voice control features if available, linking your device to your preferred smart home system. This step-by-step process ensures a smooth setup, preparing your thermostat for further configuration and integration.
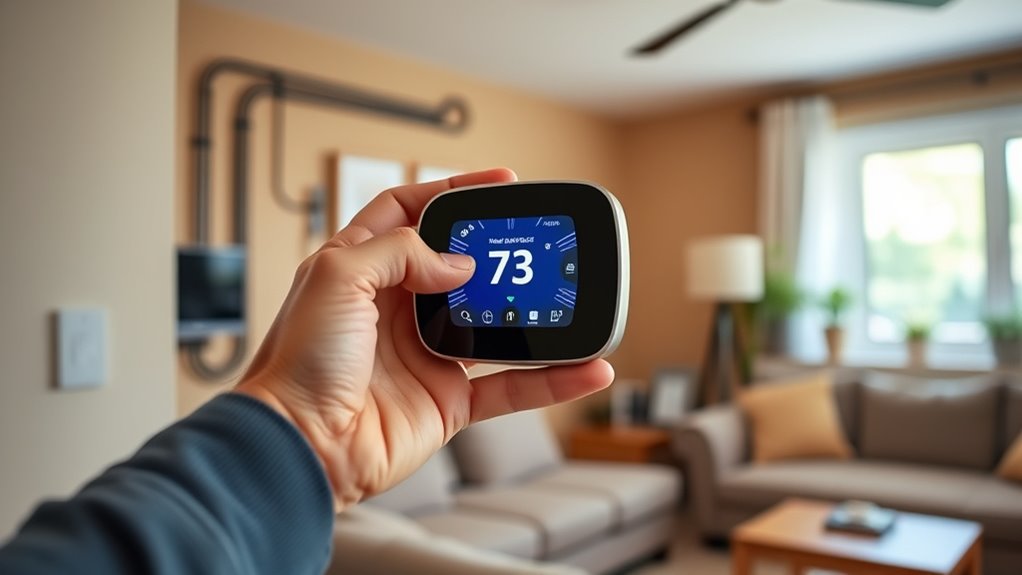
Configuring and Connecting Your Smart Thermostat
Once your thermostat is installed, you’ll need to wire it properly and verify it has power. Next, connect it to your Wi-Fi network so it can communicate with your devices. Finally, follow the app setup steps to customize your settings and start controlling your home’s temperature remotely.
Wiring and Power Setup
Wiring and power setup is a critical step in installing your smart thermostat, as it guarantees the device receives the correct voltage and can communicate effectively with your HVAC system. Proper wiring ensures your thermostat can operate reliably, whether it uses traditional wired connections or wireless power options. Before connecting, check the voltage requirements specified by the manufacturer to prevent damage. Confirm that your system’s wiring matches the thermostat’s terminal labels and follow safety protocols. If your thermostat supports wireless power, ensure it’s compatible with your setup. Correct wiring and power configuration help avoid connectivity issues and extend device longevity. Additionally, understanding toilet functionality issues can aid in troubleshooting any potential problems with your smart thermostat’s integration.
Connecting to Wi-Fi
After completing the wiring and power setup, connecting your smart thermostat to Wi-Fi is the next step to enable remote control and smart features. Make certain your Wi-Fi network is secure to protect your device and data. To connect, select the Wi-Fi network on your thermostat and enter the password. If you experience trouble troubleshooting connectivity, try restarting your router or moving the thermostat closer to the router. Keep in mind, Wi-Fi security protocols like WPA2 help safeguard your connection. Here’s a quick overview:
| Step | Action |
|---|---|
| 1 | Select your Wi-Fi network |
| 2 | Enter your Wi-Fi password |
| 3 | Confirm connection and troubleshoot if needed |
Staying vigilant about Wi-Fi security helps prevent unauthorized access, especially when integrating smart devices with your home network and considering Mazda Tuning for vehicle upgrades.
App Configuration Steps
To start configuring your smart thermostat, download and install the manufacturer’s app on your smartphone or tablet. Once installed, open the app to access the user interface, which guides you through setup. You’ll need to create an account or log in, then follow prompts to connect your thermostat to your Wi-Fi network. The app allows you to easily customize settings, schedules, and preferences. Make sure your device is close to the thermostat for smooth Bluetooth or Wi-Fi pairing. The intuitive mobile app simplifies the process, providing step-by-step instructions and troubleshooting tips. With the app, you can monitor and adjust your thermostat remotely, ensuring comfort and energy efficiency. Here’s what to expect during setup:
- Account creation and login
- Connecting to Wi-Fi
- Steering through the user interface
- Setting preferences and schedules
- Troubleshooting connection issues
Tips for Maintaining and Maximizing Your Smart Thermostat’s Performance
Regularly maintaining and optimizing your smart thermostat guarantees it runs efficiently and keeps your home comfortable. Keep the software updated to guarantee you benefit from the latest features and security improvements, which also enhance energy efficiency. Check the sensor placement to make sure it accurately detects your living habits and room temperatures, improving user comfort. Clean the thermostat’s filters and vents to prevent dust buildup that can hinder performance. Use the scheduling features to adapt heating and cooling to your daily routine, maximizing energy savings. Review your energy reports to identify patterns and adjust settings accordingly. By staying proactive, you’ll ensure your smart thermostat operates at peak performance, saving energy while maintaining a cozy environment tailored to your preferences.
Frequently Asked Questions
Can I Install a Smart Thermostat Myself Without Professional Help?
You can install a smart thermostat yourself, but you need to consider DIY safety first. Make sure to turn off power to avoid electrical hazards, and follow all safety precautions. Check the tool requirements, such as screwdrivers and a voltage tester, to ensure a smooth installation. If you’re comfortable with basic wiring and feel confident, a DIY install is possible. Otherwise, professional help may be the safest choice to prevent damage or injury.
Will Installing a Smart Thermostat Affect My Current Heating or Cooling System?
You might worry that installing a smart thermostat will disrupt your HVAC system, but if you check compatibility and wiring requirements, you can usually avoid issues. Most smart thermostats are designed to work with common HVAC setups, but some may need wiring modifications. By ensuring your system’s HVAC compatibility beforehand, you prevent potential problems and enjoy smart control without affecting your heating or cooling performance.
How Do I Update the Firmware on My Smart Thermostat?
To update the firmware on your smart thermostat, start by checking the manufacturer’s app or website for firmware updates. Make certain your device is compatible with the latest firmware to avoid issues. Connect your thermostat to Wi-Fi, then follow the prompts to install firmware updates. These updates improve device performance, security, and features, so keeping your thermostat current ensures excellent operation and compatibility with your smart home system.
What Should I Do if My Smart Thermostat Doesn’T Connect to Wi-Fi?
If your smart thermostat doesn’t connect to Wi-Fi, start with troubleshooting tips like checking your Wi-Fi connectivity and ensuring your router is working properly. Make sure your thermostat is within range of your Wi-Fi network, and restart both your router and thermostat. Double-check your Wi-Fi password, and update your device’s firmware if needed. These steps often resolve common Wi-Fi connectivity issues and help get your thermostat back online quickly.
Are There Any Rebates or Incentives Available for Installing a Smart Thermostat?
Coincidentally, many utility companies and local governments offer rebate programs and incentive offers for installing smart thermostats. You should check your region’s energy department or utility provider’s website, as these programs often cover a portion of the installation costs. Taking advantage of these incentives not only saves you money but also encourages energy efficiency. So, explore available rebate programs in your area to maximize your savings on your smart thermostat upgrade.
Conclusion
Installing a smart thermostat can boost your home’s efficiency and save you money—studies show homeowners save an average of 10-12% on heating and cooling costs. With the right tools and careful steps, you can confidently upgrade your system. Remember to regularly maintain your device for peak performance. Taking this smart step not only enhances comfort but also helps you reduce energy consumption, making your home more eco-friendly and cost-effective.