
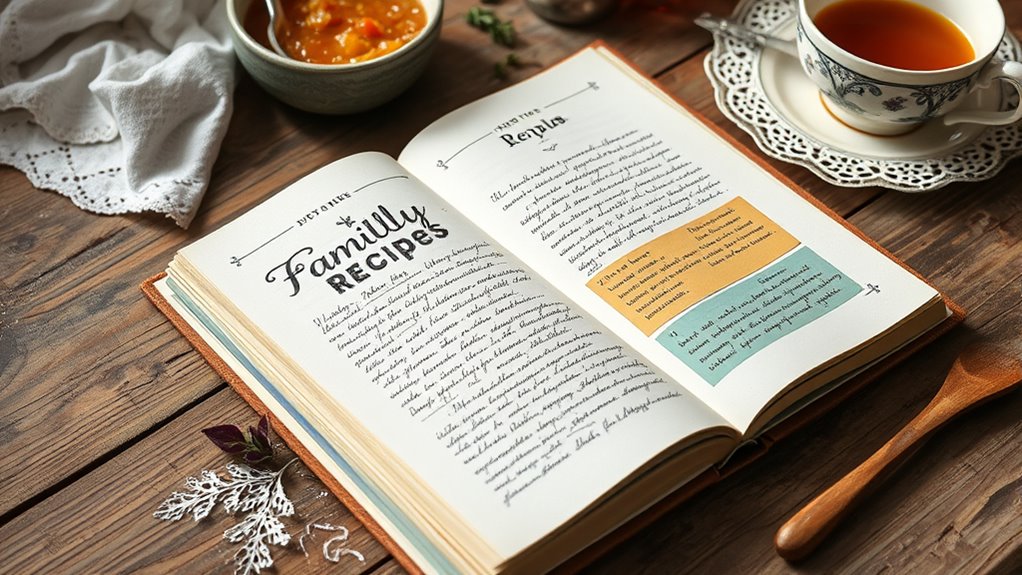
To create a DIY recipe book that preserves family traditions, gather cherished recipes, stories, photos, and artwork, then organize them by categories or contributors. Choose durable materials like leather covers, acid-free paper, and sturdy binding methods. Personalize pages with handwritten notes, sketches, and family memories to add emotional depth. Properly store and care for your book to make certain it endures. Keep exploring to discover how to assemble, enhance, and share this heartfelt family heirloom effectively.
Key Takeaways
- Collect and organize family recipes with stories, photos, and personal notes to create a meaningful, heirloom-quality collection.
- Use durable materials like leather covers, acid-free paper, and sturdy binding for long-lasting preservation.
- Personalize the book with handwritten tips, decorative borders, sketches, and family photos for emotional depth.
- Store in a cool, dry place, protect pages with acid-free covers, and handle carefully to maintain the book’s condition.
- Share the finished recipe book through gatherings or digital platforms to strengthen family bonds and preserve traditions.
Gathering and Organizing Your Family Recipes
Before you start compiling your recipes, it’s important to gather all the recipes your family has shared over the years. These family heirlooms hold not just delicious dishes but also the stories and memories behind them. Organize them by type, such as appetizers, main courses, and desserts, or by family member who contributed them. This will help preserve your culinary traditions and make the collection easier to navigate. Look through handwritten notes, scanned cards, and digital files—everything counts. As you gather these treasured recipes, consider their significance and the history they carry. Creating a structured system ensures that these family heirlooms are preserved and accessible for future generations, keeping your culinary traditions alive and well. Additionally, understanding the tax implications of IRA withdrawals can help you plan your retirement savings more effectively.
Choosing the Right Materials and Tools
Choosing the right materials guarantees your recipe book lasts through years of use, so opt for durable covers and quality paper. The tools you select, like precision scissors or binding supplies, make the crafting process smoother and more accurate. Balance aesthetic appeal with practicality to create a recipe book that’s both beautiful and functional. Additionally, selecting appropriate storage materials helps preserve your recipes and prevents damage over time.
Materials Matter for Durability
Selecting the right materials and tools is essential to guarantee your DIY recipe book lasts through years of use. Materials matter because their quality directly impacts durability considerations. Opt for sturdy covers like leather or heavy cardstock to withstand daily handling. Use acid-free paper to prevent yellowing and deterioration over time. When choosing binding options, consider hardcover or reinforced spine designs for added strength. Avoid flimsy adhesives or thin paper that can tear or warp easily. Investing in high-quality materials ensures your family recipes stay intact and protected for generations. Remember, durability isn’t just about appearance but about how well your recipe book holds up over time. Incorporating curiosity-driven design choices can inspire family members to cherish and explore the recipes within. By prioritizing strong, resilient materials, you’re creating a keepsake that preserves family traditions for many years to come.
Tools for Precision Crafting
To achieve clean, accurate cuts and secure assembly, you need the right tools for precision crafting. Using quality precision tools guarantees your recipe book will look professional and last. The right tools improve crafting accuracy, making your project easier and more enjoyable. Here’s a quick guide:
| Tool | Purpose | Tip |
|---|---|---|
| Ruler & Square | Measure and align | Use a metal ruler for stability |
| Cutting Mat | Protect surfaces, cut clean | Self-healing mats extend tool life |
| Precision Knife | Trim and detail work | Keep blades sharp for smooth cuts |
| Hole Punch | Create consistent holes | Match punch size to binding |
| Glue & Applicators | Secure pages and covers | Use precision applicators for neatness |
Investing in these tools guarantees your crafting accuracy and a polished final product.
Choosing Aesthetic & Practical
The materials and tools you pick set the tone for both the appearance and durability of your recipe book. Choose decorative covers that reflect your style, whether classic leather or colorful fabric, to make it visually appealing. Practicality also matters; select sturdy binding options and quality paper to guarantee your recipes last. Consider storage solutions like pockets or dividers to keep recipes organized and easily accessible. These features not only enhance the book’s functionality but also add a personal touch. When balancing aesthetic and practicality, prioritize materials that are both attractive and durable, so your family traditions are preserved beautifully for generations. The right combination of decorative covers and smart storage solutions will make your DIY recipe book both charming and functional. Additionally, selecting high-quality materials and tools ensures your project maintains its integrity and visual appeal over time.
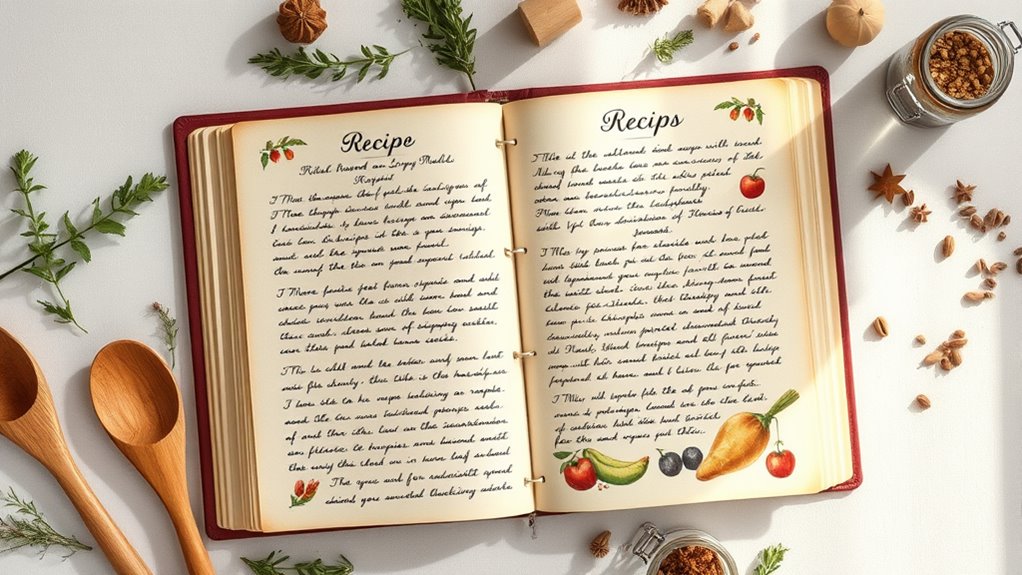
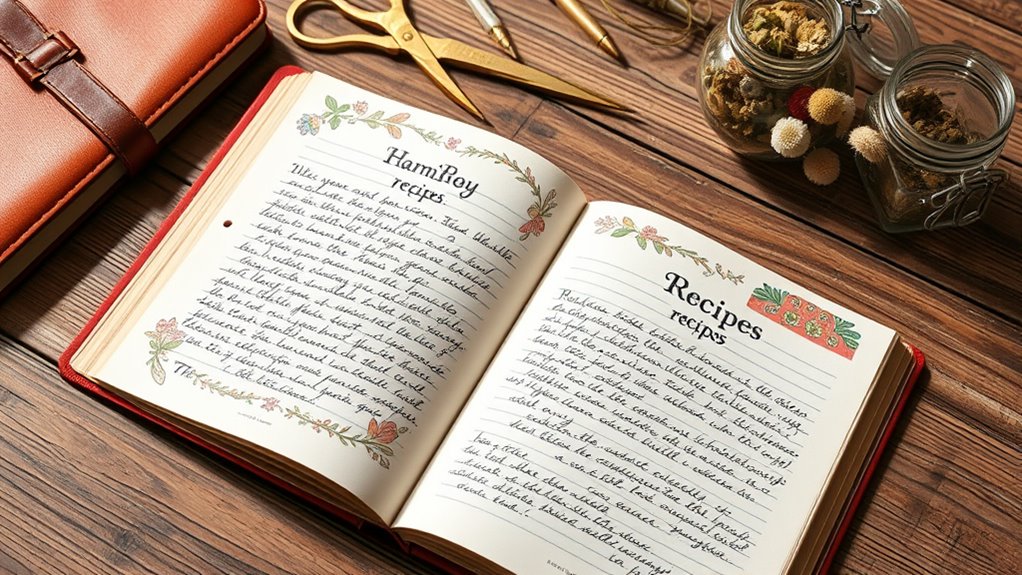
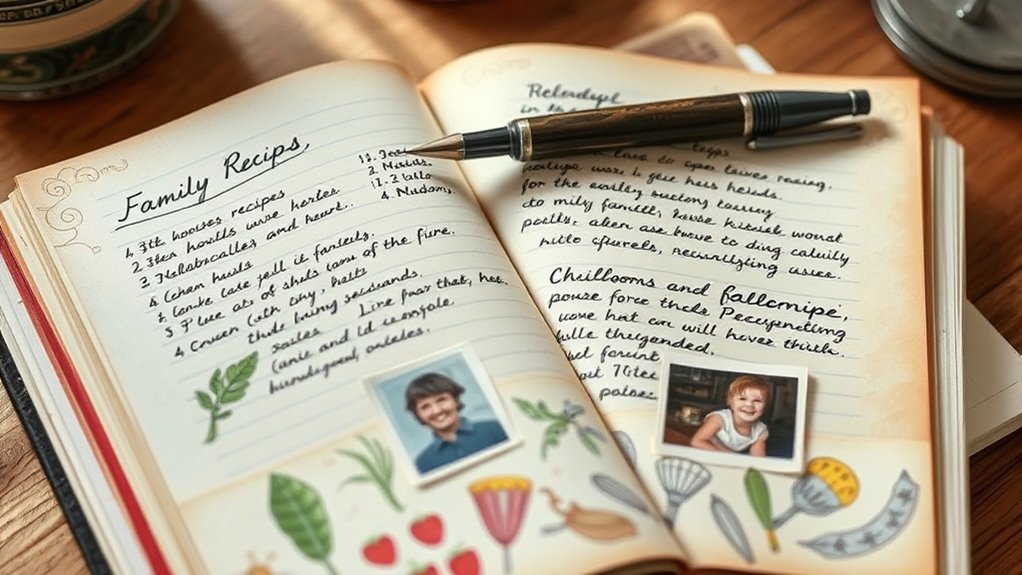
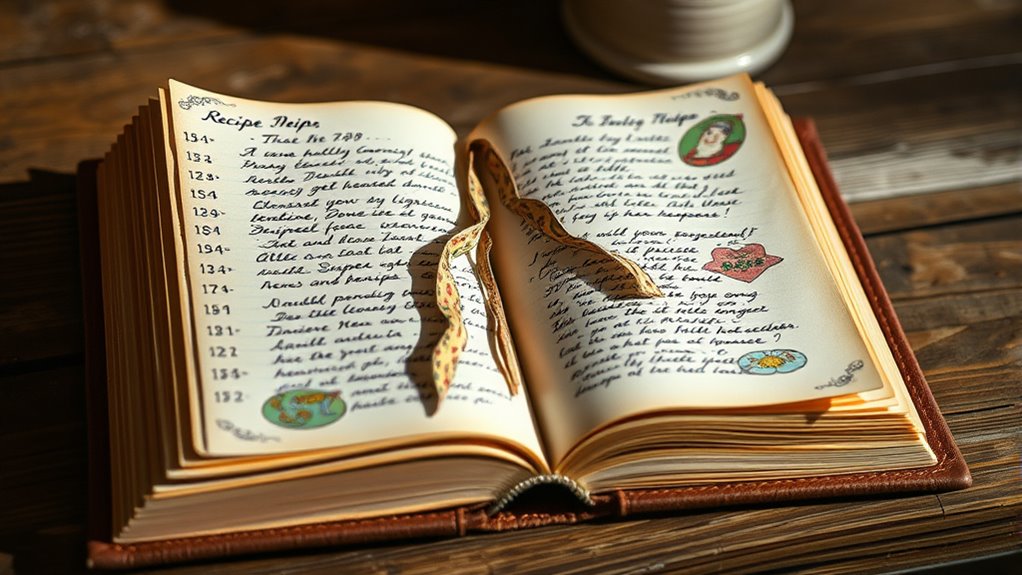
Designing Your Recipe Pages With Personal Touches
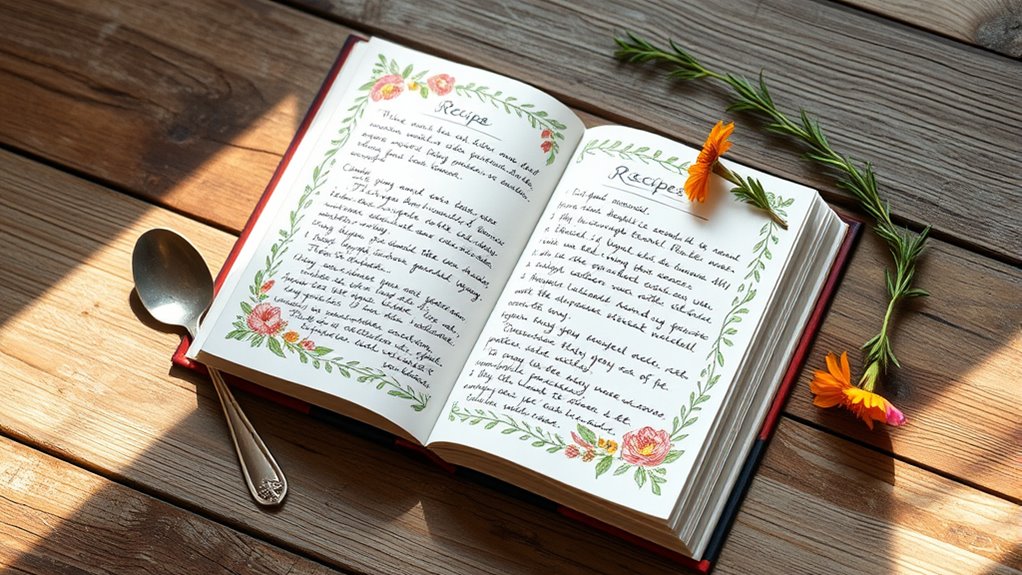
Adding personal touches to your recipe pages transforms a simple collection into a meaningful keepsake. Start by adding floral accents around the margins or as headers to give each page a charming, personal vibe. These small details can brighten your recipe book and reflect your style. Incorporate handwritten notes—such as tips, substitutions, or memories related to each dish—that make the pages truly your own. Use colorful pens or calligraphy to highlight key ingredients or special instructions. These touches not only enhance visual appeal but also make your recipes more memorable and accessible. Don’t be afraid to experiment with different embellishments; your personal style will make your recipe book uniquely yours and full of warmth and character.
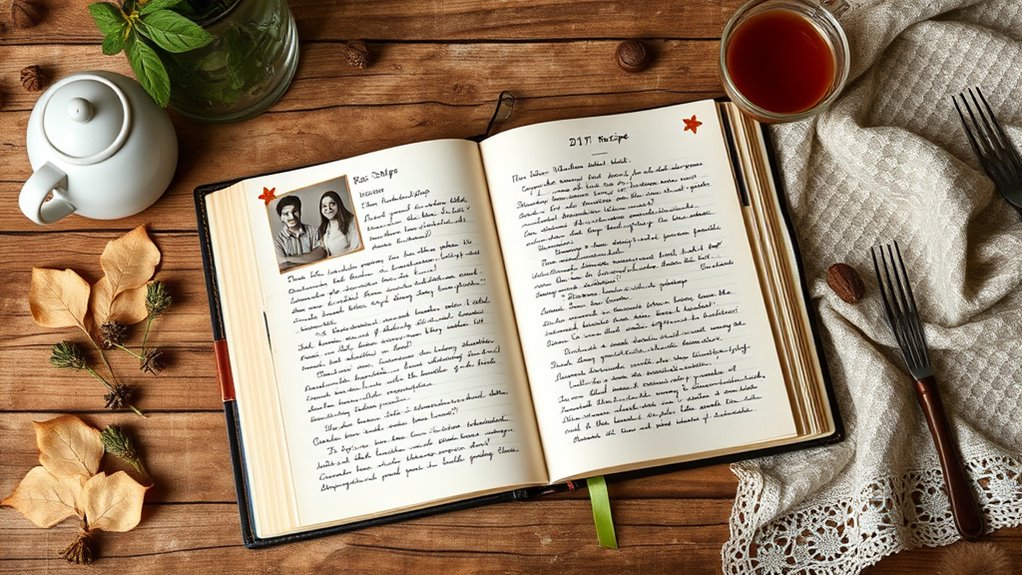
Incorporating Family Stories and Memories
Personal touches like handwritten notes and decorative accents bring your recipe pages to life, but including family stories and memories adds an even deeper layer of meaning. Sharing family anecdotes related to each recipe helps preserve your cooking traditions and creates a sense of connection. For example, note who typically made the dish or a special occasion when it was served. These stories make your recipe book more than just instructions—they turn it into a family heirloom. When you include memories, you honor your heritage and keep traditions alive for future generations. Incorporating meaningful details allows your culinary history to resonate more deeply, making your collection truly heartfelt. Let your loved ones’ experiences and history shine through, transforming simple recipes into heartfelt stories that celebrate your family’s unique culinary journey.
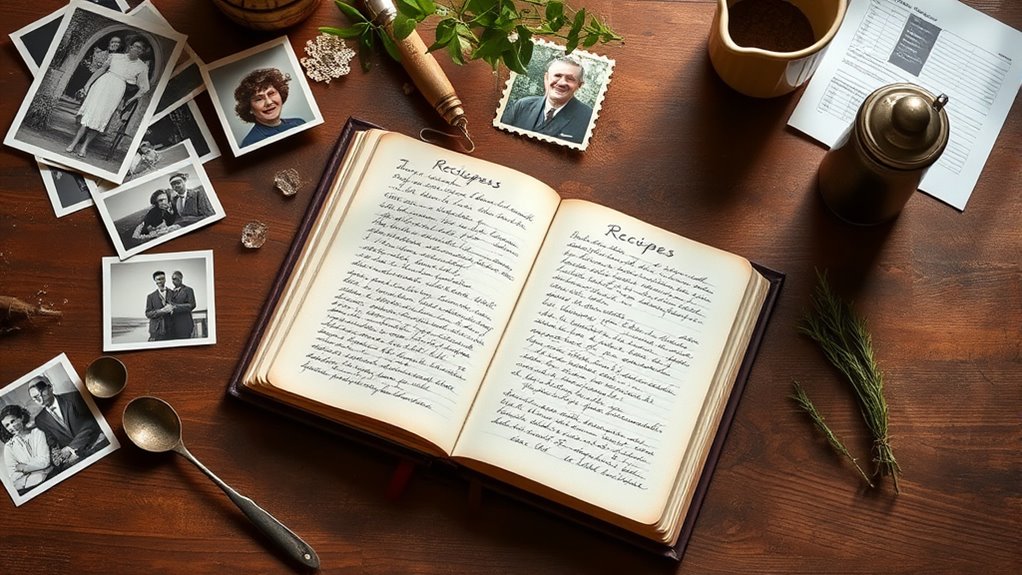
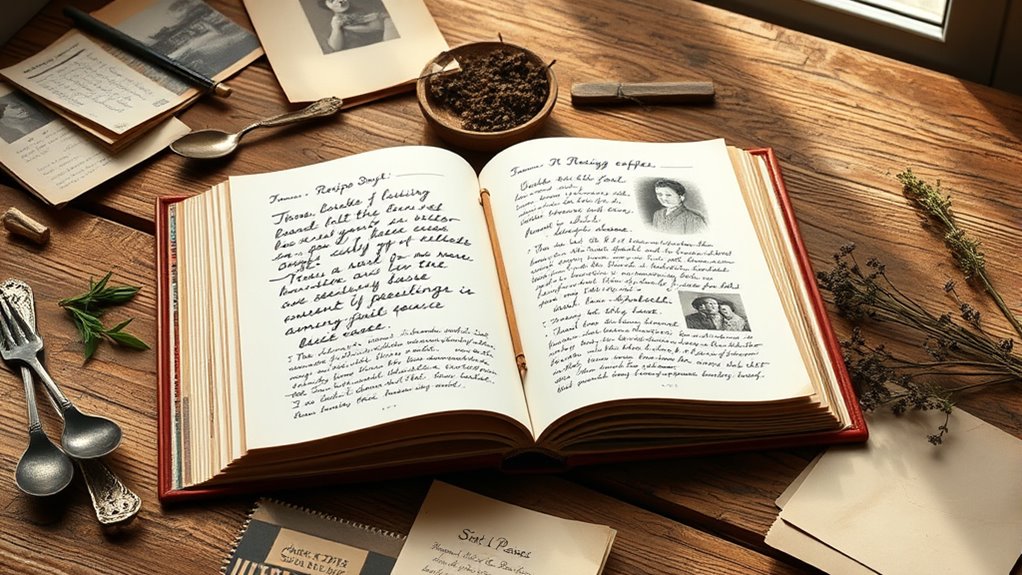
Adding Photos and Personal Artwork
Adding photos and artwork brings your recipe book to life, making it uniquely yours. You can incorporate personal photos to preserve special moments and use artwork to add a creative touch. These elements help turn your collection into a cherished keepsake full of memories and personality. Paying attention to visual presentation can further enhance the overall appeal of your personalized recipe book.
Personal Photo Integration
Have you ever considered how including your own photos and artwork can make your recipe book truly unique? Personal photo integration adds warmth and authenticity, transforming pages into cherished keepsakes. To enhance this, you might:
- Attach old family heirloom photos, illustrating culinary traditions passed down through generations.
- Include snapshots of family gatherings where these recipes are celebrated.
- Add your own artwork or handwritten notes to create a personal touch.
- Incorporate mindfulness techniques during the process to foster a sense of calm and appreciation as you craft your personalized pages.
These visuals not only preserve memories but also connect your recipes to family history. Incorporating personal photos and artwork makes your recipe book a treasured heirloom, celebrating culinary traditions while giving it a heartfelt, unique character. It’s a simple way to honor your family’s legacy and keep traditions alive.
Artistic Touches Enhancement
Incorporating artistic touches like photos and personal artwork can truly elevate your recipe book from a simple collection to a meaningful masterpiece. Consider adding calligraphy embellishments to highlight recipe titles or special notes, giving your pages an elegant, handcrafted feel. Decorative borders around pages or sections can frame your recipes beautifully, making them visually appealing and easy to navigate. You might also include sketches or doodles that relate to specific dishes, adding a personal touch that reflects your family’s unique culinary story. These artistic details not only enhance the book’s aesthetic but also create a warm, inviting atmosphere that invites family and friends to share in your traditions. Using personalized artwork can make your cookbook even more special and memorable. Keep it simple, but let your personality shine through each creative element.
Memories Through Artwork
Including photos and personal artwork brings your recipe book to life by capturing memories and stories behind each dish. These family culinary images turn simple recipes into cherished recipe heirlooms. You might add:
- Old family photos of gatherings, showing generations sharing meals.
- Hand-drawn sketches of favorite dishes or cooking scenes.
- Personal notes or captions that recount special moments or traditions.
- Incorporating spiritual energy into your project can infuse your family recipes with positive vibrations and meaningful intention.
These visuals personalize your recipe collection, making it more meaningful for future generations. They help preserve the essence of family culinary traditions and create a vivid connection to the past. By integrating artwork and photos, your recipe book becomes a vibrant tapestry of history, love, and shared experiences that truly reflects your family’s unique story.
Binding and Assembling Your DIY Recipe Book
Once you’ve gathered your pages and chosen your binding method, it’s time to assemble your DIY recipe book. Start by organizing your pages in the correct order. For binding techniques, options like spiral binding, comb binding, or even sewing pages together work well. Each provides a different look and durability. For assembling methods, if you’re using a binding machine, follow the manufacturer’s instructions to secure your pages tightly. If you prefer a homemade approach, consider punching holes along the edge and tying the pages with ribbon or twine, creating a rustic feel. Make sure all pages are aligned before binding to prevent uneven edges. Take your time to ensure everything is secure and neat, so your family recipes stay preserved beautifully. Additionally, checking page alignment and ensuring no pages are skewed can help create a professional appearance.
Tips for Preserving and Maintaining Your Keepsake
To keep your recipe book in great condition for years to come, you need to take proactive steps to preserve it. Proper recipe preservation guarantees your family heirlooms stay intact and accessible. Here are three essential tips:
Protect your recipe book with proper storage and gentle handling for lasting family keepsakes.
- Store your book in a cool, dry location away from sunlight to prevent fading and warping.
- Use acid-free sleeves or covers to protect pages from dirt, moisture, and handling damage.
- Handle your recipe book with clean hands and avoid placing heavy objects on top to prevent tears and creases.
These simple actions help maintain the integrity of your keepsake. Regularly inspecting and caring for your DIY recipe book ensures it remains a cherished family heirloom for generations to come.
Sharing Your Family Recipe Book With Loved Ones
Sharing your family recipe book with loved ones creates lasting bonds and keeps your culinary traditions alive. It transforms your collection into a cherished family heirloom, passing down stories and flavors that define your heritage. When you share, you invite others to contribute their own recipes and memories, enriching the book’s significance. Consider hosting a family gathering or digital sharing session to showcase your recipes and encourage conversation about your traditions. Handing down the recipe book preserves more than just dishes; it preserves your family’s history and identity. By sharing it openly, you make certain that future generations stay connected to their roots and continue celebrating your culinary legacy. Your recipe book becomes a living document, strengthening family ties and honoring traditions.
Frequently Asked Questions
How Can I Ensure My Recipe Book Lasts for Generations?
To guarantee your recipe book lasts for generations, focus on using durable preservation techniques and quality binding methods. Choose acid-free paper and waterproof covers to protect against wear and tear. Bind your book securely with sturdy materials like hardcover or spiral binding, making it easy to handle. Regularly store it in a cool, dry place, and consider digitizing your recipes as a backup, so your family traditions remain preserved for years to come.
What Are Some Creative Ways to Personalize Recipe Pages?
Imagine turning plain pages into vibrant stories; you can personalize your recipe pages with custom illustrations that evoke family memories. Add handwritten notes for a warm, intimate touch, sharing tips or anecdotes. Mix in vintage photos or fabric swatches for texture and depth. These creative ideas make each recipe uniquely yours, transforming a simple book into a cherished family heirloom that captures your culinary traditions and personal history.
How Do I Include Dietary Adaptations or Modern Twists?
To include dietary adaptations or modern twists, you should add gluten-free options and vegan modifications directly on your recipe pages. Use clear labels and notes to highlight these alternatives, making it easy for everyone to follow. Incorporate small icons or color codes for quick identification. This way, your recipes stay inclusive and fresh, respecting evolving dietary needs while keeping the family traditions alive and accessible.
What Safety Precautions Should I Consider When Handling Old Recipes?
When handling old recipes, you should prioritize food allergies and ingredient safety. Always check for potential allergens like nuts, gluten, or dairy, and consider modern dietary restrictions. Use fresh ingredients and verify their freshness before including them. If a recipe calls for outdated or questionable ingredients, adapt or replace them safely. Keep your workspace clean, wash hands thoroughly, and make sure proper storage to prevent contamination. This way, you protect everyone’s health while preserving family traditions.
How Can I Involve Children in Creating the Recipe Book?
Imagine the joy of involving children in creating your recipe book—think of how their excitement turns into treasured memories. You can incorporate their artwork, making each page special, and plan fun cooking activities that teach them about family traditions. You’ll watch them develop skills, feel proud, and create a unique keepsake. Their laughter and creativity will transform the project into a bonding experience that lasts a lifetime.
Conclusion
Creating a DIY family recipe book not only preserves cherished traditions but also strengthens your family bonds. Did you know that 78% of people feel more connected to their heritage through shared recipes? By gathering stories, personal touches, and photos, you turn simple pages into a treasured keepsake. Keep it updated and share it with loved ones—your family’s culinary history will be preserved for generations to come, creating lasting memories around the table.