
Your VHS and camcorder tapes are at risk of deterioration, especially with regular playback. To digitize them without ruining the originals, use compatible equipment like a VCR or camcorder and a video capture device. Handle tapes gently and guarantee a proper setup to avoid damage. Opt for high-quality cables to minimize signal loss. Storing originals correctly adds to their longevity. Discover more tips to preserve your memories while making the digitization process smooth and effective.
Key Takeaways
- Store VHS and camcorder tapes upright in a cool, dry place to slow deterioration and preserve the originals during digitization.
- Use a quality VCR or camcorder compatible with your tape format to ensure safe and effective playback without damaging the originals.
- Opt for a video capture device that connects to your computer, allowing for careful monitoring of the transfer process.
- Handle tapes gently and avoid direct contact with the magnetic tape to prevent physical damage during digitization.
- Regularly check for signs of deterioration and maintain equipment to ensure high-quality transfers while protecting original tapes.
As an affiliate, we earn on qualifying purchases.
Are Your VHS Tapes at Risk of Deterioration?
Are your cherished VHS tapes slowly fading away? If you’ve noticed the colors shifting or the picture breaking up, you’re not alone. Tape longevity can be a real concern for anyone who values their old recordings. Over time, magnetic tape deteriorates due to heat, humidity, and even the very act of playing them. To combat this, consider effective preservation methods. Storing tapes in a cool, dry place can slow down their decline. You might also want to limit playback to reduce wear. Digitizing your tapes is another excellent way to preserve those memories while keeping the originals safe from further damage. Regular maintenance routines can also help prevent further deterioration. Don’t let your precious moments fade; take action to protect them today! Additionally, be mindful of environmental factors such as microplastics in dust, which can settle on tapes and contribute to their deterioration over time. Proper storage away from heat and humidity is essential to prolong their lifespan and maintain picture quality.
Understanding Different Tape Formats for Digitization
When you’re ready to digitize your tapes, understanding the different formats is essential. Each format has its own unique characteristics and requires specific techniques for effective digitization. Plus, considering preservation methods will help guarantee your memories last for years to come.
Common Tape Formats Explained
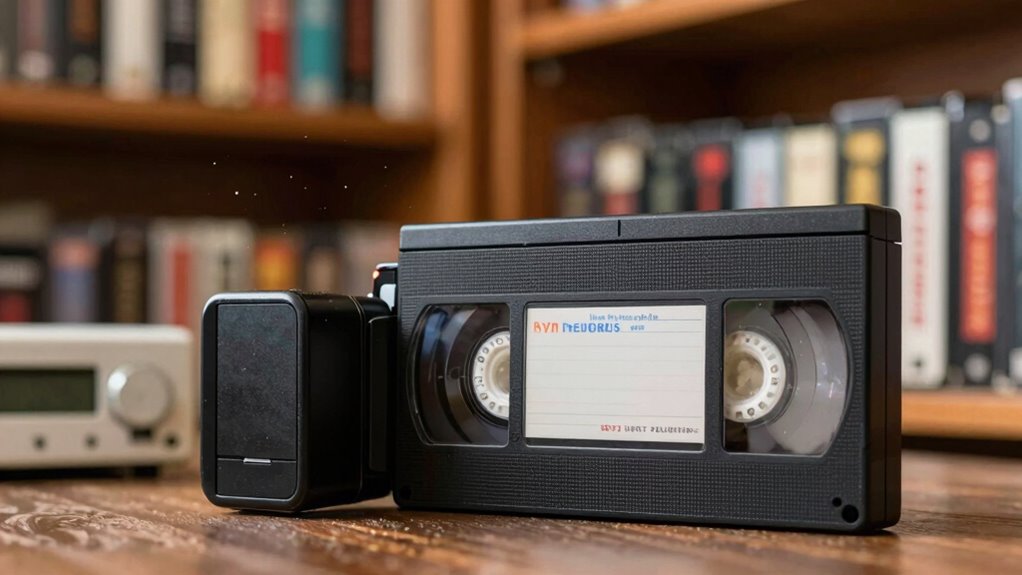
Digitizing your cherished videos starts with understanding the various tape formats that may be lurking in your collection. Common formats like VHS, MiniDV, and Hi8 each have unique characteristics. VHS tapes, for example, are well-known but can suffer from reduced tape longevity over time. MiniDV offers better quality and compactness, making it a popular choice for camcorders, while Hi8 balances quality and format compatibility with older systems.
When you know the specific formats, you can better assess their condition and decide how to digitize them. Ensuring proper handling and storage will help maintain their longevity, so you can preserve those precious memories without risking damage to the originals.
Format-Specific Digitization Techniques
While each tape format has its quirks, understanding the specific digitization techniques for VHS, MiniDV, and Hi8 can make the process smoother. For VHS, use a quality VCR with a TBC (Time Base Corrector) to guarantee stable playback, which helps maintain tape longevity. MiniDV requires a camcorder or deck that supports FireWire output; this method captures the digital formats efficiently without quality loss. For Hi8, similar to MiniDV, use a compatible camcorder to transfer the video. Always monitor the playback for tracking issues, as this affects the final digital output. By employing these techniques, you’ll preserve the essence of your original tapes while converting them into reliable digital formats for future enjoyment.
Preservation Considerations for Tapes
Understanding the unique characteristics of different tape formats is essential for effective preservation. Each format has its own challenges and benefits, influencing tape longevity and the restoration techniques you’ll need to apply. Here are key considerations for various tape formats:
- VHS: Prone to deterioration; regular playback can help maintain quality.
- Hi8: Offers better resolution but may require specialized equipment for digitization.
- MiniDV: More robust, but still susceptible to tape wear over time.
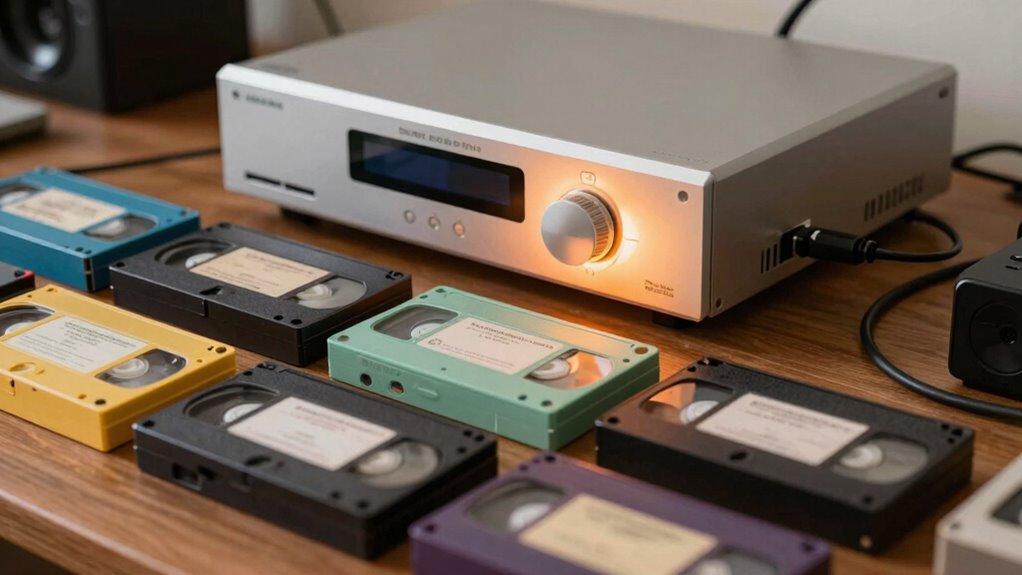
Essential Equipment for Digitizing Your Tapes
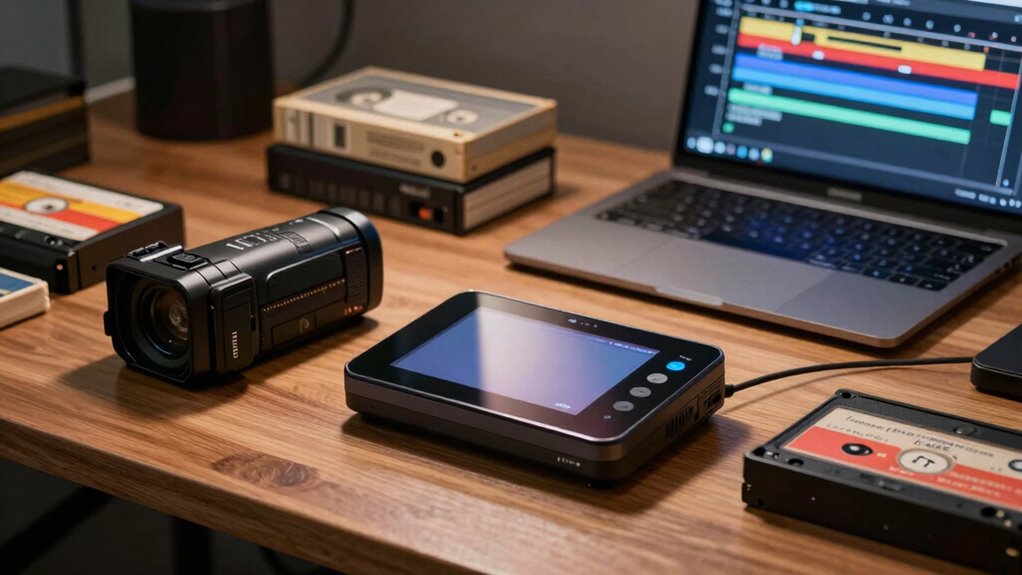
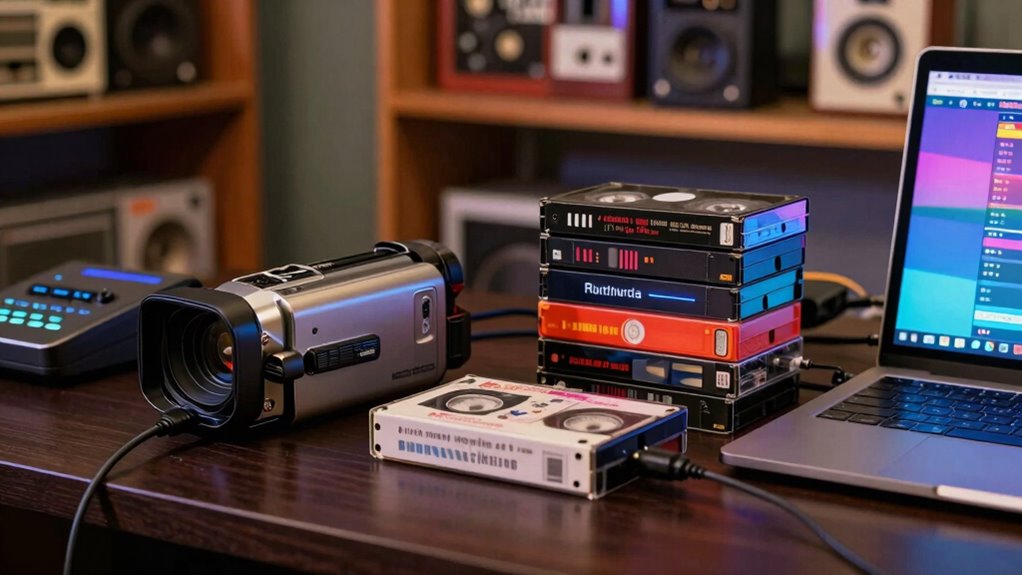
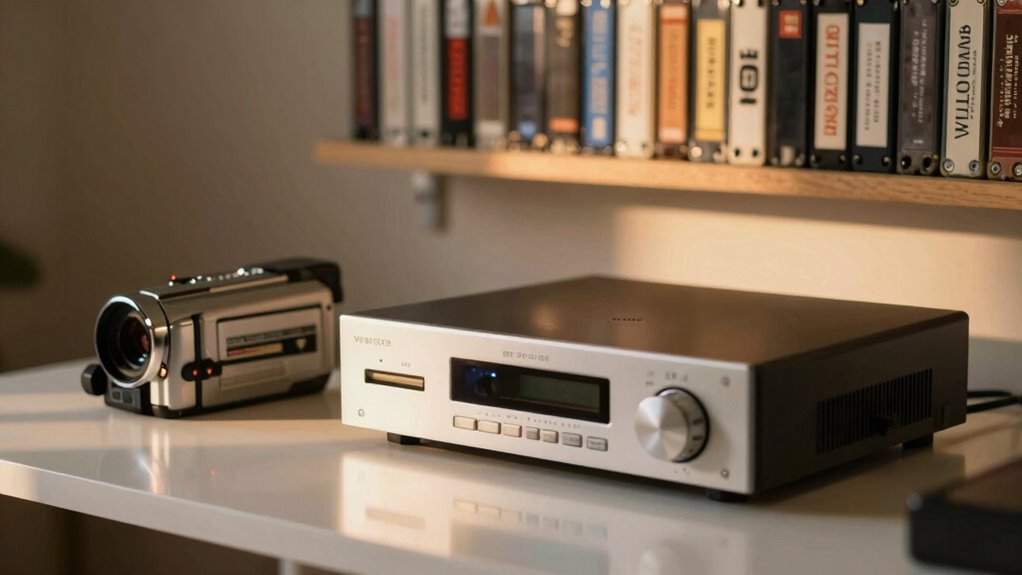
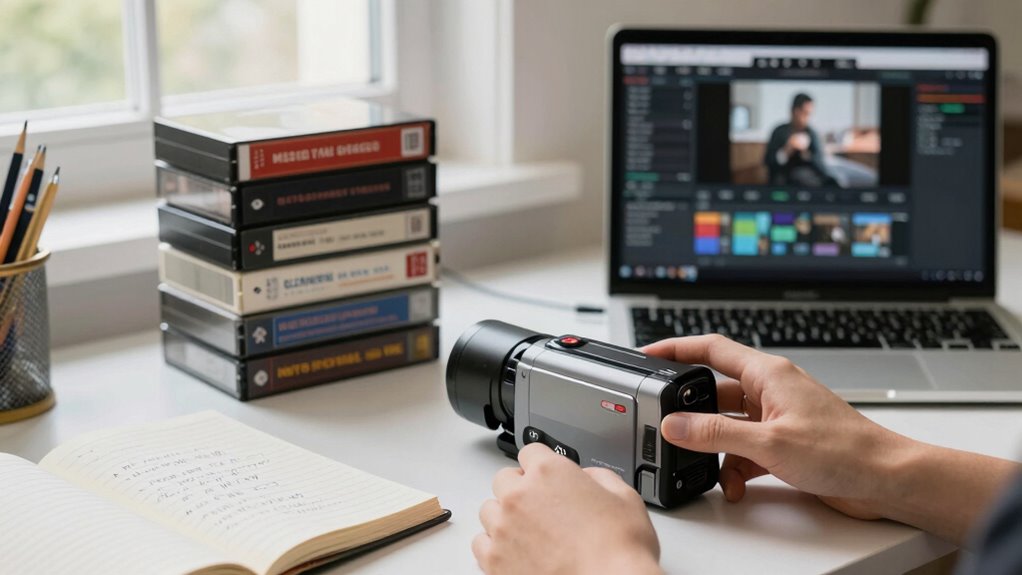
To successfully digitize your old VHS and camcorder tapes, having the right equipment is essential. First, you’ll need a reliable VCR or camcorder that matches your tape compatibility. If you’re working with VHS, verify your VCR supports the specific format. Next, invest in a quality video capture device that connects to your computer via USB or FireWire. Look for one with a good transfer speed to minimize the time it takes to digitize each tape. Additionally, software that allows for easy editing and format conversion will streamline the process. Don’t forget external storage like a hard drive or cloud service to keep your digital files safe. With the right gear, you can preserve those memories without damaging the originals.
How to Digitize Your Tapes: DIY Methods
Now that you have your equipment ready, let’s explore how to digitize your tapes using DIY methods. You’ll learn the step-by-step process to guarantee a smooth transfer while avoiding common pitfalls. This way, you can preserve your memories without a hitch.
Equipment You’ll Need
Digitizing your old VHS and camcorder tapes requires a few essential pieces of equipment. To guarantee successful transfers and maintain the quality of your originals, you’ll need to focus on equipment compatibility. Here’s a quick list to get you started:
- VCR or Camcorder: Confirm it’s in good working condition for effective tape maintenance.
- Video Capture Device: This connects your VCR or camcorder to your computer, allowing for digital conversion.
- Editing Software: You’ll want a program that supports video formats for easy editing and saving.
- Proper setup and environment: Creating a safe and optimal workspace can help prevent damage during the digitization process. Ensuring proper home‑care techniques can also extend the lifespan of your equipment.
With the right tools, you can preserve your cherished memories without damaging the originals. Just make certain everything is compatible before you jump in!
Step-By-Step Process
Ready to bring your old tapes into the digital age? Start by gathering your equipment: a VCR, a video capture device, and your computer. Connect the VCR to the capture device, then plug that into your computer’s USB port. Insert the tape you want to digitize and launch your video capture software.
Next, choose your preferred digital formats, like MP4 or AVI, ensuring compatibility with your devices. Press play on the VCR and record on the software.
Once the transfer is complete, check the quality of the digital file. Finally, store your new digital files safely on your computer or an external drive to prevent loss. Don’t forget to keep the original tapes in proper tape storage to preserve them!
Common Pitfalls To Avoid
When you’re diving into the world of DIY tape digitization, it’s easy to overlook some common pitfalls that can affect the quality of your final product. To guarantee you get the best transfer quality, keep these tips in mind:
- Neglecting tape maintenance: Always clean your tapes and equipment before starting. Dust and grime can ruin the transfer. Regular cleaning helps prevent degradation of tape quality over time. Additionally, understanding tape format compatibility can help you avoid issues related to using incompatible devices. Ensuring your equipment is properly calibrated can also significantly improve transfer accuracy. Being aware of home safety precautions is crucial to prevent accidents or damage during the process.
- Ignoring equipment compatibility: Make sure your playback device matches the tape format. Using the wrong device can lead to poor results.
- Rushing the process: Take your time during the transfer. Quick methods might save time but can compromise quality.
- Overlooking proper tools and safety tips: Using the right DIY tools and following safety precautions can prevent damage to your tapes and equipment. Proper handling ensures longevity and preserves your tapes’ integrity.
Should You Hire a Professional Service?

Have you considered whether hiring a professional service is worth it for digitizing your VHS and camcorder tapes? While you might think about tackling the project yourself, cost considerations can quickly add up. Professionals often provide high-quality transfers, but their services can vary in price. It’s essential to do a service comparison, checking reviews and what each package includes. They usually offer specialized equipment and expertise, which can save you time and frustration. If the emotional value of your tapes is high, investing in a pro could safeguard those memories better than DIY methods. Ultimately, weigh the benefits against your budget to decide if a professional service aligns with your digitizing goals.
Tips for High-Quality Tape Transfers
To achieve high-quality tape transfers, it’s crucial to start with clean, well-maintained equipment. This guarantees that you capture the best possible audio and video from your tapes. Here are a few tips to enhance your transfer process:
Starting with clean, well-maintained equipment is essential for capturing the best audio and video from your tapes.
- Check tape quality: Inspect your tapes for any wear or damage before starting. This can greatly affect the outcome.
- Optimize transfer speed: Choose a transfer speed that balances quality and efficiency. Slower speeds often yield better results.
- Use the right cables: Confirm you’re using high-quality cables to minimize signal loss during the transfer.
Best Practices for Preserving Your Originals
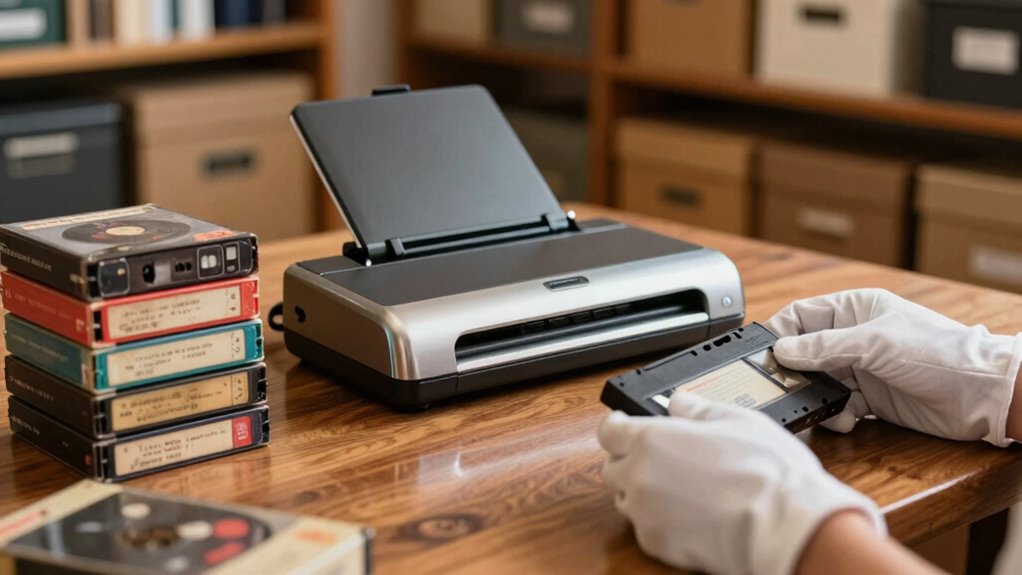
While you focus on digitizing your tapes, preserving the originals is just as important. Start with proper tape care; handle the cassettes gently, avoiding touching the magnetic tape inside. Keep them away from direct sunlight, heat, and moisture, as these can cause irreversible damage. Invest in quality storage solutions, like archival-grade boxes, to protect your tapes from dust and physical wear. Store them upright in a cool, dry place, making sure they’re easily accessible for future use. Regularly check your tapes for signs of deterioration, such as sticky shed syndrome. Proper storage also helps prevent issues like magnetic tape degradation, ensuring your recordings remain intact over time. Maintaining a stable environment helps reduce humidity fluctuations, which can accelerate tape deterioration. Additionally, monitoring for sticky shed syndrome can help catch problems early before significant damage occurs. By following these best practices, you’ll help guarantee your original tapes remain safe and intact for years to come, allowing you to enjoy those memories whenever you want.
How to Organize and Store Your Digital Memories

Organizing your digital memories can feel overwhelming, but a few simple steps can make it manageable. Start by creating a system that works for you, ensuring your digital organization is effective. Here are three essential tips:
- Use folders: Create specific folders for events, years, or family members to keep everything organized.
- Label files clearly: Use descriptive names and dates to make searching easier later on.
- Regularly back up: Schedule routine memory backups to external drives or cloud storage to prevent loss. Additionally, consider storage solutions that protect your media from damage or deterioration over time. Remember, proper digital organization not only saves you time but also preserves your cherished memories for years to come, helping you cut through the tech clutter with confidence. Incorporating digitizing techniques can further enhance your ability to manage and safeguard your media effectively. Understanding the importance of media preservation can guide you in choosing the best methods to extend the lifespan of your digital files.
Sharing Your Digitized Memories With Family and Friends
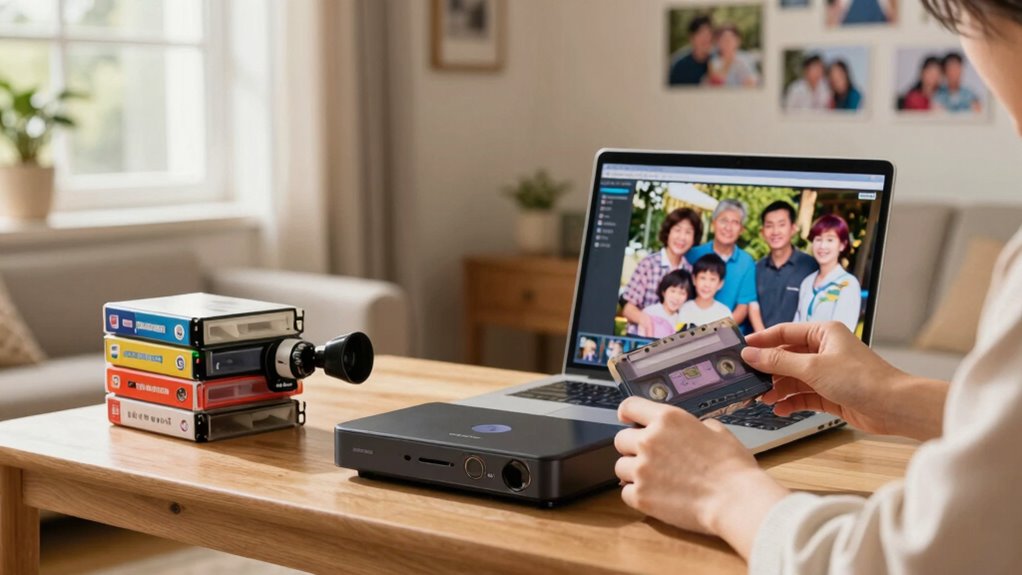
Sharing your digitized memories with family and friends not only preserves cherished moments but also strengthens connections. With digital sharing, you can easily send videos or create online albums, bringing everyone together, no matter the distance. Imagine reliving those family memories during a virtual gathering, sparking laughter and nostalgia.
You can also use social media or cloud storage to share highlights, ensuring loved ones can access them anytime. Consider creating themed compilations for birthdays or anniversaries, making it easy for everyone to reminisce. Plus, you can even set up a family movie night, showcasing your digitized treasures. By sharing these moments, you keep the spirit of your memories alive, fostering deeper bonds within your family and friend circle. Incorporating digital preservation practices ensures your recordings remain high quality for generations to come.
Frequently Asked Questions
Can I Digitize My Tapes Without Losing Video Quality?
Yes, you can digitize your tapes without losing video quality. To guarantee tape preservation, use high-quality equipment that captures every detail. Connect your tape player to a reliable digital converter, and choose a resolution that matches or exceeds the original. Avoid over-compression, as it can degrade quality. Regularly check your digitized files to confirm they maintain the clarity and nostalgia of the originals. With proper care, your memories will remain intact.
What’s the Lifespan of Digital Files Compared to Tapes?
When it comes to digital files, you’re often looking at a longer lifespan than tapes. However, it’s not all sunshine and rainbows; file preservation relies on proper archival strategies and storage solutions. Digital longevity can be compromised by hardware failure or outdated formats. To guarantee your memories last, regularly back up your files and shift to newer formats as needed. With a little care, you can keep those cherished moments safe for years to come.
Is It Safe to Rewind Old Tapes Before Digitizing?
Yes, it’s safe to rewind old tapes before digitizing, but you should follow some tape preservation techniques. Use a gentle rewind method, like a camcorder, instead of a VCR, to reduce wear. Avoid rewinding too quickly, as that can strain the tape. If the tape’s been sitting for a while, consider playing it briefly before rewinding to loosen it up. Following these rewind best practices will help preserve your tapes for future generations.
How Do I Handle Moldy or Damaged Tapes?
If you encounter moldy or damaged tapes, you should handle them carefully. Start by wearing gloves and a mask to protect yourself. For mold removal, gently clean the tape with a soft brush or cloth. Avoid using water or harsh chemicals. After cleaning, store the tapes in a cool, dry place to guarantee tape preservation. If the damage is severe, consider consulting a professional for digitization. Your originals deserve the best care!
What File Formats Are Best for Digital Storage?
You might think saving your memories in a file format like “Super Ultra Mega High-Def” is the way to go, but let’s not kid ourselves. For best results, stick to formats like MP4 or AVI. They balance quality and file compression nicely. Also, consider your archival strategies—backing up files in multiple formats can save your precious moments from digital extinction. After all, who wants a nostalgic trip interrupted by a tech fail?
Conclusion
Digitizing your VHS and camcorder tapes is like rescuing a time capsule from the past. Imagine uncovering a treasure chest of family memories, each tape a gem waiting to shine again. By taking the right steps, you not only preserve these irreplaceable moments but also guarantee they’re shared with loved ones for generations. So, grab your equipment and start this journey; your memories deserve to be relived, not lost to time.