
To prepare your exterior trim before autumn rains arrive, check the weather forecast and pick a stretch of mild, dry days with low humidity for painting. Clean and sand your surfaces thoroughly, then choose a weather-resistant paint suitable for cooler temperatures. Apply coats evenly and allow proper drying time. Protect your work with tarps if rain threatens. For more tips on making your paint last through wet weather, keep exploring ways to safeguard your project.
Key Takeaways
- Schedule painting during a window of several days with mild, dry weather to ensure proper drying before rain.
- Thoroughly clean and sand the trim to promote adhesion and prevent peeling or bubbling in damp conditions.
- Use high-quality, weather-resistant exterior paint formulated for autumn temperatures and high humidity.
- Cover unfinished work with tarps or plastic sheeting if rain is forecasted to protect the paint surface.
- Complete painting at least 24-48 hours before expected rain to allow sufficient drying and curing time.
Assessing the Weather and Timing Your Project
Before you start painting your exterior trim, it’s vital to evaluate the weather conditions and choose the right time for the project. Seasonal considerations play a significant role, as certain times of year offer ideal weather for exterior painting. Avoid painting during extreme heat, cold, or high humidity, which can affect paint adhesion and drying. Use weather forecasting tools to check upcoming conditions and plan accordingly. Ideally, aim for a stretch of several days with mild temperatures, low humidity, and no rain. This ensures the paint dries properly and adheres well to the surface. Proper timing prevents issues like peeling or uneven finish, so taking the time to assess the weather is an essential first step to a successful exterior trim paint job. Additionally, understanding paint drying times and application conditions can help you optimize your schedule for the best results.
Preparing Your Exterior Trim for Painting
Before you start painting, you need to prepare your trim properly. This means cleaning off dirt and debris, sanding to create a smooth surface, and applying primer for better paint adhesion. Taking these steps guarantees your paint job will last and look professional. Additionally, using appropriate cleaning techniques can help ensure all contaminants are removed effectively before painting.
Clean and Remove Debris
Have you ever underestimated how much dirt and debris can hinder a fresh paint job? Before you start painting, it’s essential to clean the surface thoroughly. Begin with leaf removal, sweeping away any fallen leaves, twigs, and dirt from around the trim. Next, check your gutters and perform gutter cleaning to prevent debris from spilling onto your walls during rain. Remove cobwebs, dirt, and loose paint with a brush or pressure washer if needed. Clearing away debris ensures the paint adheres properly and lasts longer. Don’t skip this step, as dirt and grime can cause peeling or uneven coverage. Taking the time to clean meticulously now will give your exterior trim a smooth, professional finish and protect your investment against the elements.
Sand and Smooth Surface
Wondering how to guarantee your exterior trim paint sticks smoothly and lasts? The key is proper sanding and surface smoothing. Start by using medium-grit sandpaper to remove rough spots, peeling paint, or splinters. This creates a clean, even surface for the new paint to adhere to. Be thorough around corners and edges, ensuring no residue or bumps remain. After sanding, wipe down the trim with a damp cloth to remove dust and debris. Proper surface smoothing prevents paint from bubbling or peeling prematurely. Remember, a well-prepared surface leads to a professional finish and longer-lasting results. Additionally, choosing the right surface preparation techniques can significantly enhance paint adhesion and durability.
Prime for Better Adhesion
Applying a quality primer is essential because it guarantees paint adhesion and ensures a smooth, durable finish. Start by choosing a primer that matches your trim’s surface and the final paint color to aid in color coordination. This will prevent uneven coloration and improve coverage. When applying primer, select the right brush—preferably a high-quality brush suited for exterior surfaces—to achieve a smooth, even coat without brush marks. Proper priming creates a better bond between the surface and your paint, reducing peeling and chipping over time. Make sure to cover all edges and corners thoroughly. Additionally, understanding the best beaches can inspire a relaxing and scenic backdrop for your home improvement projects. With a well-chosen primer and the right tools, you’ll set a solid foundation for a professional-looking, long-lasting paint job before autumn rains arrive.
Choosing the Right Paint and Supplies
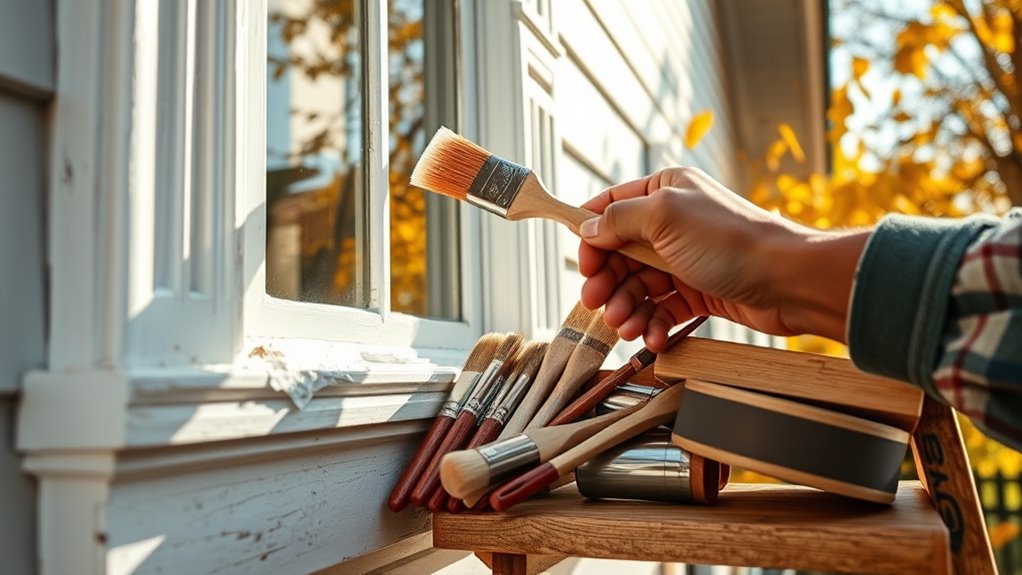
Choosing the right paint and supplies is essential to achieving a durable and attractive exterior trim finish. Your selection impacts how well the paint withstands weather and maintains its appearance. Focus on color selection that complements your home’s style and environment. Consider paint types, such as acrylic latex for flexibility and quick drying, or oil-based paints for durability. Incorporating automated insights into your planning can help you select the most weather-resistant formulations. Key factors to keep in mind include: – Weather-resistant formulations for outdoor durability – Proper brushes and rollers suited for trim surfaces – Primer compatibility with chosen paint types – Quality brands to ensure longevity and color retention Investing in good supplies and selecting suitable paint types will make your project easier and extend the lifespan of your paint job, especially before the autumn rains arrive.
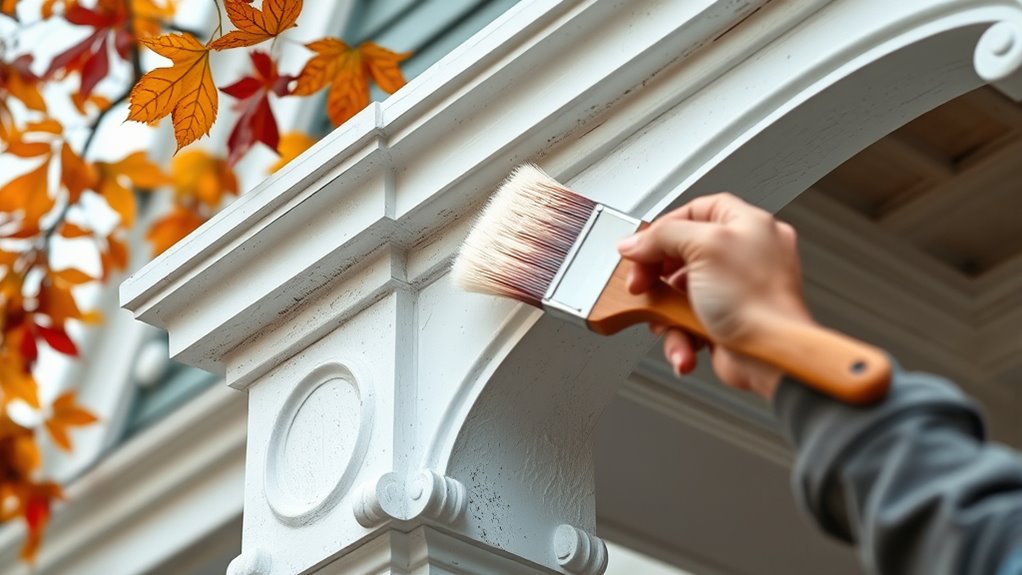
Techniques for a Smooth and Durable Finish
Achieving a smooth and durable finish on exterior trim requires proper technique and attention to detail. Start by selecting the right color; lighter shades tend to show imperfections less and fade slower, ensuring longevity. Before applying paint, make sure the surface is clean, dry, and properly primed. When painting, use steady, even strokes to avoid streaks or drips. Keep the paint wet enough for smooth application, but don’t overload your brush or roller. Proper paint drying is essential—allow each coat to fully dry before applying the next. Avoid rushing the process, as incomplete drying can cause peeling or cracking later. Additionally, choosing high-quality, durable paint formulated for exterior use can enhance the longevity of your finish. With careful color selection, precise application, and patience during drying, you’ll achieve a sleek, long-lasting finish that enhances your trim’s appearance.
Common Mistakes to Avoid Before Rainy Season

To guarantee your exterior trim withstands the rainy season, it’s essential to avoid common mistakes that can compromise the paint’s durability and appearance. One mistake is neglecting proper surface preparation, which affects adhesion. Make sure you match colors accurately through careful color matching, preventing mismatched finishes that stand out after rain. Using poor brush techniques can leave streaks or uneven coverage, so work steadily and consistently. Rushing the job or skipping primer can lead to peeling or cracking when exposed to moisture. Additionally, avoid applying paint in high humidity or just before rain, as this prevents proper drying. Proper planning, attention to detail, and avoiding these pitfalls will help your exterior trim stay protected and looking great through the rainy season.
- Neglecting surface cleaning and sanding
- Using incorrect brush techniques
- Ignoring weather forecasts before painting
- Skipping primer or using low-quality paint
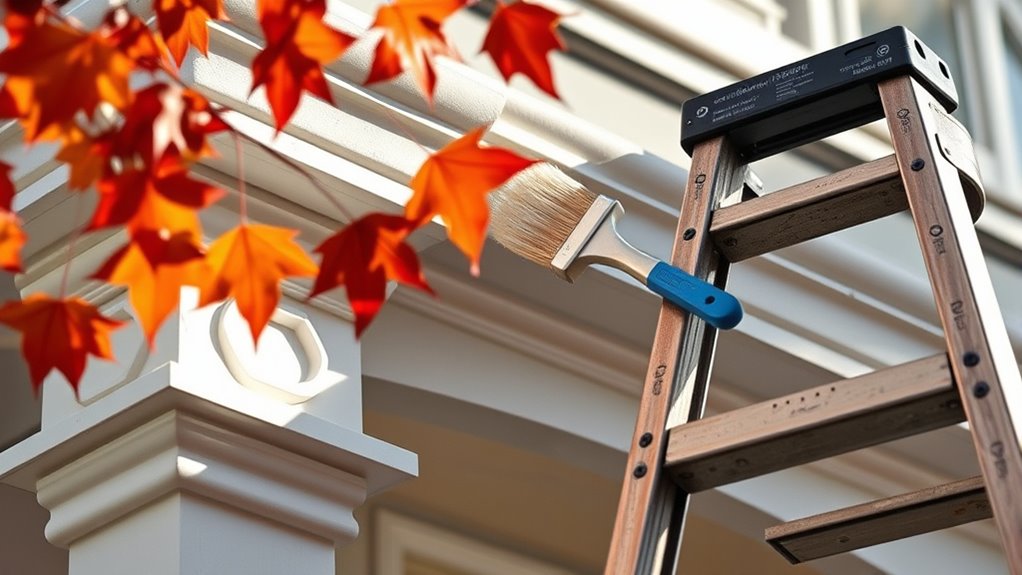
Tips for Protecting Your Work During Autumn Weather

Protecting your exterior trim during autumn weather requires careful planning, especially as temperatures fluctuate and moisture levels rise. To prevent damage, choose the right brush for your project—preferably a high-quality, weather-resistant brush that allows for smooth application and minimizes drips. Proper brush selection helps ensure even coverage and reduces the risk of imperfections caused by damp conditions. When color matching, keep in mind that cooler temperatures can affect how paint adheres and dries; work with paint that’s suitable for outdoor autumn temperatures. Cover your work with tarps or plastic sheeting if rain threatens, and avoid painting during heavy dew or high humidity. Taking these steps can help your paint job withstand the changing weather and stay safeguarded until spring. Additionally, selecting appropriate exterior paints that are formulated for outdoor conditions can further enhance durability and resistance to autumn weather challenges.
Long-Term Maintenance and Touch-Ups
To keep your exterior trim looking its best, you should establish a regular inspection schedule. Catching chips or peeling paint early allows you to make quick touch-ups before damage worsens. By staying proactive, you’ll preserve your home’s curb appeal and extend the life of your paint job. Incorporating maintenance strategies can further help in preventing larger issues over time.
Regular Inspection Schedule
How often should you check your exterior trim to keep it looking its best? Regular inspections are key to maintaining its condition, especially as seasons change. During seasonal preparation, inspecting every 6 to 12 months helps catch issues early. Adjust your inspection frequency based on weather exposure and trim material. Look for peeling paint, cracks, or wood damage that could worsen if left unchecked. Incorporating regular assessment into your maintenance routine can help identify potential problems before they develop into costly repairs.
- Check for signs of moisture or rot after heavy rains
- Look for paint chipping or fading due to sun exposure
- Inspect caulking and sealing for gaps or deterioration
- Clean debris from cracks and edges before applying touch-ups
Sticking to a routine guarantees your trim stays protected and looks fresh, preventing costly repairs down the line.
Timely Touch-Up Strategies
Regularly performing timely touch-ups guarantees your exterior trim remains in top condition over the long term. When addressing small chips or peeling paint, choose a matching color that complements your existing trim. Proper color selection prevents noticeable differences and maintains a cohesive look. Use precise brush techniques to apply paint smoothly, avoiding streaks or drips. Dip your brush just enough to cover the area without overloading, and apply thin, even coats for durability. Inspect your trim regularly and tackle touch-ups promptly to prevent minor issues from escalating. This proactive approach extends the life of your paint job, saving you time and money. Consistent maintenance keeps your home’s exterior looking fresh and well-cared-for, especially before the rainy season begins. Incorporating rustic elements can also enhance the overall appearance and authenticity of your farmhouse exterior.
Frequently Asked Questions
How Long Does Exterior Paint Typically Last Before Needing a Touch-Up?
The durability of exterior paint usually lasts about 5 to 10 years, depending on climate and surface prep. You’ll want to keep an eye on paint condition for signs of peeling or fading. For best results, plan to do touch-ups every 3 to 5 years to maintain your home’s appearance. Proper maintenance and choosing quality paint can extend the time before you need another touch-up, ensuring your exterior stays protected and attractive.
Can I Paint Exterior Trim if the Temperature Drops Overnight?
Think of painting exterior trim like planting a delicate flower—you need the right conditions to guarantee it blooms beautifully. When the temperature drops overnight, it’s like a sudden frost that can threaten your work. Temperature concerns affect paint drying time, so if it dips below 50°F, it may not dry properly, risking peeling or cracking. It’s best to wait until daytime temperatures rise to ensure a smooth, lasting finish.
What Are Eco-Friendly Options for Exterior Exterior Trim Paint?
When choosing eco-friendly options for exterior trim paint, you should look for paints with eco-friendly pigments and biodegradable paint options. These products typically contain fewer harmful chemicals, making them safer for the environment and your family. You can find water-based, low-VOC, and natural ingredient paints at many hardware stores. Opting for these eco-conscious choices helps protect the environment while giving your home a beautiful, durable finish.
How Do I Prevent Mold and Mildew After Painting in Autumn?
Imagine you’ve just painted your exterior trim, and autumn rains are coming. To prevent mold and mildew, you need proper mold prevention and mildew control strategies. Guarantee your surface is dry and clean before painting, then apply a high-quality, mildew-resistant primer and paint designed for outdoor use. Regularly inspect your trim, and if you spot any early signs of mold, clean with a mixture of water and mild detergent to keep it mold-free.
Is It Necessary to Remove Old Paint Before Applying a New Coat?
You should remove old paint before applying a new coat to guarantee proper adhesion and a smooth finish. Proper surface preparation includes paint removal of chipped or peeling areas, which helps the new paint stick better and last longer. Use a scraper or sandpaper to clean the surface thoroughly. Skipping this step can lead to peeling, uneven coverage, and the need for future repairs, especially before autumn rains.
Conclusion
As autumn rains approach, your painted trim stands ready—bright and protected. But don’t forget, the same weather that threatens your work can also preserve it, if you’ve prepared well. By timing your project wisely and choosing quality supplies, you create a lasting finish. Now, enjoy the beauty of your home’s fresh look, knowing that, come rain or shine, your effort will endure—beautifully resilient through the changing seasons.