
Turning your vacation photos into a storybook is a fun way to preserve your memories. Start by gathering your best images, organizing them in a chronological order, and choosing a theme that reflects your trip’s essence. Use personal touches like captions and doodles to make it unique. Select quality printing materials and binding to guarantee it lasts. If you keep exploring, you’ll discover creative tips to craft a beautiful, lasting storybook from your adventures.
Key Takeaways
- Collect and select high-quality photos that best capture key moments and emotional stories of the vacation.
- Organize images chronologically and thematically to create a cohesive visual narrative.
- Design a personalized layout with captions, quotes, and decorative elements that reflect the story’s mood.
- Choose suitable printing options and binding methods for durability and professional presentation.
- Finalize, review, and share the printed or digital storybook to preserve and enjoy the memories.
Gathering and Selecting Your Favorite Vacation Photos

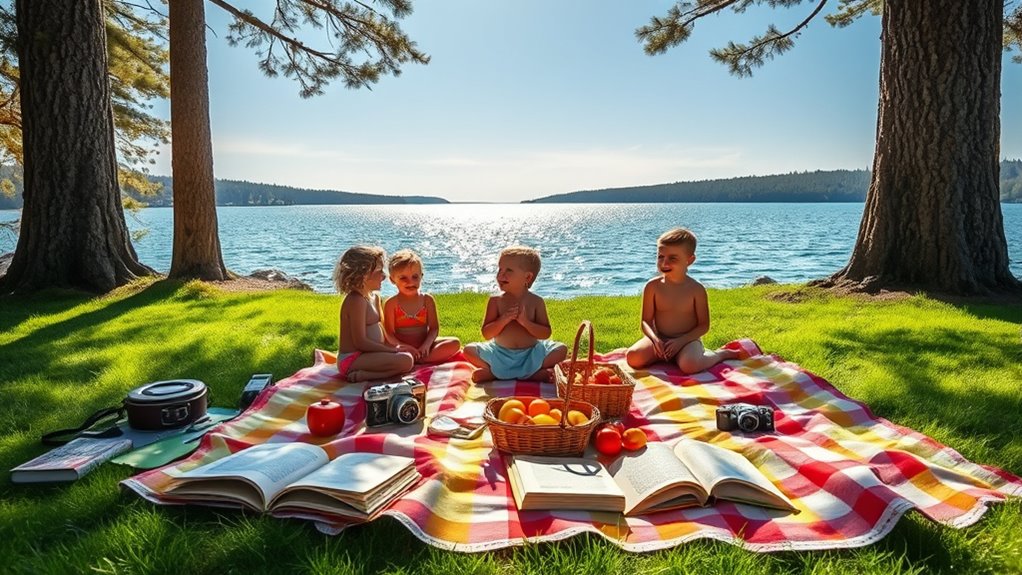
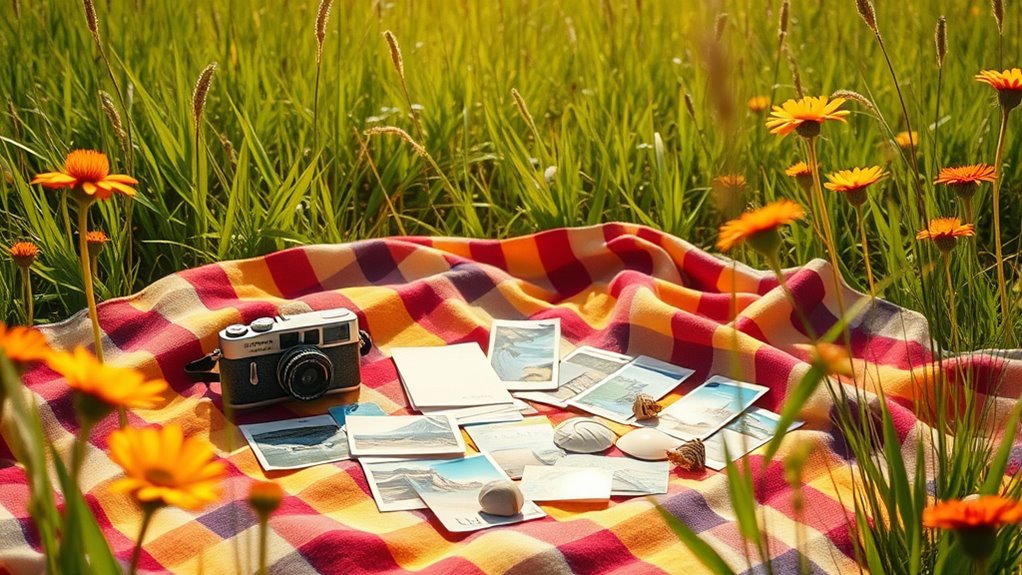
Before you begin creating your storybook, take some time to gather all your vacation photos. Review your collection and choose the ones that best capture the moments you want to highlight. Consider applying photo filters to enhance colors or add a nostalgic touch, but keep consistency in mind. When selecting images, check their resolutions to guarantee they’ll print clearly and look sharp in your layout. Higher image resolutions prevent pixelation, especially for larger pages, giving your storybook a professional feel. Avoid cluttering your selection with duplicates or blurry shots. Focus on photos that tell a story, evoke emotion, and showcase the essence of your vacation. This initial curation sets the foundation for a fascinating, visually appealing storybook. Additionally, paying attention to visual storytelling techniques can help you craft a more engaging narrative throughout your photo book.
Organizing Your Images for a Cohesive Narrative
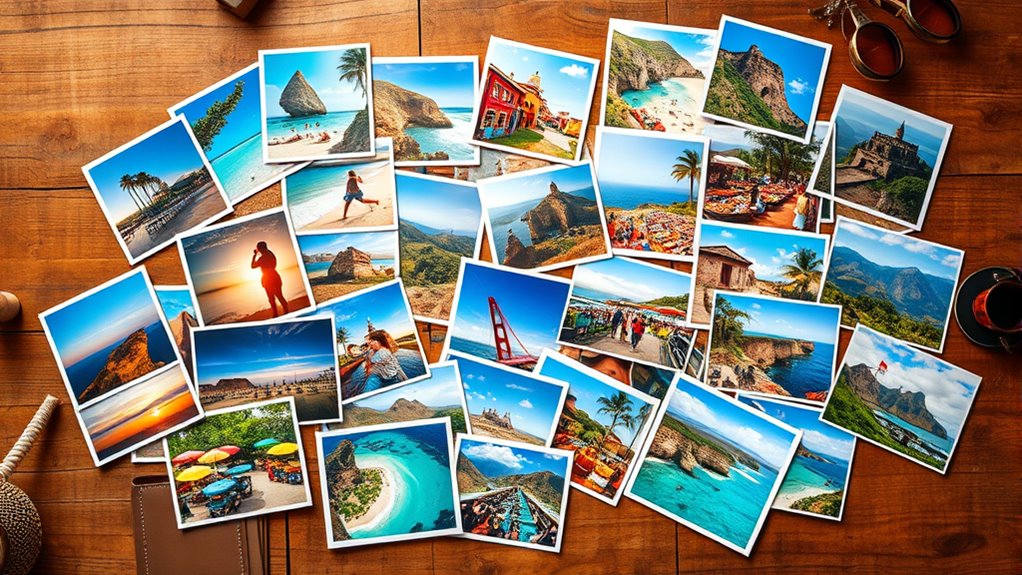
Start by sorting your photos in chronological order to create a natural flow. Group similar moments together to highlight themes or events, making your story easier to follow. Then, select key images that best represent each part of your trip to keep your story focused and engaging. Incorporating visual storytelling techniques can further enhance your narrative and captivate your audience.
Sort by Chronology
Organizing your vacation photos in chronological order helps create a clear and engaging story that guides viewers naturally through your trip. Focus on photo sequencing to maintain a logical flow, making it easier for viewers to follow your journey. Ensuring timeline consistency is key—place images in the order they were taken to preserve the story’s authenticity. Start by arranging your photos from the beginning of your trip, then progress through each day or event. This approach highlights the progression of your experiences and creates a seamless narrative. By sorting images chronologically, you avoid confusion and help your audience connect with your story on a deeper level. Clear photo sequencing and timeline consistency make your storybook more compelling and easy to follow. Incorporating mindful organization techniques can further enhance the storytelling process and create a more impactful presentation.
Group Similar Moments
Grouping similar moments together allows you to create a more focused and cohesive narrative by highlighting recurring themes or activities throughout your trip. For example, assemble a photo collage of all your beach shots or outdoor adventures to emphasize those experiences. This helps tell a themed collection’s story, making it easier for viewers to follow the journey’s progression. When organizing, look for common elements, like landscapes, activities, or people, and group them accordingly. These clusters serve as visual chapters within your storybook, giving your narrative structure and flow. By consciously organizing your images into themed collections, you transform scattered photos into a compelling, unified story that captures the essence of your vacation. Additionally, maintaining a consistent work environment even in your personal space can help you stay organized and focused when creating your storybook.
Select Key Images
Choosing the right images is essential to crafting a compelling storybook from your vacation photos. Start by selecting key images that capture the most meaningful moments and emotions. Use color correction to enhance the vibrancy and consistency across photos, ensuring a cohesive visual flow. Next, crop images to focus on the subject and remove distracting backgrounds, making each picture more impactful. Prioritize images that tell a part of your story clearly and naturally, avoiding duplicates or overly similar shots. Organizing these selected photos in chronological order or thematic groups to build a smooth narrative. This process helps create a polished, engaging storybook that reflects your trip’s highlights, making your vacation memories vivid and memorable for anyone who reads it. Incorporating photo editing techniques can further enhance the overall presentation and coherence of your storybook.
Choosing a Storytelling Theme or Focus
Deciding on a theme or focus for your storybook helps give your vacation photos a clear direction and makes the storytelling more engaging. Think about the travel themes that resonate most—whether it’s adventure, relaxation, cultural discoveries, or family bonding. Your chosen theme will serve as the story’s backbone, guiding which focal points to highlight. For example, if you focus on local cuisine, your photos should emphasize markets, dishes, and dining experiences. If you prefer an adventure theme, highlight action shots like hiking or water sports. Clarifying your travel themes early ensures your storybook feels cohesive and compelling. By selecting a strong emphasis, you create a narrative that captures the essence of your trip and keeps your audience interested. Incorporating visual storytelling techniques can also enhance the emotional impact of your storybook, making it more memorable.
Planning the Layout and Design of Your Storybook

After identifying your story’s theme, it’s time to plan how you’ll present your photos visually. Start by choosing a cohesive color scheme that complements the mood of your vacation. Soft pastel tones work well for relaxing beaches, while vibrant hues suit lively city adventures. Next, consider your font choices; select readable fonts that match your story’s tone—playful for family trips or elegant for romantic getaways. Decide on a layout that balances images and white space, ensuring your photos stand out without feeling cluttered. Design consistency**** is essential, so use similar font styles and colors throughout the book. Planning these design elements upfront helps create a polished, engaging storybook that captures your vacation’s essence seamlessly.
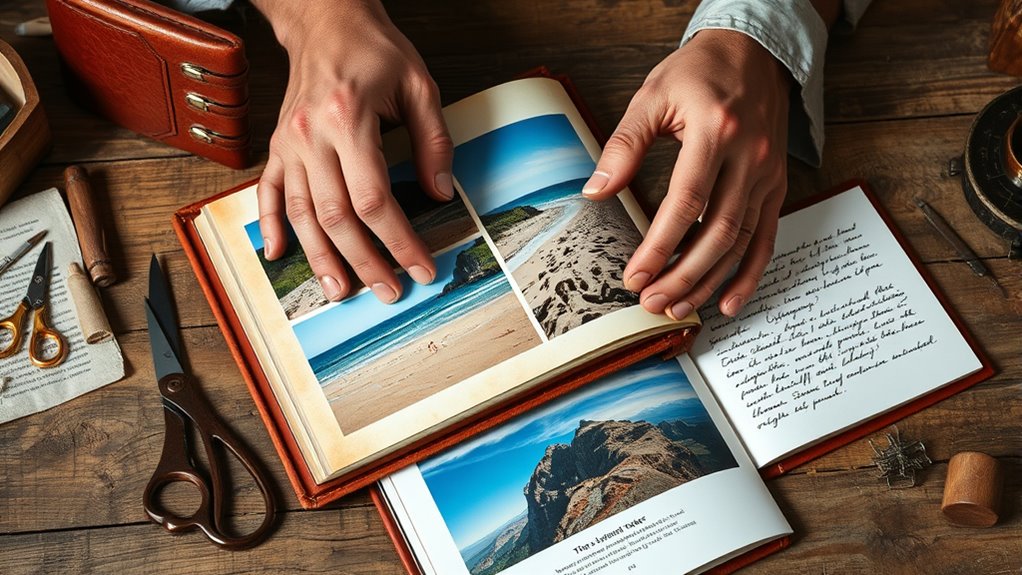
Adding Captions, Memories, and Personal Touches

Adding captions, memories, and personal touches brings your storybook to life by providing context and emotional depth to your photos. It transforms simple images into meaningful stories you’ll cherish. Here are four ways to enhance your storybook:
- Add captions that tell the story behind each photo, making memories clearer.
- Include personal touches like doodles, stickers, or handwritten notes to make it uniquely yours.
- Insert favorite quotes or funny anecdotes to evoke emotion.
- Highlight special moments with annotations, turning each page into a heartfelt reflection. Incorporating color accuracy can also enhance the visual appeal of your images, making every detail pop with vibrancy.
Selecting the Right Printing Method and Materials
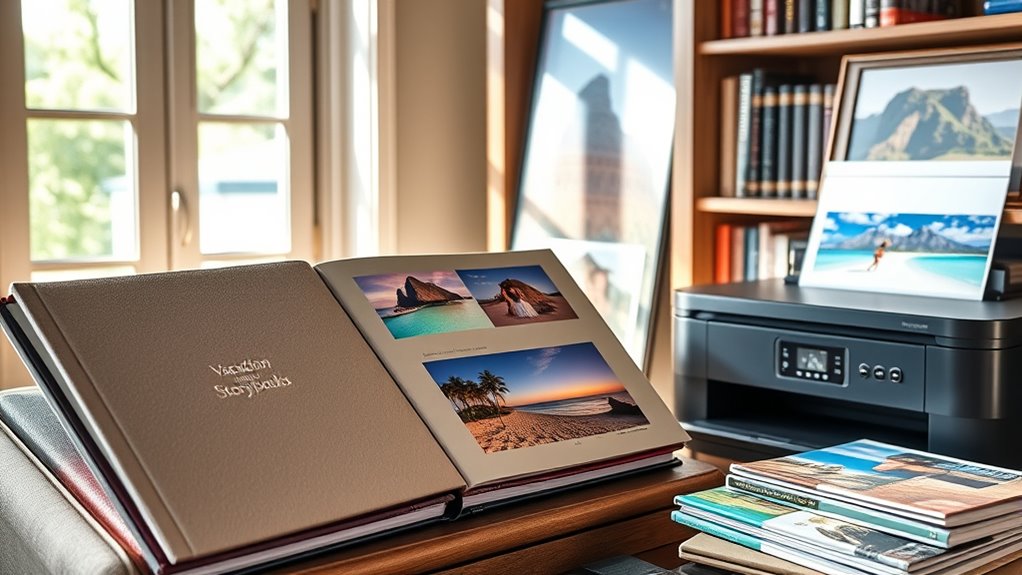
Choosing the right printing method and materials can make a significant difference in how your storybook turns out. Your choice of paper quality impacts durability, look, and feel—thicker, glossy paper enhances vibrant photos, while matte paper offers a softer finish. Consider printing techniques like digital or offset printing; digital is quick and cost-effective for small batches, while offset offers higher quality for larger runs. The paper’s weight and texture influence the overall presentation, so select materials that complement your photos and storytelling style. High-quality paper ensures your images stay sharp and colors remain vivid over time. Additionally, understanding printing technology can help you select the most suitable method for your project. By matching your printing method with suitable materials, you’ll create a polished, professional-looking storybook that beautifully preserves your vacation memories.
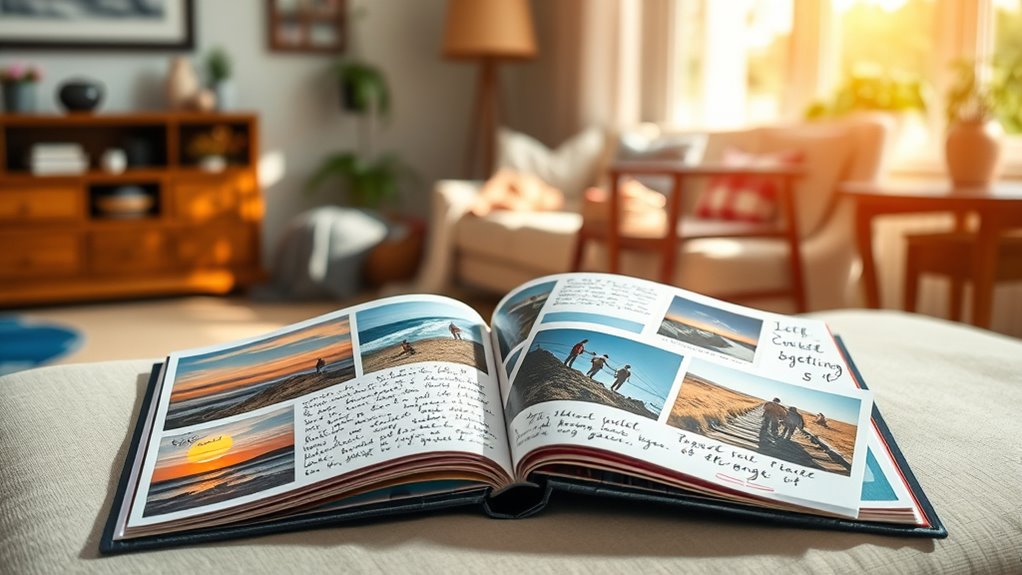
Assembling and Binding Your Vacation Storybook
Once you’ve selected your photos and finalized the layout, the next step is to assemble your vacation storybook. Use digital tools to carefully arrange and edit your images, ensuring they look their best. Consider making minor photo edits, like adjusting brightness or cropping, to enhance each shot. Here are four key steps:
After choosing and editing your photos, carefully assemble and finalize your vacation storybook with these four simple steps.
- Print or export your digital layout, double-checking for errors.
- Choose a binding method—stapling, spiral binding, or professional binding.
- Attach pages securely, ensuring they lay flat and are aligned.
- Add any finishing touches, like decorative elements or captions, to personalize your storybook.
To ensure durability, select a high-quality binding method that suits your project.
Sharing and Preserving Your Creative Keepsake
After finishing your vacation storybook, it’s important to share it with friends and family so they can enjoy your memories. You can include travel souvenirs like postcards or small keepsakes to add a personal touch. To make your photos stand out, use photo editing techniques such as adjusting brightness, contrast, or cropping to enhance each image’s impact. Sharing your storybook digitally via email or social media allows others to relive your adventures easily, while printing copies ensures your keepsake is preserved for years to come. Consider creating backups on cloud storage or external drives to safeguard your work. By combining thoughtful presentation with your travel souvenirs and polished photos, you turn your storybook into a cherished, lasting memento of your trip.
Frequently Asked Questions
How Can I Incorporate Multimedia Elements Into My Vacation Storybook?
You can make your vacation storybook more engaging by incorporating multimedia elements like video slides and audio narration. Add short video clips to highlight special moments, and include audio narration to share your thoughts or fun facts. These elements bring your story to life, making it more interactive and memorable. Just guarantee your multimedia is well-organized and complements your photos, so your story flows smoothly and keeps your audience captivated.
What Digital Tools or Apps Are Best for Designing a Storybook?
To design your storybook efficiently, you should explore apps with strong photo editing and layout templates. Tools like Canva and Adobe Spark offer user-friendly interfaces, allowing you to customize images and create engaging pages easily. They provide a variety of layout templates, so you can focus on telling your story without starting from scratch. These apps make it simple to combine your vacation photos into a professional-looking storybook.
How Do I Ensure the Storybook Appeals to Different Age Groups?
Oh, sure, make a storybook that appeals to everyone—because who doesn’t love a one-size-fits-all masterpiece? To do that, use age-appropriate language and enchanting visual storytelling. Simplify language for kids, add humor or nostalgia for adults, and include vibrant images to bridge the gap. Keep it engaging and adaptable, so each age group finds something to love. After all, the goal’s to delight all ages, right?
Can I Include Interactive Features in a Printed Vacation Storybook?
Yes, you can include interactive features in a printed vacation storybook. Incorporate augmented reality by adding QR codes that activate 3D views or videos. Include interactive puzzles or riddles related to your trip to engage readers. These features make your storybook more fun and memorable, appealing to all ages. Just guarantee the technology is user-friendly, so everyone can enjoy the experience without frustration.
What Are Cost-Effective Options for Professional-Looking Photo Printing?
If you’re looking for budget options for professional-looking photo printing, explore online services like Shutterfly or Snapfish. They offer affordable packages and various printing techniques, including glossy and matte finishes, that give your photos a polished look. Compare prices and reviews to find the best deal. You can also consider local print shops that occasionally provide discounts, helping you achieve a beautiful, high-quality result without overspending.
Conclusion
Now, you’re ready to turn your vacation photos into a storybook that captures your memories, tells your story, and preserves your journey. You’ll choose your theme, design your pages, and add personal touches. You’ll select the perfect printing method, assemble your masterpiece, and share your creation with loved ones. With each step, you’ll create a keepsake that celebrates your adventures, a storybook that reflects your experiences, and a treasure that lasts a lifetime.