
To digitize boxes of pictures quickly, start by choosing the right photo scanner that meets your resolution and budget needs. Prepare your photos by organizing them and cleaning off any dust. Set up a dedicated scanning station to minimize distractions and use batch scanning for efficiency. Organize digital files with consistent naming and formats. Finally, explore ways to share and preserve your memories for easy access. There’s more to discover about optimizing your process!
Key Takeaways
- Set up a dedicated scanning station with optimal lighting and minimal distractions to enhance workflow efficiency.
- Organize photos by size or event to streamline the scanning process and reduce time spent searching.
- Utilize batch scanning features to quickly digitize multiple photos at once, saving time and effort.
- Regularly check resolution settings to ensure high-quality scans without interruptions or errors.
- Maintain an organized digital filing system with consistent naming conventions for easy access and management.
As an affiliate, we earn on qualifying purchases.
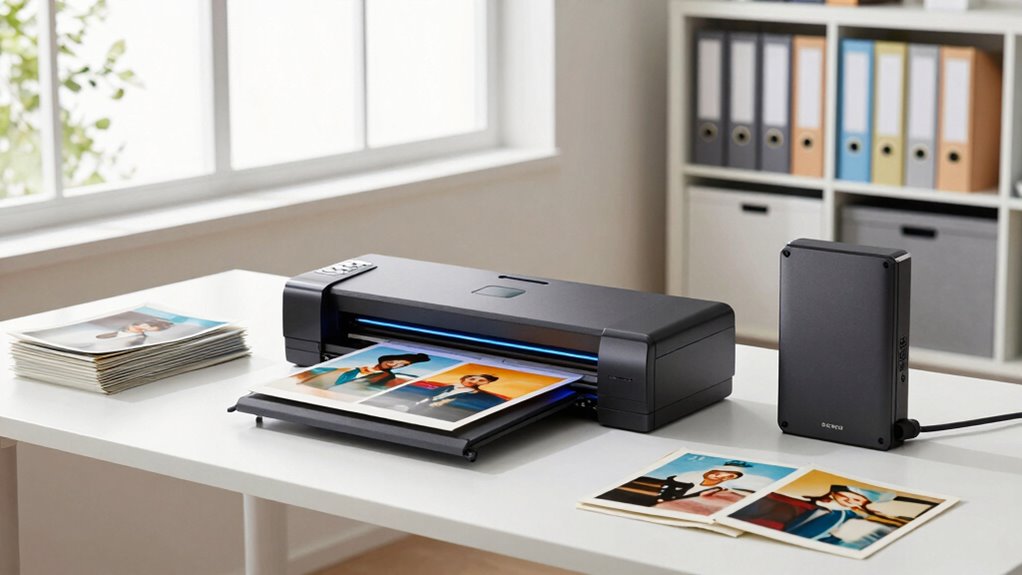
How to Choose the Best Photo Scanner for Your Needs?
When you’re looking for the best photo scanner, what features really matter? First, consider the resolution needs—higher resolutions capture more detail but might slow down scanning speed. Think about your budget considerations, as prices can vary considerably. If you plan to move your scanner around, portability options become vital; lightweight models are easier to handle. Check for software compatibility too, ensuring it works with your computer’s operating system. Don’t forget brand comparisons; reputable brands often provide better support and reliability. Finally, explore user reviews—real experiences can guide you toward the best choice. By weighing these factors, you’ll find a scanner that meets your needs and makes digitizing your photos a breeze.
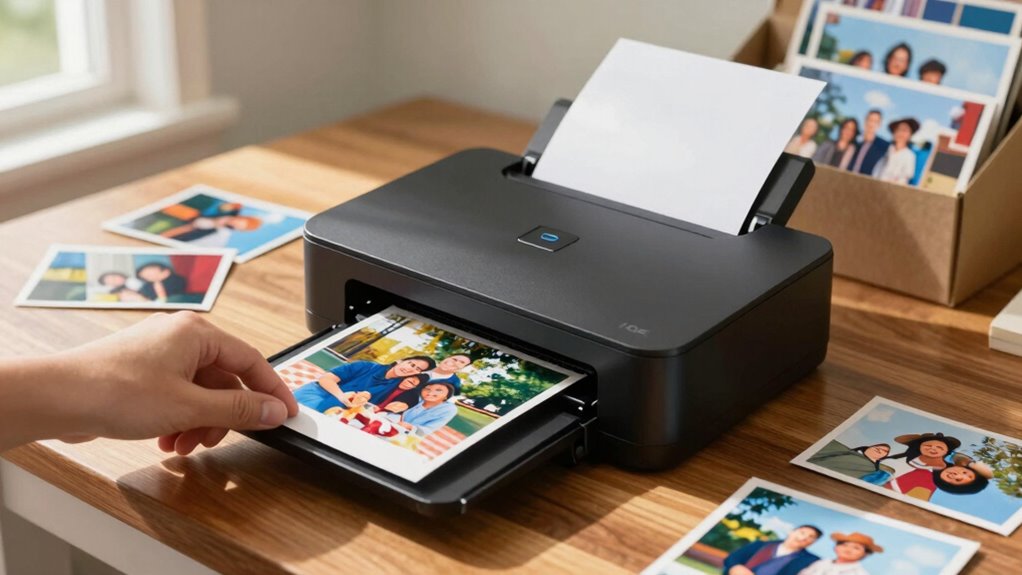
Prepare Your Photos for Scanning Effectively
To guarantee a smooth scanning process, start by organizing your photos. Sort them by size, age, or event to streamline your workflow. Next, check the photo condition—clean any dust or fingerprints gently with a microfiber cloth to avoid damaging them. If you have older photos, consider using acid-free materials for storage to protect them during scanning. Using proper maintenance routines for your scanner can also extend its lifespan and ensure consistent quality. To optimize your results, use these scanning tips: always scan at a high resolution to capture details, and consider scanning in color even for black-and-white images, as this can enhance the final output. Finally, keep a notepad handy to jot down any notes about the photos, making it easier to label and organize them later.
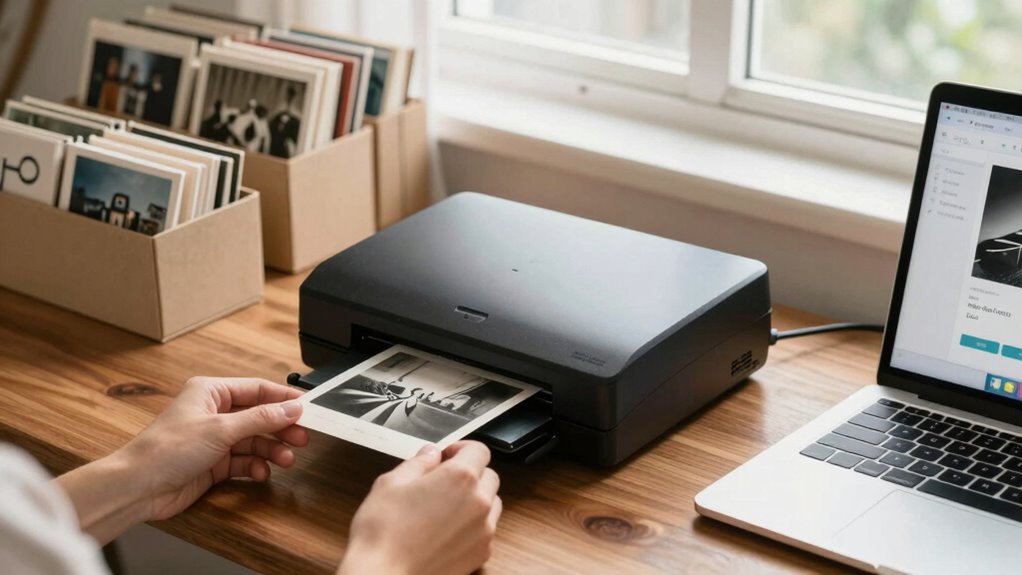
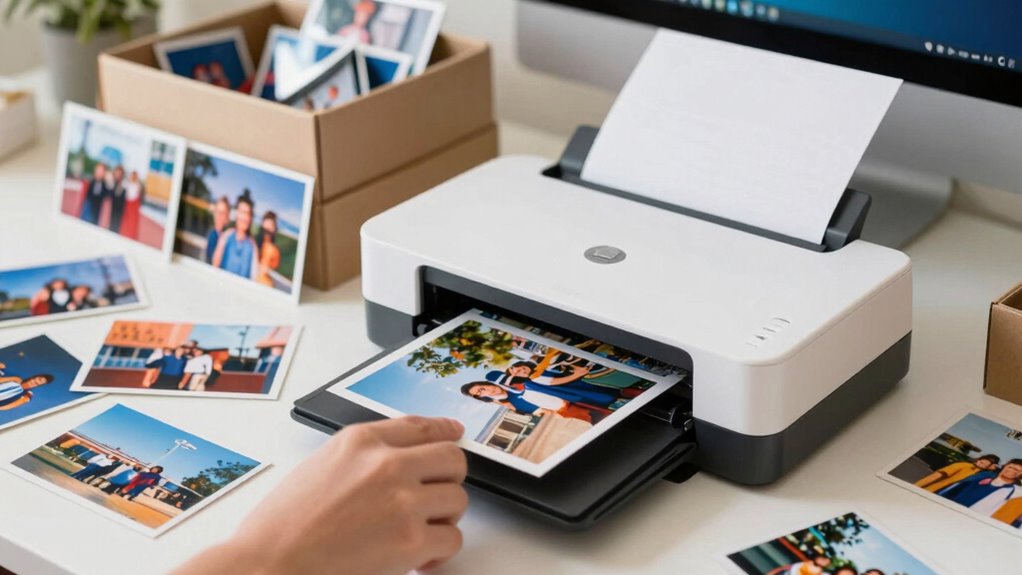
How to Create an Easy Scanning Workflow?

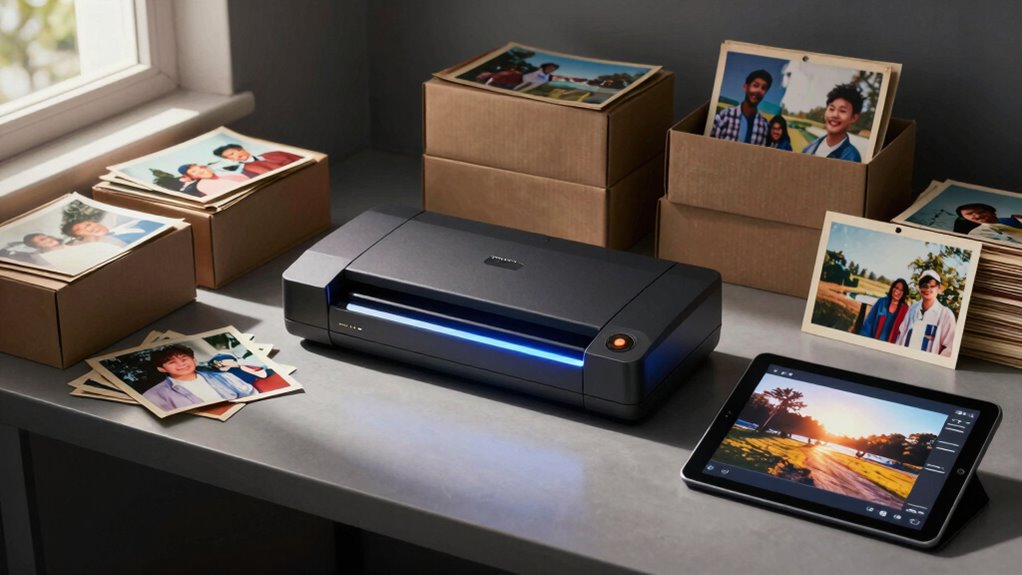
With your photos organized and ready for scanning, establishing a streamlined workflow can make the process even smoother. Start by setting up a dedicated scanning station with good lighting and minimal distractions. Use a high-quality scanner and familiarize yourself with its features to maximize workflow efficiency. Consider batch scanning; scan multiple photos at once to save time. While scanning, apply these scanning tips: check resolution settings to guarantee quality and regularly clean your scanner to avoid dust spots. After scanning, quickly review images for any adjustments needed. Additionally, keeping an organized workspace can reduce clutter and improve overall efficiency. Incorporating home organization techniques can further improve your overall digitizing process. Maintaining a consistent scanning routine can help you stay on track and prevent backlog. Ensuring your workflow remains efficient can also prevent unnecessary stress and delays. By following these steps, you’ll enhance your scanning workflow and enjoy a more efficient digitizing experience.
Organize Your Digital Files and Choose Formats
As you wrap up the scanning process, organizing your digital files and choosing the right formats becomes essential for easy access and long-term preservation. Here are three key steps to help you streamline your digital storage:
- Consistent File Naming: Use a clear naming convention that includes dates and descriptions. This makes it easier to locate specific images later.
- Choose the Right Formats: Save your photos in widely-used formats like JPEG for sharing and TIFF for high-quality storage.
- Create Folders: Organize your files into folders by year, event, or category. This structure simplifies navigation and keeps your digital space tidy.
- Additionally, consider file organization techniques used in digital media to enhance your workflow and ensure your images are protected over time. Proper file formats can also improve compatibility with future software and devices, safeguarding your digital collection.
Ways to Share and Preserve Your Digitized Memories
While you’ve put in the effort to digitize your memories, sharing and preserving them effectively guarantees they remain accessible for years to come. Start by creating a cloud storage account, allowing easy access for memory sharing with family and friends. You can also consider creating a dedicated website or blog to showcase your favorite photos, inviting loved ones to comment and reminisce.
For digital preservation, back up your files on external hard drives or USB sticks. Regularly check the integrity of your files and update formats as technology evolves. Don’t forget to print your favorites; physical copies can spark joy and serve as lasting keepsakes. With these steps, your memories will thrive for generations to enjoy.
Frequently Asked Questions
Can I Scan Photos With a Regular Flatbed Scanner?
Yes, you can scan photos with a regular flatbed scanner. Most scanner types, including flatbeds, capture good photo quality if used correctly. Just make sure the scanner glass is clean and set the resolution high enough for clear details. While dedicated photo scanners might offer better results, a flatbed can still do a great job for everyday needs. Just be mindful of color settings to preserve the original look of your images.
What Resolution Is Best for Scanning Old Photographs?
For scanning old photographs, a resolution of 300 to 600 DPI is best. This range guarantees you capture the details without unnecessarily large file sizes. If you’re aiming for high image quality and plan to enlarge prints, consider going up to 1200 DPI. Adjust your scanning settings based on your needs, but remember that higher resolution may increase time and storage requirements. Prioritize clarity to preserve your memories effectively!
How Do I Handle Damaged Photos Before Scanning?
Before scanning damaged photos, handle them with care. Clean them gently using a soft brush or cloth to remove dust. If there are tears, consider using photo restoration techniques like acid-free tape for temporary fixes. Make certain to scan at a high resolution to capture details, allowing for better restoration later. Avoid using chemicals that could cause further damage. Proper handling guarantees your memories are preserved beautifully in digital form.
Are There Mobile Apps for Scanning Photos?
Yes, there are several mobile apps for scanning photos that can help you digitize your images. Look for apps with features like auto-cropping, color correction, and high-resolution output to guarantee photo quality. Some popular options include Google PhotoScan and Adobe Scan. They’re user-friendly and can turn your physical photos into digital copies quickly. Just download the app, follow the prompts, and you’ll have beautiful scans in no time!
How Can I Back up My Digitized Images Securely?
To back up your digitized images securely, use a combination of cloud storage and external drives. First, upload your photos to a reliable cloud service for easy access and protection against hardware failure. Then, transfer them to an external drive as a physical backup. This way, you’ve got multiple copies in different locations, minimizing the risk of losing your precious memories. Regularly update both backups to guarantee you’re always covered.
Conclusion
In the end, digitizing your photos is like planting a garden: with a little preparation and care, you’ll cultivate a vibrant collection of memories. As you scan each image, think of each one as a seed, ready to bloom in the digital world. Once organized and shared, your memories will thrive, just like flowers in spring. So grab your scanner, embrace the process, and watch your cherished moments grow into a beautiful digital landscape.